Summer Jute Bags by Kate Eastwood
Published on May 29, 2019 By Merion 2 min read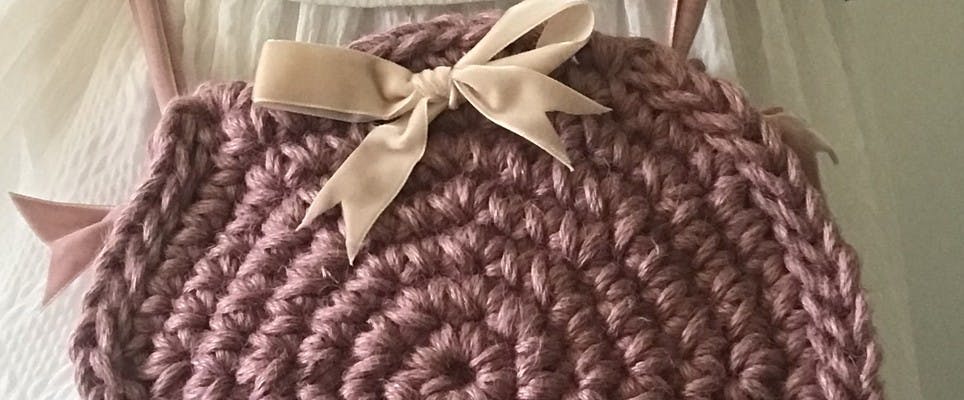
When Kate Eastwood showed us her designs for a bag in Hoooked Jute, we couldn't get our hooks out fast enough! There are six gorgeous shades of jute to choose from, and you can customize your bag handles, too.
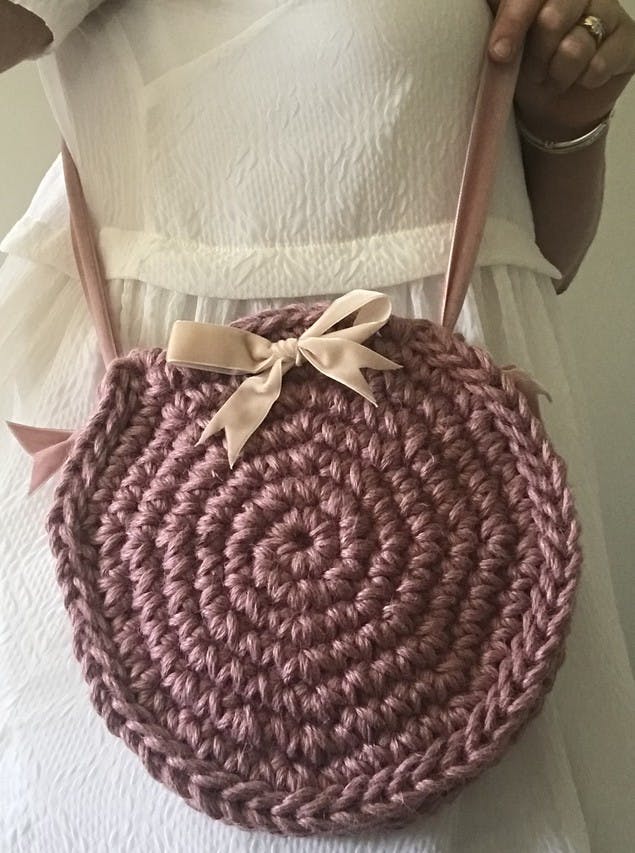
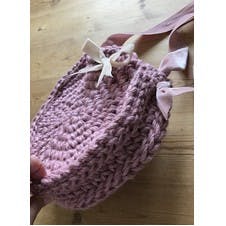
With so many beautiful circular basket bags around this summer I just couldn’t resist having a go at making a crochet version. I wanted to keep the design as simple as possible to make the most of the fabulous texture.
Both bags are made with Hoooked Jute and I used ribbon for both the handles on the small bag and the crossbody strap on the larger bag. Each bag is made of three pieces, a circle for both the front and the back and a band that runs around the rims of the front and the back pieces to make the sides and base of the bag.
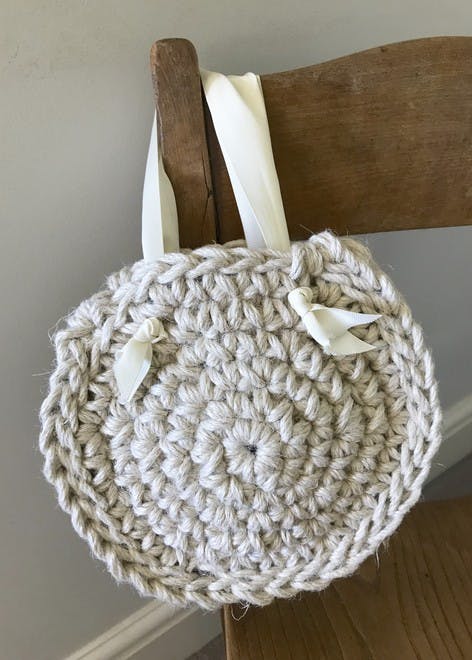
The cream bag is the smaller of the two at 22cm in diameter, depth 7cm The larger bag is 27cm in diameter, depth 7 cm.
For the small bag I used: 2 x balls of Hoooked Jute in Vanilla Cream (JT005) and 1 metre of ribbon, cut in half to make two handles. For the large bag I used: 3 x balls of Hoooked Jute in Tea Rose (JT002) and 1.5 metres of ribbon for the cross body strap, but you can create any type of handle you like.
Tips for working with jute
- By using a smaller size hook than recommended you end up with a strong, firm texture, perfect for giving the bag structure.
- Keep your work loose, the tighter you work the harder it will be.
- Once worked up, the jute is very pliable so keep gently pulling your work in to the correct shape as you go.
- I found that holding the hook in a ‘grab’ method made working with jute a lot easier.
- By working in a continuous round you will avoid a joining seam in the front and back pieces.
Materials
- Hoooked Jute
- 8mm crochet hook
To make the smaller bag:
1
For the front and the back pieces ( make 2)
Round 1: Using the 8mm hook and the Vanilla Cream make a Magic Ring and work 6 sc in to the ring. Do not sl st to join at the end of this or any of the following rounds.
2
Round 2: Work 2dc (US 2sc) in each st all the way round, 12sts.
Round 3: (1 sc, inc in the next st) x 6. 18 sts.
Round 4: (2 sc, inc in the next st) x 6. 24 sts.
Round 5: (3 sc, inc in the next st) x 6. 30 sts.
3
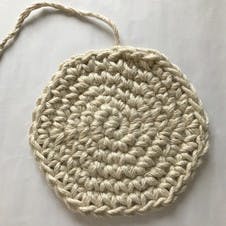
Round 6: (4 sc, inc in the next st) x 6. 36 sts. Join with a sl st at the end of the round and finish off. To finish off your ends, turn the work to the wrong side and using the hook and working back towards the centre of the circle simply feed the jute underneath a few of the stitches to hold it in place.
4
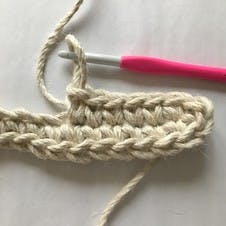
To make the joining band:
Work a chain of 33, starting in the second chain from the hook, sc along to the end of the chain, 32sts. Chain 2 and now continue on working around to the other side of the chain, as in the photo. At the end of the row chain 1 and sl st to join back to the begining.
5
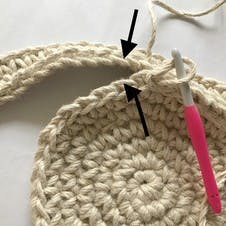
Joining the pieces together:
With the right sides facing outwards, place one of the circles and the band together, so that the edges butt up together. Working into just the back loop only on both the front piece and the band, as indicated in the photo below, sl st all the way around to join the pieces together.
6
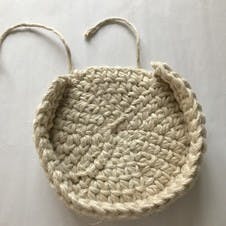
Now place the back piece up against the band, in line with the front piece and sl st around as before. Finish off. At the opening point of the bag I hooked the ends around several times at the end of each joining seam to give a bit of reinforcement to the opening. Hook in any further ends.
7
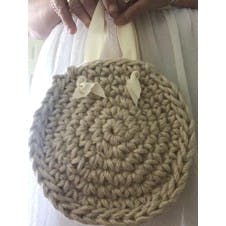
To finish the bag, cut the length of ribbon in to two and thread each piece on to the bag to make two handles, securing with a chunky knot.
To make the larger bag:
1

The large bag is made using the same method as for the small bag. For the front and the back pieces (make 2):
Round 1: Using the 8mm hook and the Tea Rose make a Magic Ring and work 8 sc in to the ring. Do not sl st to join at the end of this or any of the following rounds.
Round 2: Work 2sc in each st all the way round, 16sts.
Round 3: (1 sc, inc in the next st) x 8. 24 sts.
Round 4: (2 sc, inc in the next st) x 8. 32 sts.
Round 5: (3 sc, inc in the next st) x 8. 40 sts.
Round 6: (4 sc, inc in the next st) x 8. 48 sts.
Round 7: (5 sc, inc in the next st) x 8. 56 sts.
2
To make the joining band:
Work a chain of 47, starting in the second chain from the hook, sc along to the end of the chain, 46sts. Chain 2 and now continue on working around to the other side of the chain, as in the photo below. At the end of the row chain 1 and sl st to join back to the beginning.