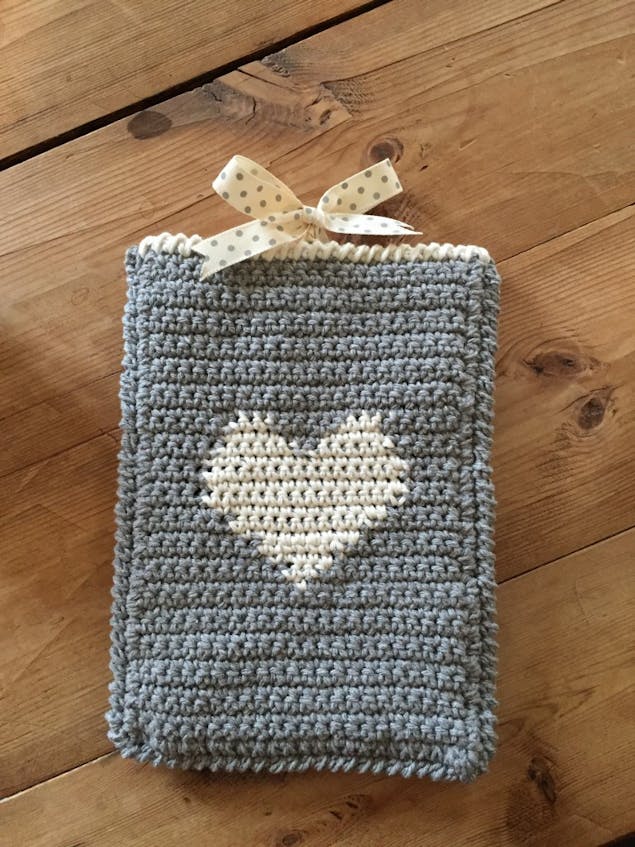
How to crochet a cute tablet cover
Published on November 14, 2019 By Holly Butteriss 2 min read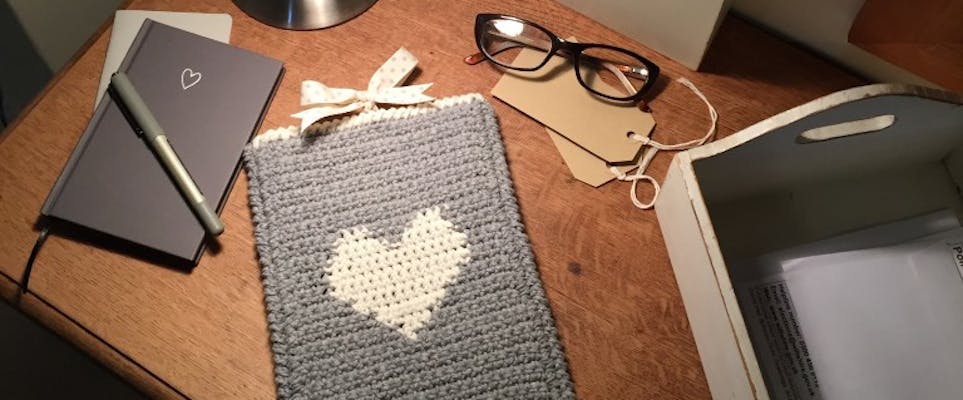
Amazing maker, Kate Eastwood, guides you through this step-by-step tutorial for a super cute crocheted tablet cover. Easily customizable to fit different size tablets, this makes a gorgeous present you can hook up in a weekend!
This little tablet cover, with heart motif in the center to add a certain swish, is the perfect quick make! The cover is designed so that the tablet slides easily inside and the ribbon tie at the top will keep everything in place for when you're on the move.
The finished cover measures approx. 17.5cm x 16cm x 0.05cm.
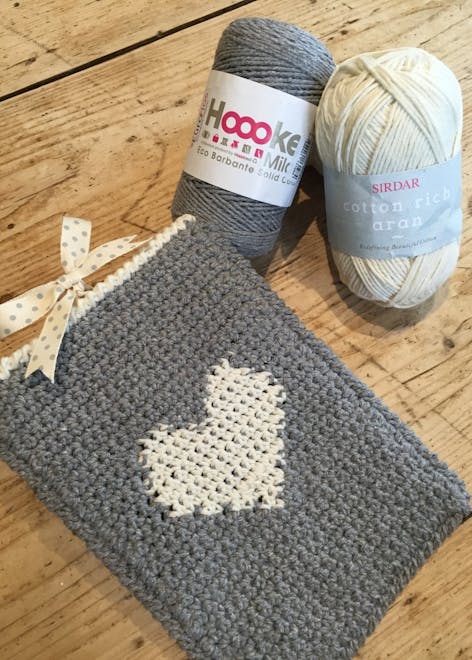
To make the cover I used Hoooked Eco Brabante, which is made entirely from recycled fibres, (85% cotton), and works up to make a really solid but soft texture that will perfectly protect your tablet.
For my cover I used 1 x ball of Hoooked Eco Brabante Solid Colours in Gris 0270, and for the heart motif I used 1 x ball of Sirdar Cotton Rich Aran in Cream 0001 and a 3.5 mm hook.
You will also need a small amount of ribbon to make the tie at the top of the cover. This tutorial uses UK terminology - to convert to US terms, use our handy conversion tables!
How to make the front of the cover!
1
Begin by working a loose chain of 24, and then starting in the second chain from the hook, work a row of DC. 23 sts. At the end of the row chain and turn.
2
Work a further 11 rows of DC, remembering to chain 1 and turn at the end of every row.
Your 13th row is going to be your first pattern row.
3
The pattern is worked in Tapestry Crochet, which is a method of crochet where you are working with two colors at once. You can work the pattern either by following the chart or by using the number table.
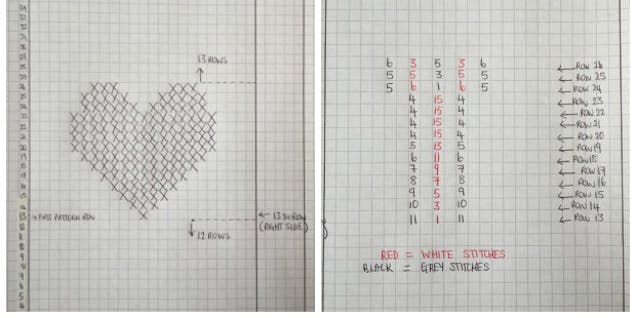
Pro Tip
When changing from gray to white, work the last yarn over of the final gray stitch in cream. When changing back to gray, do exactly the same and work the last yarn over of the final cream stitch in gray.
4
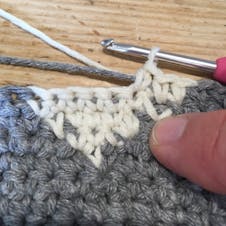
When working the heart, carry the gray yarn along the top of the row of stitches you are working on so that it is worked in to the cream stitches.
5
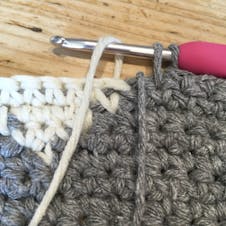
Before changing from gray to cream, always pull your gray yarn through.
6
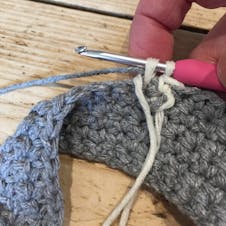
When changing back to gray, make sure your cream yarn is pulled back through to the wrong side of your work.
7
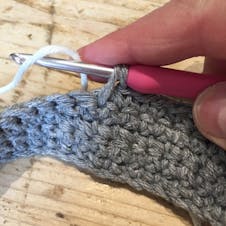
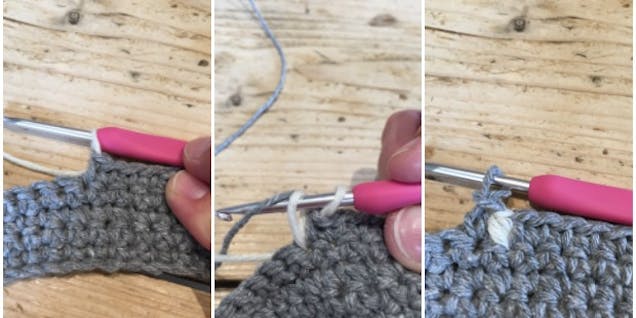
Row 13: Start by working 10 DC in gray. On the 11th stitch, which is your final gray, join in your cream yarn and use the cream for the yarn over and pull through.
8
Then work the next stitch in cream, but remember, because you are only working one stitch in the cream before changing back to the gray, you will need to work the yarn over and pull through in the gray. Finish off the rest of the row in gray, following either the chart or the number table, as before.
At the end of the row chain 1 and turn.
9
Row 14: This will be a wrong side row.
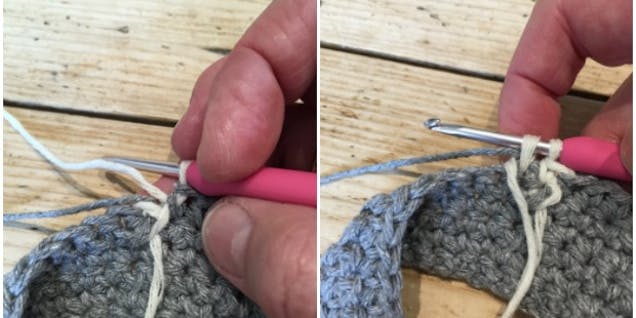
Work 9 DC in gray, on the 10th gray DC work the yarn over and pull through in cream. Work 3 stitches in cream, remembering to work the yarn over and pull through of the third stitch in grey. Finish off the row in gray. Chain 1 and turn.
10
Continue following the pattern, from either the chart or the number table. After a few rows you will really be able to see the pattern developing.
When you have completed the heart, continue working the rest of the front of the cover in gray.
11
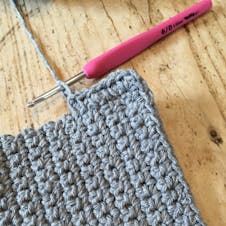
Your final row will be a right side row and at the end of it do not finish off but carry on working a round of DC all the way down the left hand side, along the bottom and up the right hand side. Work 3 DC in to each corner stitch to keep the shape of the cover.
Finish off and sew in your ends.
How to make the back of the cover!
1
Make a loose chain of 24 and starting in the second chain from the hook work a row of DC.
At the end of the row chain 1 and turn.
2
Keep working in rows of DC, remembering to chain 1 and turn at the end of each row, until your work measures the same as your front piece.
Ensure that your final row is a right side row.
3
At the end of the row do not finish off but continue on around, working a round of DC all the way down the left hand side, along the bottom and up the right hand side. Work 3 DC in to each corner stitch so that the cover keeps its shape. Finish off and sew in the ends.
4
When you have completed the front and the back, and they each have the finishing edge of DC all the way around, place one on top of the other, with the wrong sides together.
Pro Tip
This size tablet cover fits an iPad Mini, but if you need to make your tablet cover bigger, just work a further round or two of DC all around the edge of the front and back pieces until the sizing is correct.
5
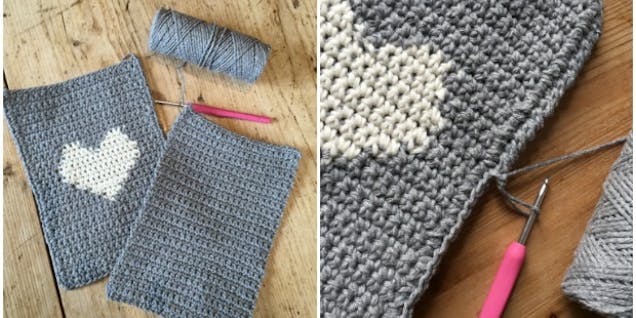
Now join the two together by working down the right hand side, along the bottom and up the left hand side with a round of Rope Stitch. Rope stitch is just DC but worked from left to right, instead of the usual right to left.
6
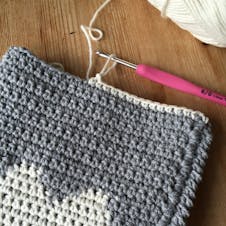
Finish off your cover by working a round of DC in cream around the top edge and then work a second round in cream, but this time in Rope Stitch.
7
To make the ribbon tie, sew a strip of ribbon on to the inside center back and the inside center front.
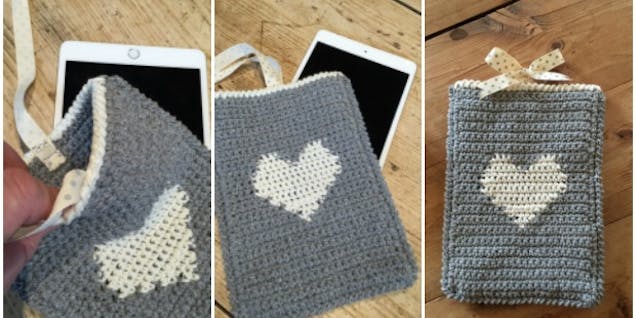
And that’s it! You’re all ready to pop your tablet inside – and once you’ve checked out the other Hoooked Eco Babante shades, you could have a different color cover for each day of the week!
