Learn how to crochet intarsia Alphabet Cushions with Chloe Bailey
Published on 25 July 2019 By Merion 7 min read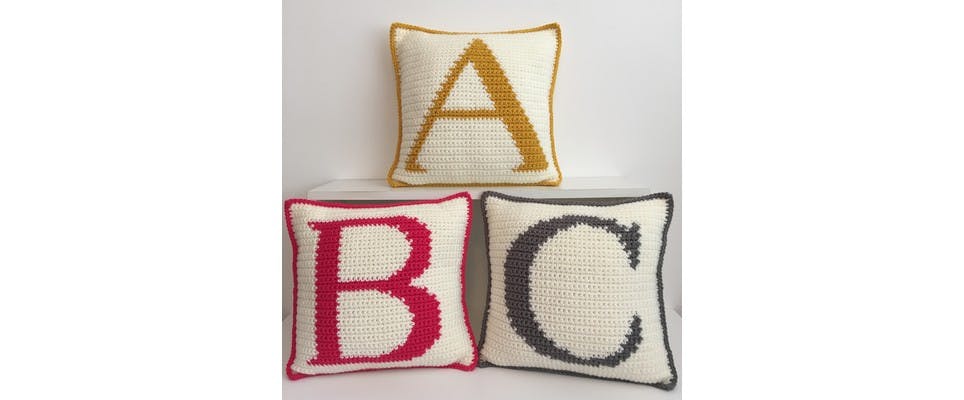
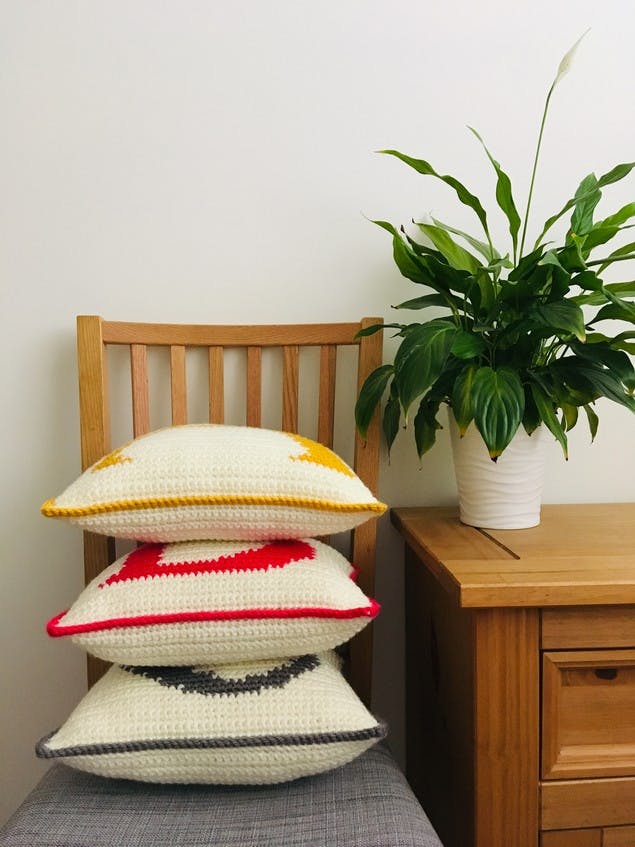
Learn how to personalise your crochet with Chloe Bailey's fab crochet intarsia tutorial! Make these fabulous Alphabet Cushions following Chloe's easy-to-follow charts.
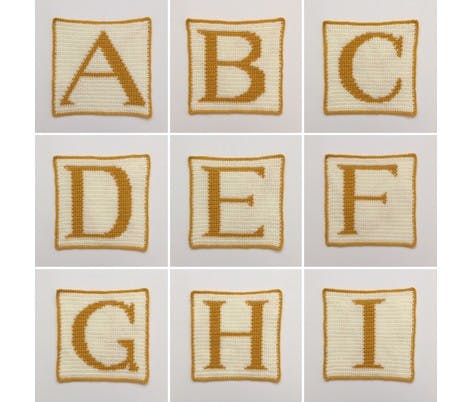
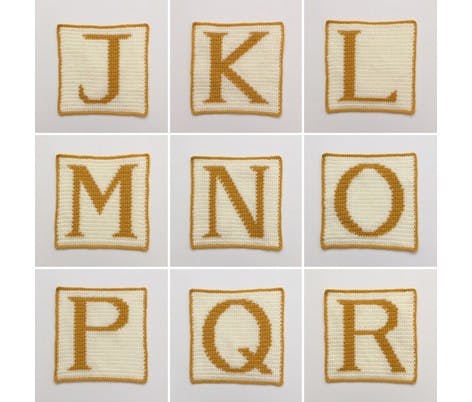
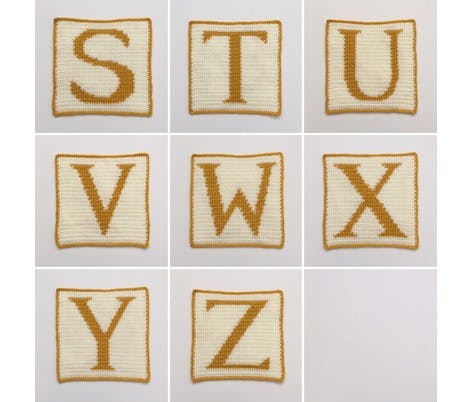
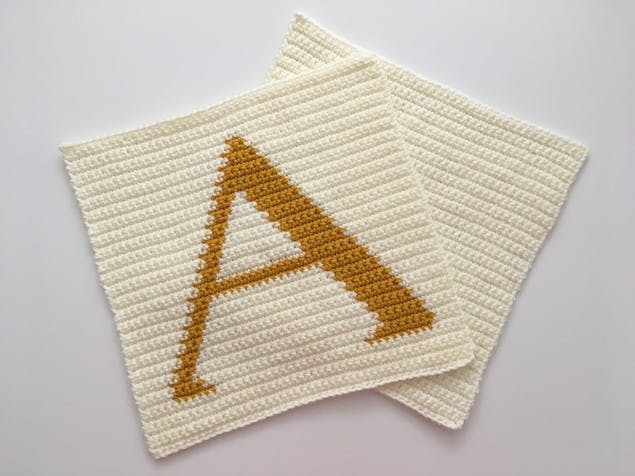
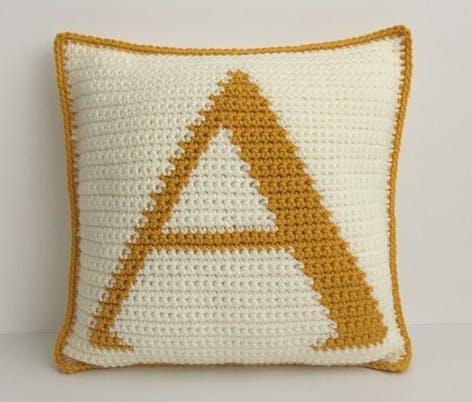
Inspired by a love for all things personalised, the Alphabet Cushion pattern uses the intarsia crochet technique to create a contrast colour image of each letter of the alphabet. The tutorial will follow the construction for letter A, but the full pattern includes all 26 letters of the alphabet, and the techniques described in this tutorial can be applied to whichever letter you choose to make!
To make the cushion you will need:
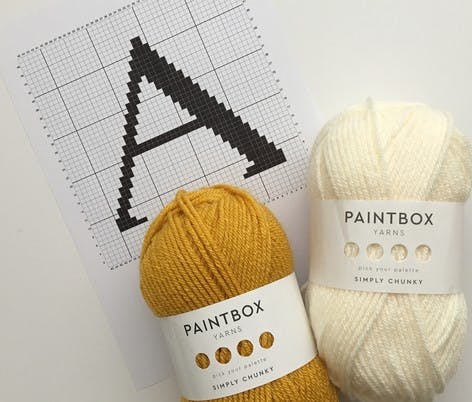
Paintbox Yarns Simply Chunky: 2 balls of main colour (MC), and 1 ball of contrast colour (CC), a 5mm crochet hook and a 14" square cushion pad. You will need a tapestry needle for sewing in ends and a pair of scissors.
Tension
14 sts / 15 rows = 10cm/4” square worked in double crochet
Size information
Worked flat, the finished front and back panels measure 13” square. When joined and filled with a 14” pad, the yarn will stretch slightly, resulting in a nice plump cushion.
Abbreviations
The pattern is written and charted using standard UK crochet terminology.
ch – chain
dc – double crochet
You’ll notice that the Alphabet Cushion pattern uses a 5mm crochet hook, instead of a 6mm hook that is usually recommended with chunky yarn. This is in order to achieve a tighter tension, which will result in a firmer fabric for your cushion. The nature of yarn fibres is that they do stretch, and with plenty of cushion squishing you don’t want gaps to appear between your stitches and have the inner cushion pad show through!
Materials
- Paintbox Yarns Simply Chunky
- KnitPro Waves Crochet Hook
How to read an intarsia chart
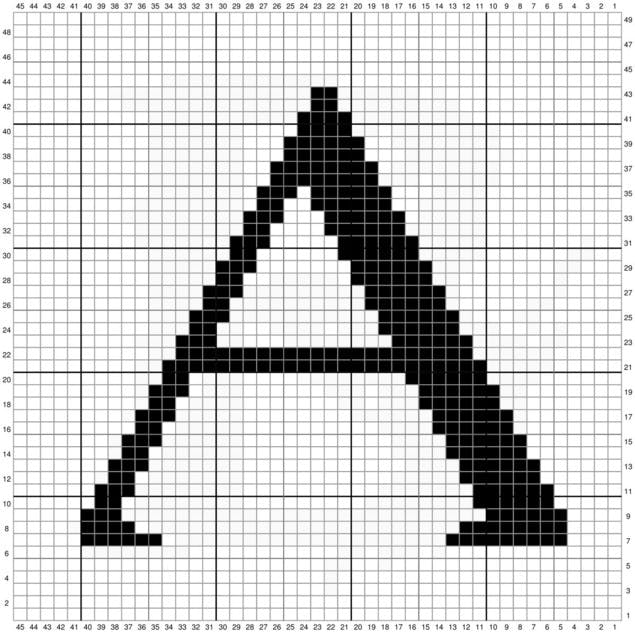
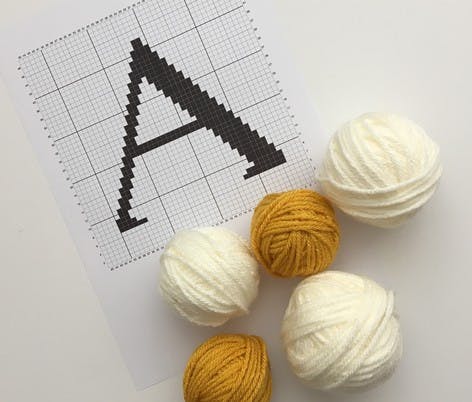
Intarsia patterns are usually presented as a cross stitch style chart. I love working from charts as you can clearly see the image which will gradually take shape as you work each row.
An intarsia chart is read from bottom to top, starting at the bottom right corner, working back and forth along each line (as shown in the diagram below); so for odd numbered lines you’ll be working from the right side of the work, and for even numbered lines you'll be working from the wrong side.
A pattern will always specify what stitch is represented by a square on the chart; in the Alphabet Cushion pattern, each square on the graph equals one double crochet stitch.
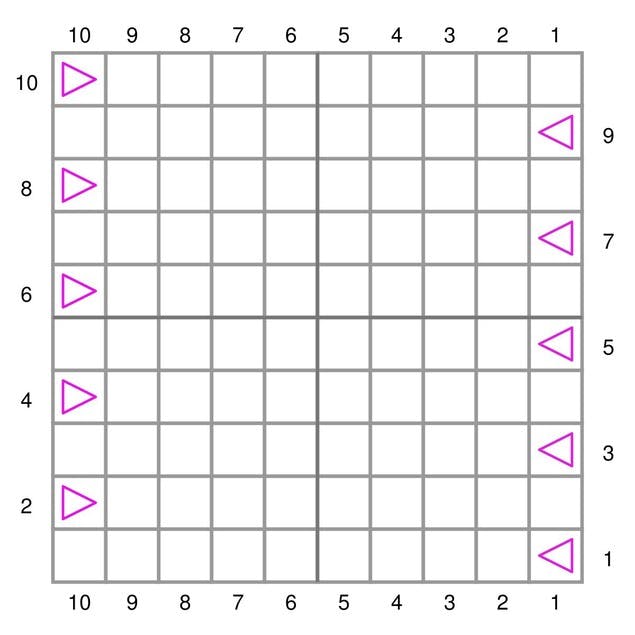
It is important to note when working from an intarsia chart that you must always work a turning chain at the end of each row. When you reach the end of a row, chain 1 before turning to work back along the next row, otherwise you’ll end up decreasing a stitch at the beginning of each row. When you start the next row, skip the chain stitch and work your first double crochet into the last double crochet of the previous row.
Preparing your yarn
All of the letters in the Alphabet Cushion pattern use two colours. Unlike stranded colour work, where the colours are looped behind and picked up when a colour change occurs, intarsia crochet uses separate balls of yarns for each colour change. This results in a very smooth finish, with an even fabric across the whole panel. It also gives you a double sided image, which is perfect for projects like blankets where you’ll see both sides of the work.
Preparation is key for working intarsia, and I recommend winding your yarn into smaller balls before starting. Working with smaller balls means less risk of tangles, and it is much easier to sort out if things do get messy! You can easily add a new mini ball whenever needed and, although this does mean more ends to sew in at the end, I think it’s worth it to reduce the risk of a major tangle headache!
Adding in a new colour
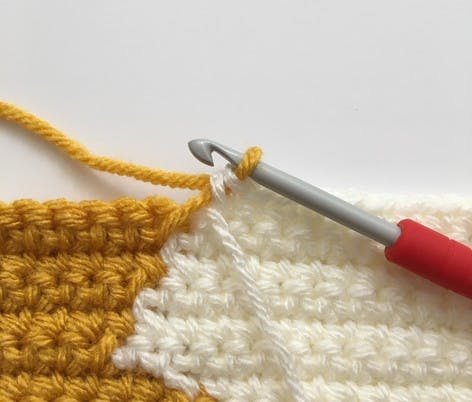
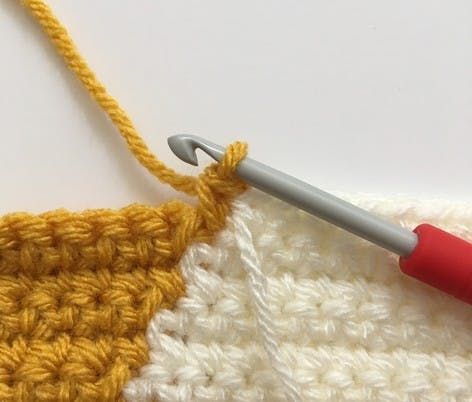
When you reach a colour change, you’re actually going to add the new colour in the last loop of the previous double crochet stitch.
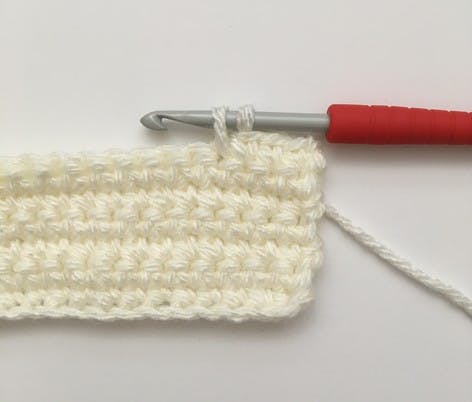

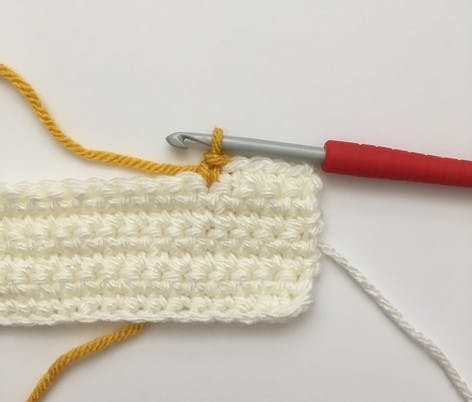
Start the previous stitch by inserting your hook and pulling the yarn through, so you have two loops on your hook. Now drop MC yarn (do not cut it, just leave the yarn where it is) and pull your CC yarn through both loops on your hook. Continue working double crochet stitches in CC until the next colour change. Repeat along the row, following the chart.
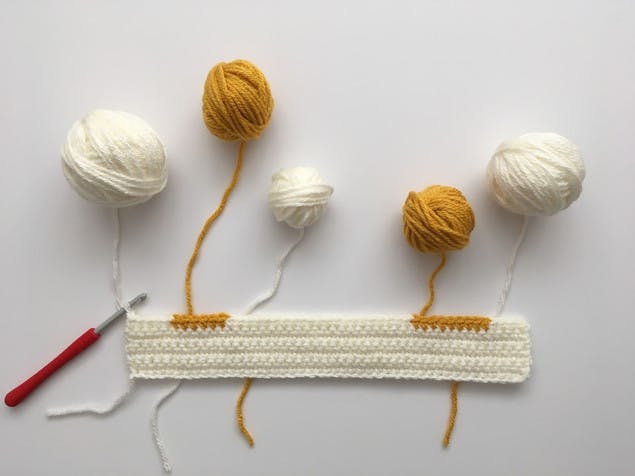
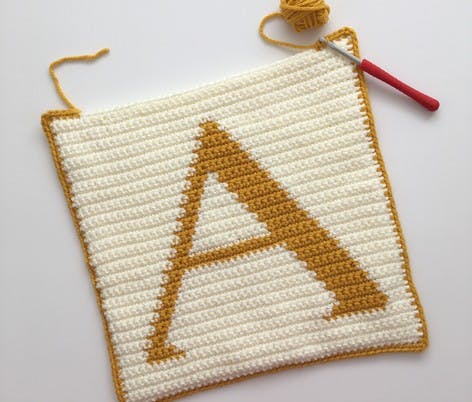
You can see that with Row 7 of the letter A chart complete, I have 5 balls of yarn in play. The more intricate the letter, the more balls you’ll have at particular points in the chart. Don’t be afraid of all these balls bobbing around! Just keep an eye on them, and sort out any tangles before they get too messy!
Changing colour along a row
Once you’ve got all of your mini balls of yarn attached, you can simply pick them up to change colour as you go along. There are two simple rules to remember when changing colours:
- If the new colour is stacked evenly on the colour change in the row below, just drop current yarn, pick up new yarn, and continue.
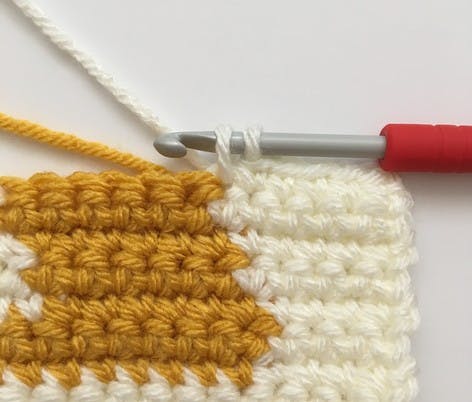
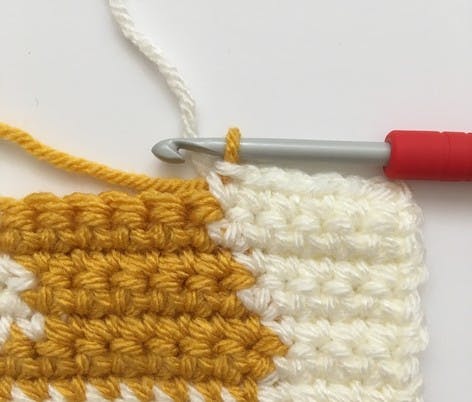
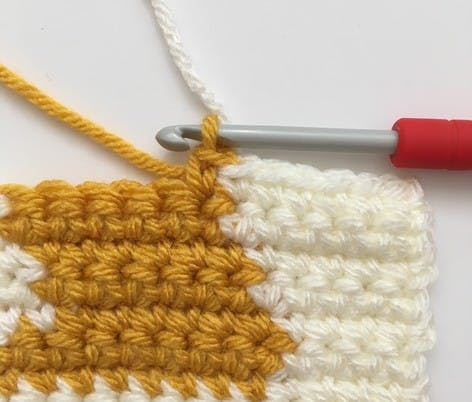
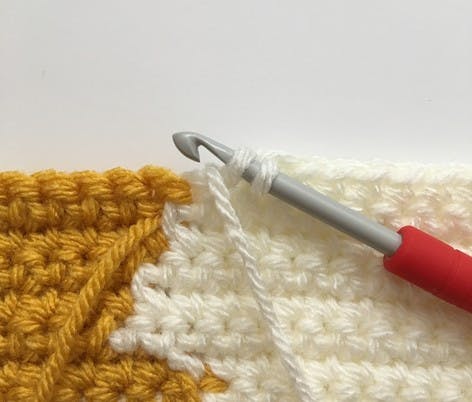
2. If the new colour is NOT stacked evenly on the colour change in the row below, you can work your next double crochet stitches over the stranded yarn. This ensures an even tension on the colour changes, and means the back of your work looks super neat!
Top tips for intarsia crochet
- When you change colours, don’t be tempted to tighten the first stitch in a new colour. Let it relax, or you may end up with uneven tension on your colour changes.
- Keep an eye on all your mini balls of yarn, if you see any tangles starting to form, keep everything loose and do not be tempted to pull anything tight! If it all gets too messy, just cut the yarn and add a new mini ball.
- Don’t forget that turning chain!
The pattern for Letter A
(for charts for the complete alphabet, you can buy the pattern)
For the front panel:
Row 1: With MC ch46, skip 1st ch and dc1 into remaining 45 ch stitches, ch1 and turn.
Row 2-6: Skip ch, dc45, ch1 and turn.
Row 7-43: Work rows 7-43 of the Letter A chart pictured above.
Row 44-48: Skip ch, dc45, ch1 and turn.
Row 49: Skip ch, dc45, fasten off. Sew in ends.
For the back panel:
Row 1: With MC ch46, skip 1st ch and dc1 into remaining 45 ch stitches, ch1 and turn.
Row 2-48: Skip ch, dc45, ch1 and turn.
Row 49: Skip ch, dc45, fasten off. Sew in ends.
To join together:
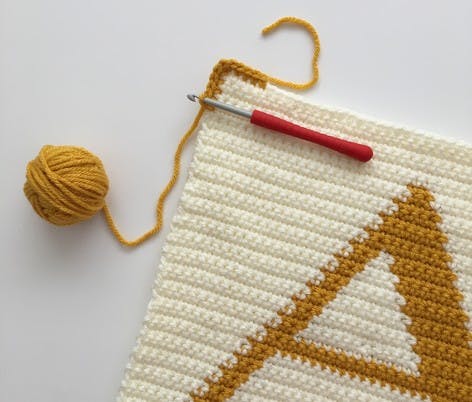
With front and back panels held together (right sides facing out), join CC yarn approximately 5 dc before the top left corner.
Work 1dc into each stitch, making sure to crochet through both the front and back panels, until you reach the corner. 3dc into the corner space, then continue working 1dc into each space down the side. (Be careful when matching up the sides, and make sure you work 1dc into each space that occurs at the end of each row).
Continue to work around the cushion, joining the two panels, remembering to work 3dc into each corner.
When you reach the final side, insert your cushion pad before completing to close with either an invisible join or a slip stitch join. Fasten off and sew in ends.
Alternative edging ideas
To make your cushion even more unique, you could try a different edging option…
· Use MC for a simple edging that matches the background colour and means your letter really pops out as a contrast.
· Add CC pom poms or tassels to each corner.
· Once you’ve joined the panels using dc, you could add a crab stitch border, reminiscent of traditional cushion piping.
Full alphabet charts are included in Chloe's fantastic pattern!
