How to make an adorable amigurumi bat
Published on 6 October 2020 1 min read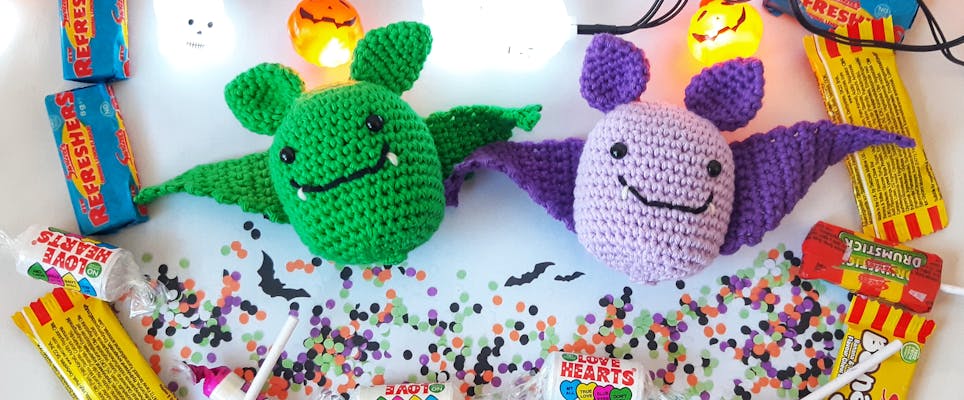
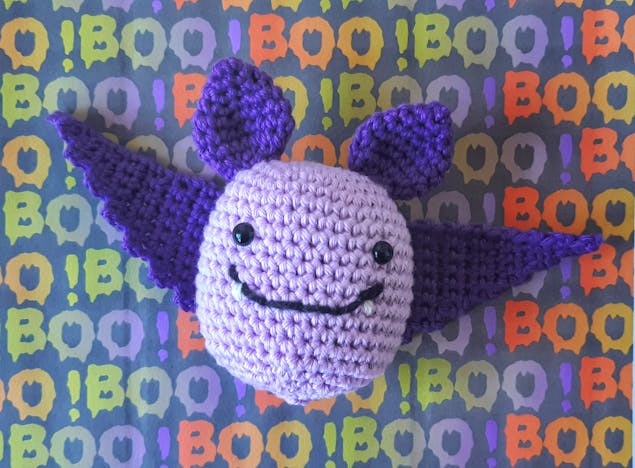
Get your hooks at the ready to make these boo-tiful amigurumi bats! Ideal for the spooky season, these little bats are the perfect mix of creepy and cute!

Hello lovelies, my name is Sarah AKA CroCreate. I crochet all manner of things from gloves to toys, wall banners to afghans and put a whole lot of love into everything I make.
I live in the Midlands with my not so conventional family and take inspiration from colour and the extraordinary (I don’t do normal!) I have been crocheting for the last 10 years and have delved into the world of pattern writing to bring my fabulous creations onto the page so that you can recreate your own versions at home.
In this tutorial I show you how to make an adorable amigurumi bat!
Abbreviations
Use our crochet conversion table to translate UK crochet terminology into US terms.
- DC – Double crochet
- FO – Fasten off
- MR – Magic ring
- Ch – Chain
- * to * - repeat instructions between the two stars the directed number of times
- Inc – Increase
- Dec – decrease
- St - Stitch
Materials
- Paintbox Yarns Cotton DK
- KnitPro Waves Crochet Hook
- Set of 2 Clover Jumbo Darning Needles with Case
- Trimits Toy Stuffing - 200g
- Trimits Toy Eyes Solid Black
- Fiskars RazorEdge Softgrip Scissors 13 cm
- DMC Stranded Cotton
How to make the body
1
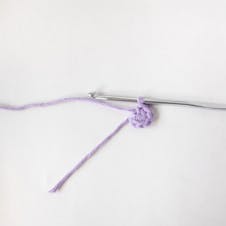
Round 1 . 6 Dc in MR (6)
2
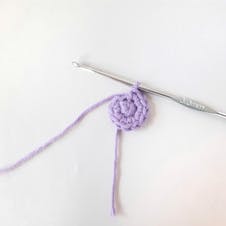
Round 2. Inc in each stitch around (12)
3
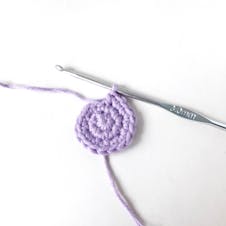
Round 3. *Dc, Inc* repeat around (18)
4
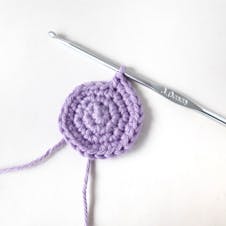
Round 4. *Dc, Dc, Inc* repeat around (24)
5
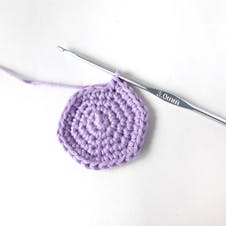
Round 5. *Dc in next 3, Inc* repeat around (30)
6
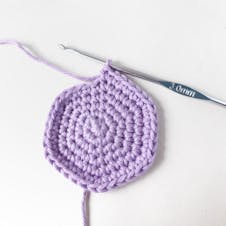
Round 6. *Dc in next 4, Inc* repeat around (36)
7
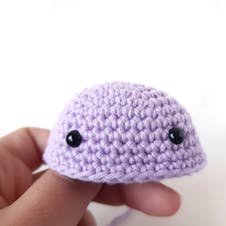
Round 7-12. Dc in each St around (36)
Place safety eyes at this point between rows 9 and 10 approximately 7 stitches apart (see images for a guide).
8
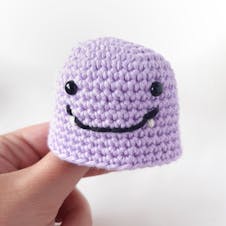
Rounds 13-18. Dc in each stitch around (36)
Sew a mouth and small fangs onto the body at this point. The mouth is positioned under the eyes across the stretch of 7 stitches and small fangs to be added at each corner of the mouth, use images for guidance.
9
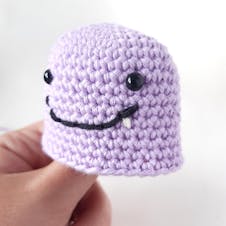
Round 19. *Dc in next 4, Dec* Repeat around (30)
Round 20. *Dc in next 3, Dec* Repeat around (24)
Begin to stuff the body here and continue stuffing as you go.
Round 21. *Dc in next 2, Dec* Repeat around (18)
10
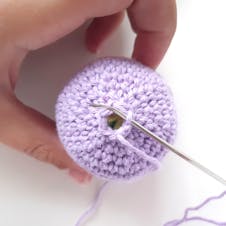
Round 21. *Dc in next 2, Dec* Repeat around (18)
Round 22. *Dc, Dec* Repeat around (12)
Round 23. Dec around (6) FO and leave a long tail for sewing.
11
Sew the hole at the bottom of the body by inserting the tail end through the front loop only of the last 6 stitches, this will allow the seam to close invisibly giving a neat finish.
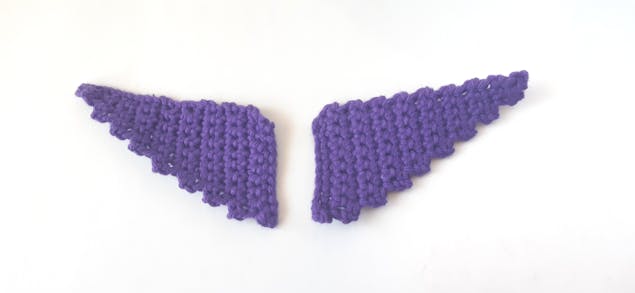
Make two wings!
1
Row 1. Ch 11, Dc in 2nd St from the hook and in each St along, Ch 1 and turn (10)
2
Row 2. Dc 9, Ch 1 and turn
Row 3. Dc 9, Ch 1 and turn
Row 4. Dc 8, Ch 1 and turn
Row 5. Dc 8, Ch 1 and turn
3
Row 6. Dc 7, Ch 1 and turn
Row 7. Dc 7, Ch 1 and turn
Row 8. Dc 6, Ch 1 and turn
Row 9. Dc 6, Ch 1 and turn
4
Row 10. Dc 5, Ch 1 and turn
Row 11. Dc 5, Ch 1 and turn
Row 12. Dc 4, Ch 1 and turn
Row 13. Dc 4, Ch 1 and turn
5
Row 18. Dc 1, Ch 1 nd FO
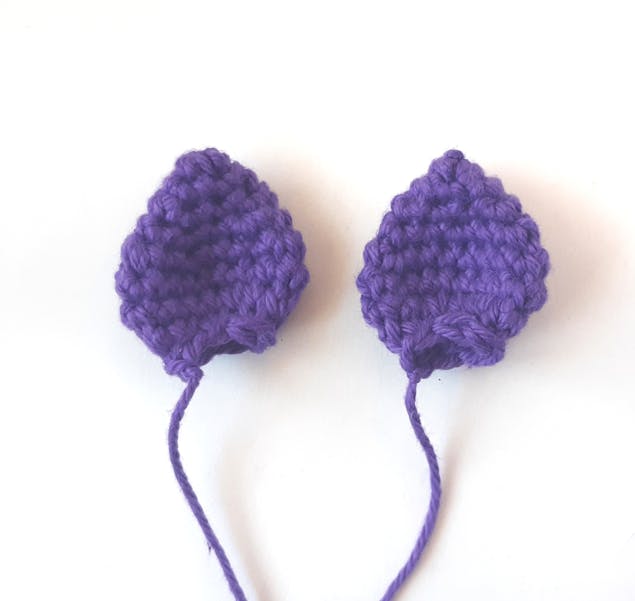
Make two ears!
1
Round 1. 3Dc in MR
Round 2. Inc in each St (6)
Round 3. *Dc, Inc* Around (9)
2
Round 4. *Dc, Dc, Inc* around (12)
Round 5. *Dc, Inc* around (18)
Rounds 6 and 7. Dc around (18)
3
Round 8. *Dc, Dec* around (12)
Round 9. Dec around, FO (6)
4
Attach ears to the top of the head between rounds 2 and 5 on the left and right side of the head.
Your super cute Halloween bat is now complete! Use as an alternative to sweet treats, a decoration on a funky Halloween tree or a cute spooky gift for a friend or family member.
