How to latch hook: your complete beginner’s guide
Published on 26 October 2020 3 min readFancy adding another craft to your repertoire? Say hello to latch hook! Latch hook is super easy and fun to learn, and the results are truly wonderful! Follow our how to latch hook for beginners guide and we’ll show you how to master this simple skill. You’ll be weaving small rugs, wall hangings, and cushions in no time at all! You can see just how easy it is in Vervaco latch hooks video tutorial... latch hook fun here we come!
What is latch hook?
Latch hook involves pulling pre-cut pieces of yarn through a canvas using a special hook called a latch hook. Each yarn that is pulled through creates two ‘tufts’, and when you repeat the process you create a beautiful pile, a bit like a shaggy rug.
What tools do you need?
Latch hook tends to come in a kit, with all the tools and materials you need to create lovely latch hook designs! So, what tools will you find in your latch hook kit?
Latch hook tool
The first thing you need to start latch hook: a latch hook tool! The tool has a hook on the end with a small hinged piece below it. When you latch hook, the hinged piece will open and close as you move in and out of the canvas, helping to keep the yarn from slipping out of the hook.

Milward Standard Latch Hook Tool By Milward
Canvas
The canvas is the base of your latch hook design. The canvas has evenly spaced holes in which you can push the yarn through and pull it back up to create latch hooks pile effect. When you buy a kit, the canvas will often come with a printed pattern on so you know exactly where to put which colour – a bit like painting by numbers! You can also buy latch hook charts.
Yarn
Unlike the balls of yarn you use for many other yarn crafts; latch hook yarns come cut into lengths and separated by colour. Pre-cut yarn for latch hook projects are usually supplied in 2 1/2 inch lengths.
If you want to buy your own yarn for latch hooking to experiment with different yarn lengths and colours, a worsted to bulky weight yarn works best! Try Paintbox Yarns Wool Worsted or Paintbox Yarns Wool Mix Chunky for great results!
What can you make with latch hooking?
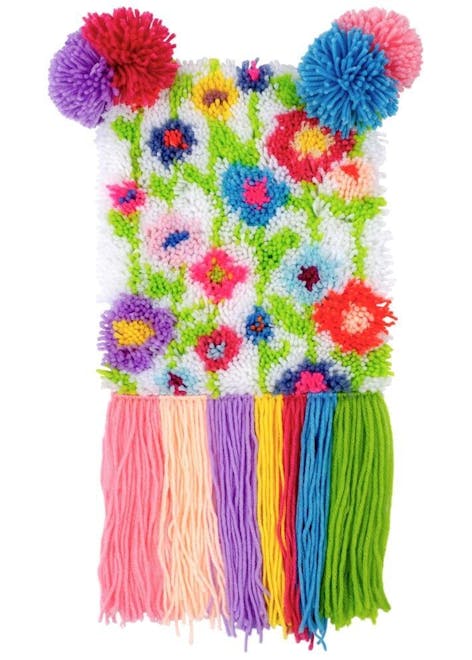
Latch hook rugs, wall hangings, cushion covers - there are so many ways to use the latch hooking technique! The textured look makes it great for funky homewares - so they're not only fun to make, but help you create an awesome abode too.
How to latch hook?
You've got your latch hook kit, now time to make it! Follow this step-by-step for latch hooking along with the video. Once you've mastered how to loop your yarn and pull it through the canvas, you'll have this weaving technique down in no time!
1
Lay your kit out. Your kit will usually contain your cut yarn, latch hook, canvas and instructions (these might be printed on the canvas). Familiarise yourself with the colours and sort them into groups if you need to!
2
Loop your yarn around the hook. Loop / fold a piece of cut yarn around the crook of the hook. Pinch the piece between your fingers to keep it in place.
Pro Tip
Start at the bottom left of the canvas, or the bottom right if you're left-handed.
3
Pass the hook through the canvas mesh in the bottom of the first square, with the latch passing under the canvas back to the top again. The latch should be above the line your canvas makes across your tool, the thread loop should sit below the line.
4
Pull your hook back through the same square of your canvas. The movement of bringing the latch through will catch the yarn, threading it over on itself and weaving it to the canvas.
5
Continue across the row, paying close attention to the colours. Continue until your design is complete!
Voila! Your lovely latch hook is finished. Warning: once you start, latch hooking is highly addictive.


