Cable cast on for knitting
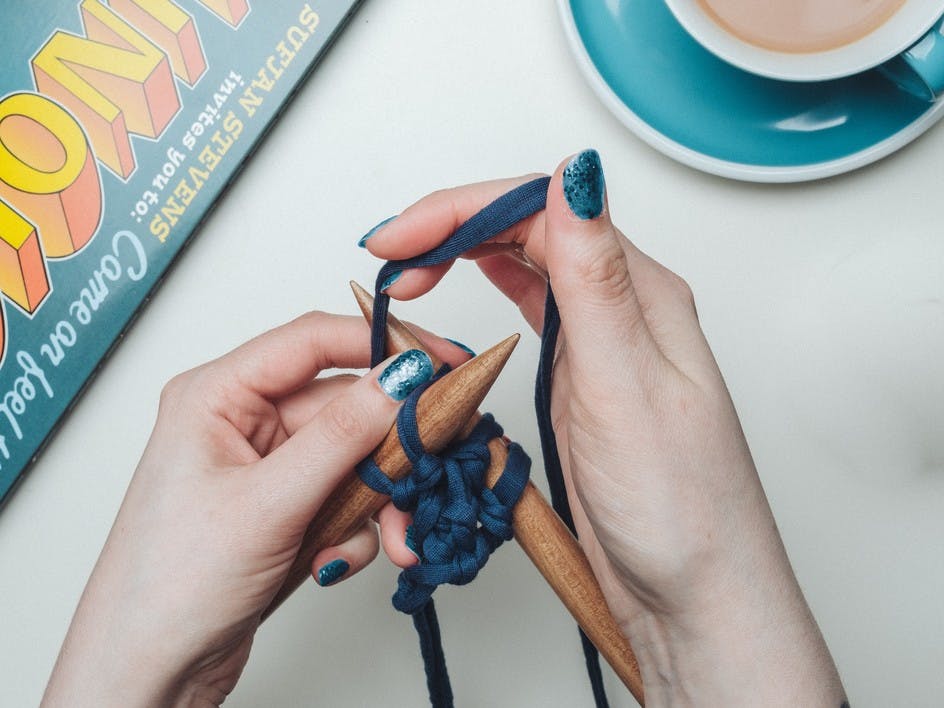
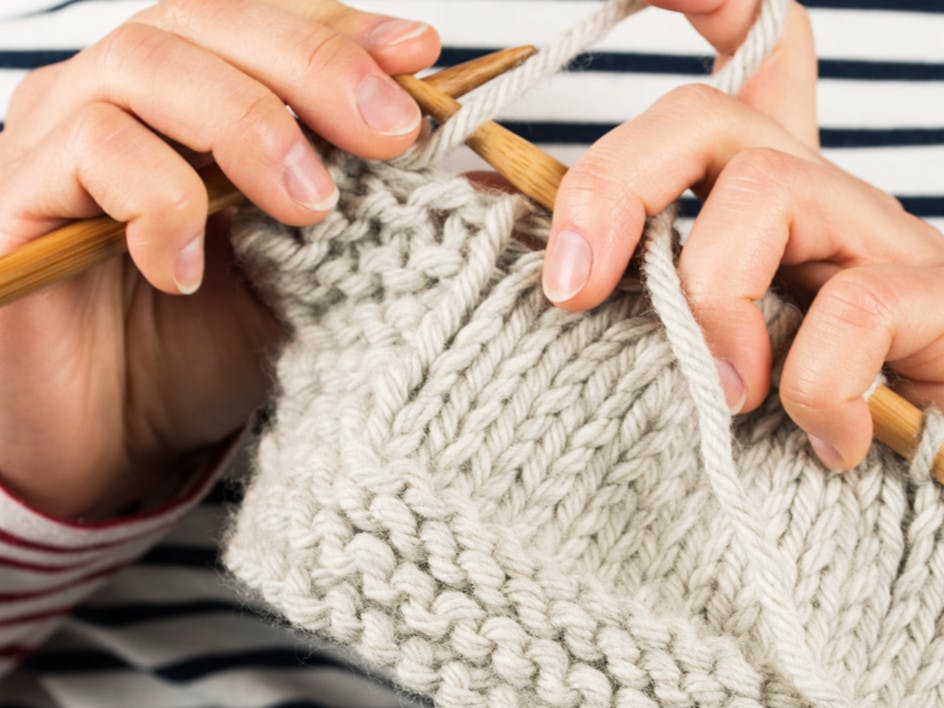
Published on 3 August 2021 1 min readThe cable cast on is the perfect casting on method for beginners! Not only is it super easy, it produces a lovely straight edge for clean visible hems. The cable cast on is fab for beginner knitting projects such as beanies and hats, classic blankets and simple scarves - basically any project except ones that need a stretchy edge. Follow along with our simple steps to learn how to knit the cable cast on!
The cable cast on method is simple! Knit the stitches onto your knitting needle by inserting your needle between your stitches to produce the next stitch.
To practice, all you’ll need is a pair of knitting needles and some yarn of your choice. We recommend using a nice chunky yarn so you can clearly see your stitches and track your progress! Ready to have a go?
How to cable cast on
1
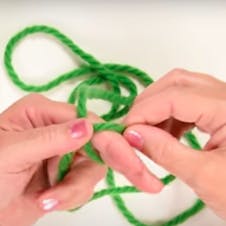
Make a slip knot. Wind the yarn around your fingers and pull the tail through to make a loop. Gently tug the tail to secure your knot - but not too tight! You want your loop to be adjustable.
2
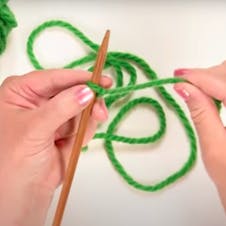
Insert your needle through the loop and give the tail a little tug to secure. Hold your needle in your left hand.
3
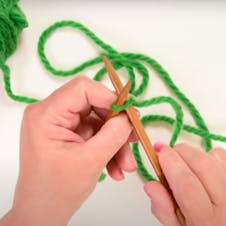
Insert your right needle knitwise into the loop so that the right-hand knitting needle is behind the left-hand needle.
4
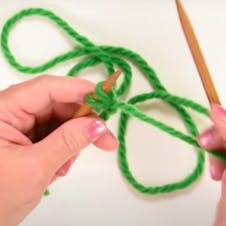
Wrap the yarn around the needle, then bring the needle underneath. Pull the loop upwards and place onto the left-hand needle.
5
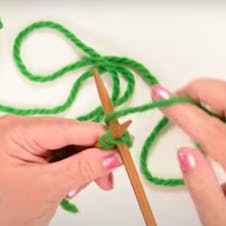
Now, insert the needle between the two stitches you’ve created and bring the yarn around the needle.
6
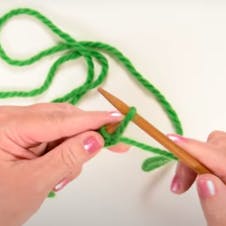
Scoop the yarn back through the gap and bring the new loop on your left-hand needle.
7
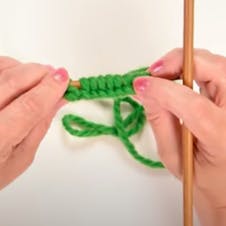
Repeat steps 5 and 6 until you have cast on the desired number of stitches. Your pattern will usually tell you how many stitches you’ll need to cast on.
And that's it! You did it.
