How to make a Valentine's Day card with your Cricut Joy
Published on 1 February 2022 By Emma Jewell 1 min readThis Valentine's Day card tutorial is sure to give you the heart eyes! This super fun and quick tutorial shows you how to make a Valentine's Day card with a Cricut Machine. Red cardstock at the ready, let's get making!


Materials
- Cricut Joy
- Cricut Joy card mat
- Cricut Joy insert cards
- Cricut Joy silver pen
- Holographic cardstock
- Glue or sticky foam pads
- Cricut Design Space app installed on a laptop, PC, Tablet or mobile device
How to make your card
1
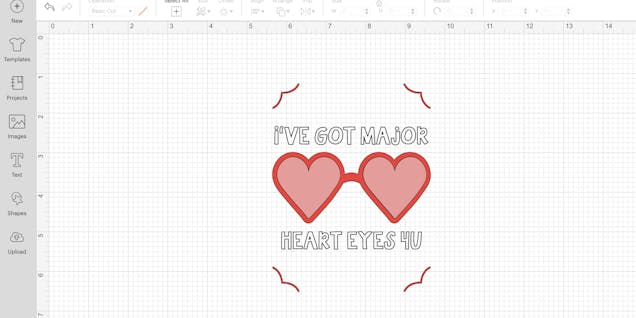
First open up the project in Cricut Design Space.
2
Next set up, slide the insert card onto the mat and make sure the front of the card is well stuck down to the mat.

3
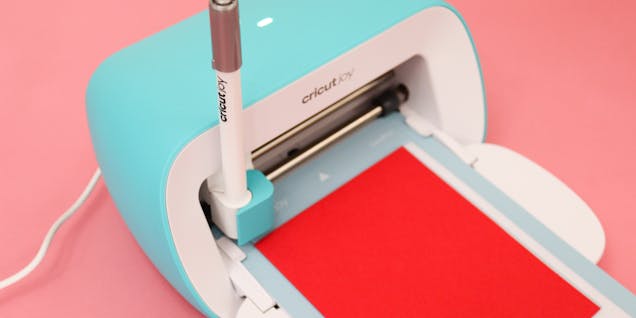
Remove the blade from your Cricut Joy and insert the pen into the tool port, then close the clamp.
4
Load the mat into the machine, choose insert card cardstock as your material setting then press go. The machine will use the pen to draw the design onto the front of the card.
5
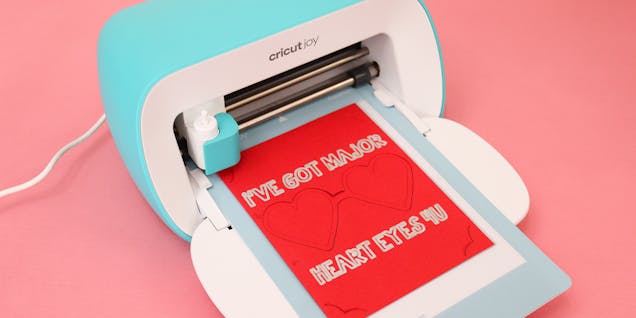
Next switch the pen for the blade, then click go on your device so that the machine can start cutting.
6
Once the machine has finished cutting, remove the mat from the machine. Gently remove the card from the mat and add the insert card to all four corners of the card.

7
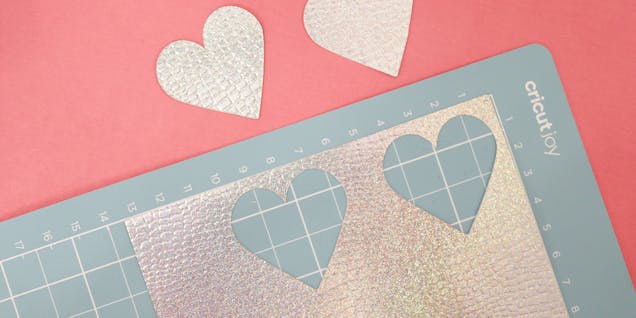
Next lay a sheet of holographic card onto the mat, and into the machine to cut out two hearts.
8
Remove the hearts from the mat, then use a sticky foam pad or glue to add the holographic hearts onto the card to create the lenses for the sunglasses. All that’s left to do is to write a note inside the card and send it to a loved one!


