Crochet a sparkly stars hot water bottle cover
Published on 29 October 2019 1 min read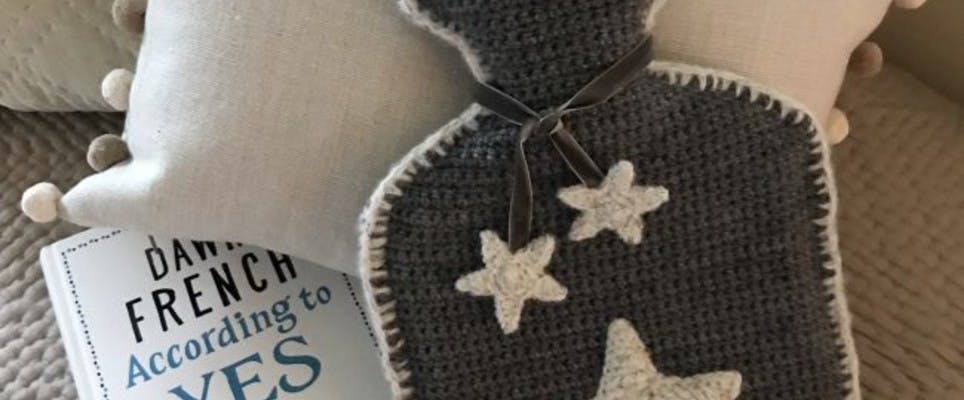
There’s nothing quite as cosy as snuggling up with a hot water bottle, a hot chocolate and getting stuck into a new crafty project. Give your hot water bottle a cute cover with this fabulous free crochet pattern from the ever-talented Kate Eastwood.
Switch up the colours to suit your style and you’ll be dreaming of snuggling into this delightful starry hot water bottle cover from the minute you start making it. Hook at the ready!
The cover is worked to fit a two litre hot water bottle, measuring around 20x32cm, with a straight edge along the bottom of the bottle.
Materials
- 1x ball worsted weight yarn in colour 1
- 1x ball worsted weight yarn in colour 2
- 4mm hook (for the cover)
- 3mm hook (for the stars)
- Small amount of coordinating ribbon
How to make the lower back piece
1
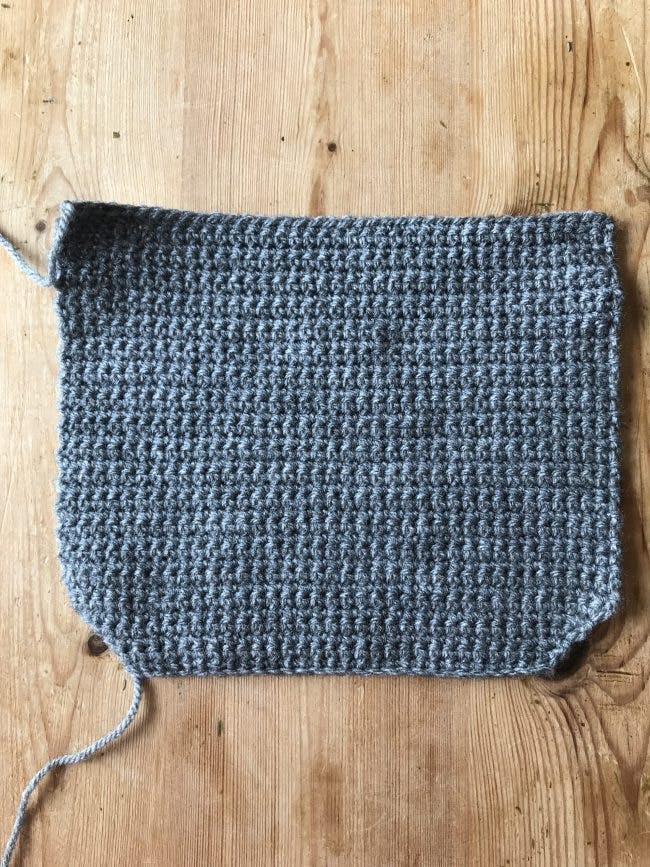
Row 1: Chain 31 and starting in the second chain from the hook work a row of DC. 30 sts.
At the end of the row CH1 and turn.
2
Row 2: Work a row of DC. 30 sts. At the end of the row CH1 and turn.
3
Row 3: We are now going to start making the curved edge to the cover to fit the shape of the hot water bottle. To do this work a row of DC, working 2 DC in to the first and last stitch. 32 sts.
4
Rows 4 to 6: As row 3, remembering to CH 1 and turn at the end of each row. 38 sts. ***
Now that your shaping is complete, work a further 30 rows of DC, remembering to CH 1 and turn at the end of each row. Finish off and sew in ends.
How to make the upper back piece
1
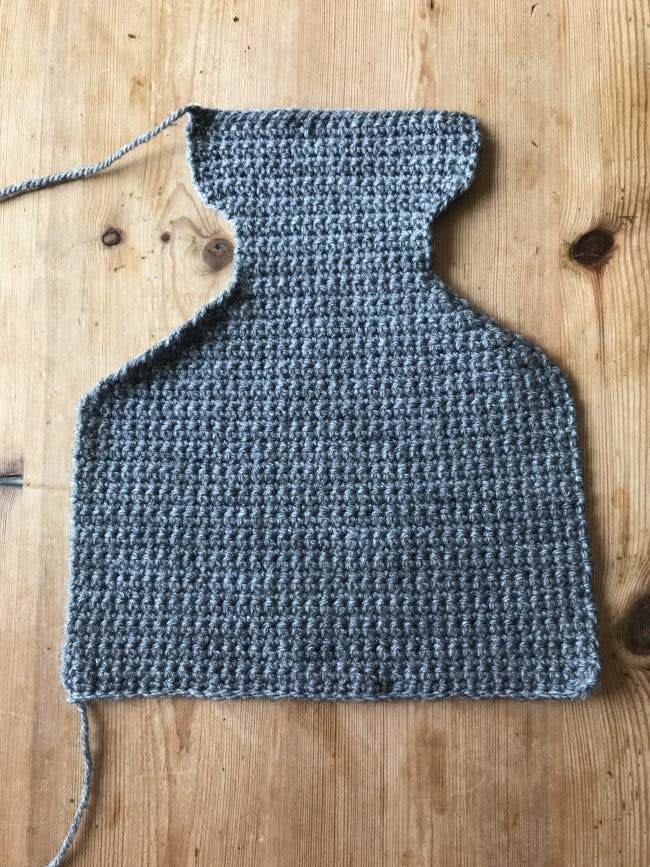
Row 1: Chain 39 and starting in the second chain from the hook, work a row of DC. 38 sts.
2
Rows 2 to 26: Work a further 25 rows of DC , remembering to CH 1 and turn at the end of each row. We now need to begin the shaping for the neck of the hot water bottle.
3
Row 27: ****Work a row of DC, and decrease by working the first 2 DC together and the last two DC together. 36 sts. Chain 1 and turn.
4
Row 28 to 37: Repeat Row 27. 16 sts.
5
Row 38 to 42: Work 5 straight rows of DC, remebering to CH 1 and turn at the end of each row. 16 sts. We are now going to increase again to widen the neck.
6
Row 43: Work 2 DC in to the first and last stitch of this row. 18 sts. CH 1 and turn.
7
Row 44 to 46: Repeat Row 43 ,remembering to CH 1 and turn at the end of every row. You should now have 24 sts.
8
Row 47 to 53: DC 24, remembering to CH 1 and turn at the end of each row. 24 sts. Finish off and sew in the ends.
How to make the front piece
1
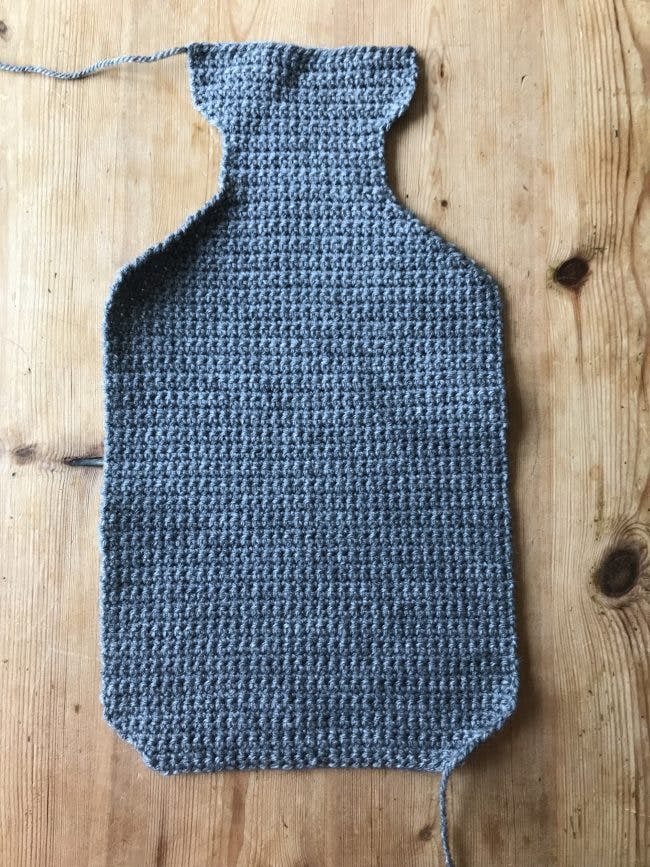
Work as the lower back piece to ***
2
Work 48 rows of DC , 38sts. Remember to CH 1 and turn at the end of each row.
3
You are now going to begin the shaping of the neck , as from ****
4
Finish off and sew in the ends.
How to join the back pieces together
1
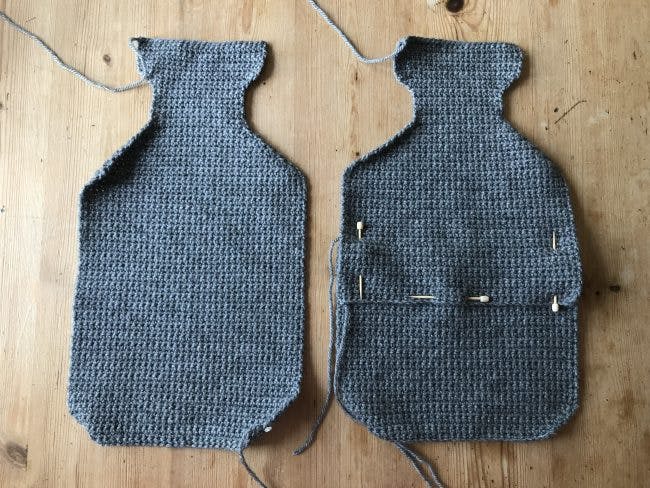
Start by pinning your pieces together, aligning the upper back and lower back pieces so that it is the same size as the front piece.
2
You are going to be joining the pieces together by working DC all the way around the edge, starting from the neck and working all the way around. Finish off and sew in the ends.
3
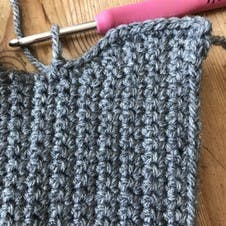
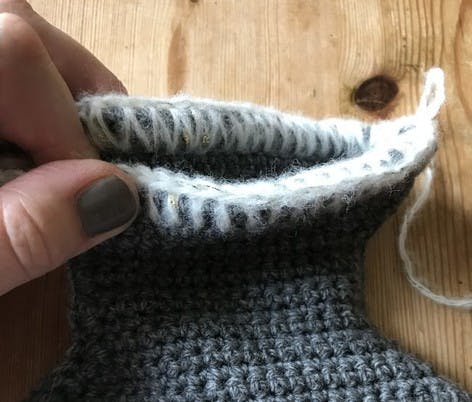
To create a good firm opening at the top fold down the last two rounds and pin in place.
4

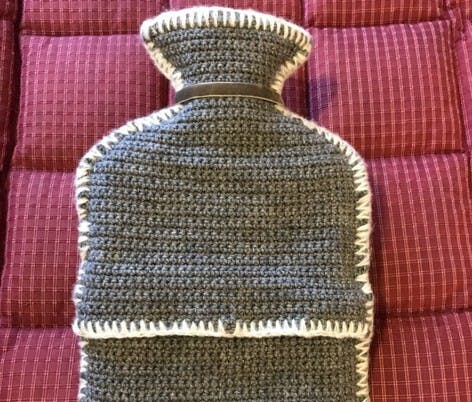
You are now going to work the decorative edge all the way around the cover. Using a 3mm hook and colour 2 yarn, work a deep DC all the way around the cover. When working around the top of the neck ensure the couple of rounds that you pinned down are secured into place.
5
Once you have worked colour 2 yarn all the way around the edge, work a row along the edge of the fold over piece on the back of the cover.
How to make the large star
1
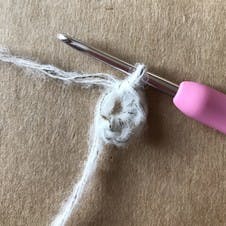
Round 1: Make a Magic Ring and work 5 DC in to the ring.
2
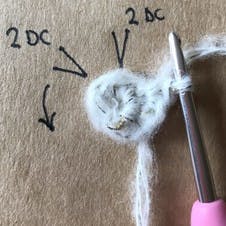
Round 2: Work 2 DC in to each stitch from Round 1, 10 sts.
3
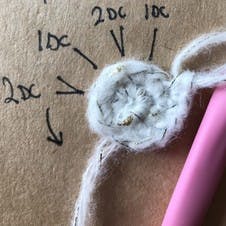
Round 3: Work 1 DC in to the first stitch, followed by 2 DC in to the next stitch. Repeat all the way around, 15 sts.
4
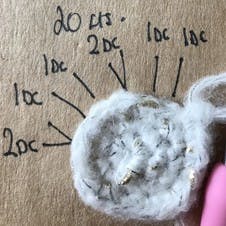
Round 4: Work 1 DC in to each of the first two stitches, followed by 2 DC in to the next stitch. Repeat all the way around, 20 sts.
5
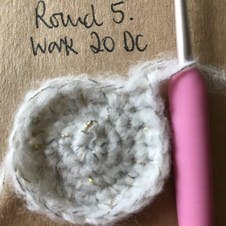
Round 5: DC 20.
6
Round 6: *Chain 8 and starting in the second chain from the hook work back down the chain with the following stitch pattern: SlSt, DC, HTR, TR, DTR, TTR, TTR. Skip 4 stitches, rejoin with a Sl St and repeat from *. Work all the way around the central circle until you have 5 points. Finish off and sew in the ends.
7
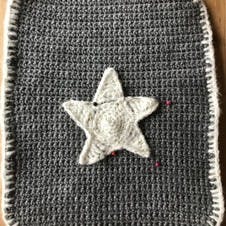
Pin the large star to the centre front of the cover and stitch securely in place with a needle and thread.
How to make the small stars
1
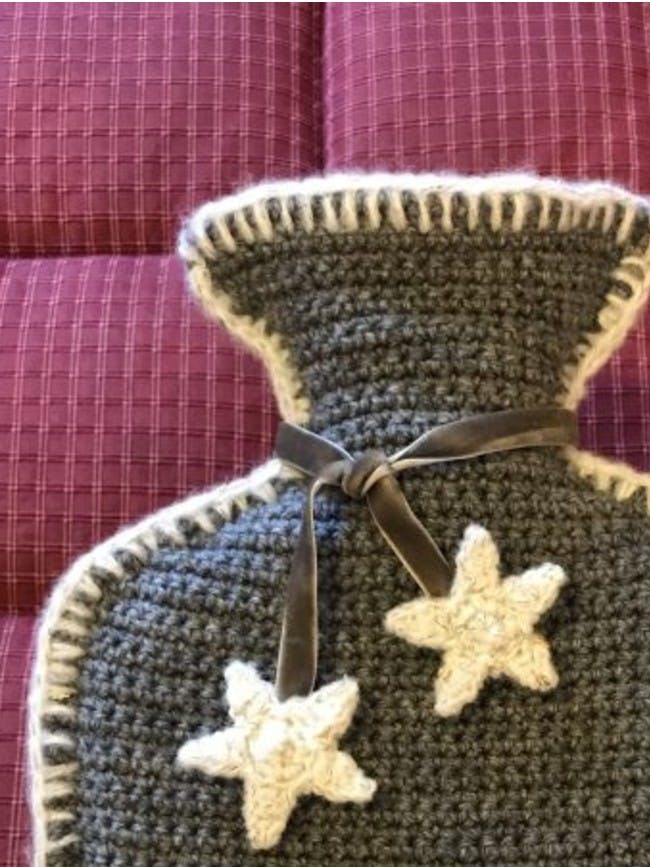
To finish the cover off, tie a piece of ribbon around the neck and stitch two stars on to the ends of the ribbon. Make 4 small stars in total and place one either side of the ribbon to encase it.
2
Round 1: Make a Magic Ring and work 5 DC in to the ring.
3
Round 2: Work 2 DC in to each stitch from Round 1, 10 sts.
4
Round 3: *Chain 5 and starting in the second chain from the hook work back down the chain with the following stitch pattern: SlSt, DC, HTR, TR. Sl St in to the next stitch and repeat from *. Work all the way around the central circle until you have 5 points. Finish off and sew in the ends.
Once your cover is complete all that’s needed is a good book, a cup of tea and you’re good to sneak off for a cosy evening in bed!

