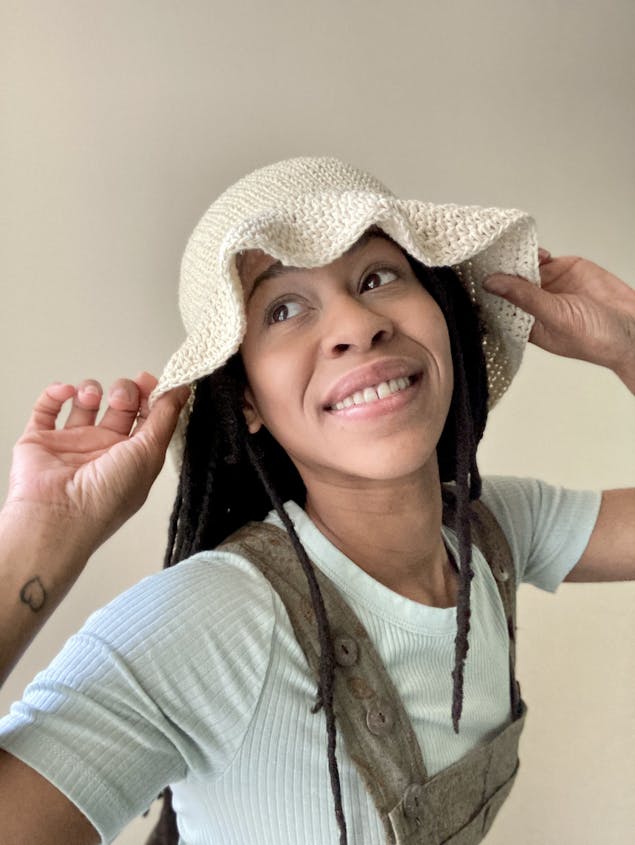
Crochet bucket hat tutorial
Published on 14 June 2021 2 min readThe bucket hat is back! And what better way to stay cool and on-trend this summer? Learn how to make your very own Sunnyside Crochet Bucket Hat with this brilliant free crochet tutorial by designer and fibre artist Leah Gordon from I Play with Fiber. Whip up in the yummiest shades of planet friendly Paintbox Recycled Cotton. Leah explains the inspiration behind the project!
Hi! I’m Leah Gordon and I play with fibre, literally! I’ve been a designing fibre artist since 2018. I love obsessing over “new-to- me” yarn and finding ways to create fun and wearable projects with them.
Today’s project is a beginner friendly and very trendy bucket hat! Before we get started, I want to note that this pattern is adapted from its raffia sister. If you’ve already made a raffia Sunnyside Bucket Hat this free project will show how to make it in recycled cotton!

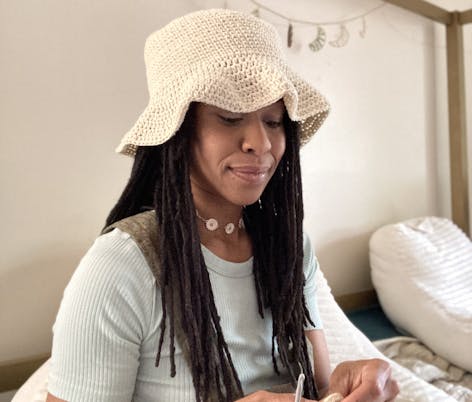
Sunnyside Bucket Hat in Paintbox Yarn Recycled Cotton is a total dream! Recycled cotton is easy to acquire and on average costs less than raffia! Let’s not forget it’s a sustainable alternative to other man-made fibres.
Easy to crochet and maintain, recycled cotton has quickly become my new favourite fibre for making all the Sunnysides! Let’s get crocheting, shall we?
Materials
- 4.5mm crochet hook
- Pony Easy Grip Crochet Hook
- 2 skeins Paintbox Yarn Recycled Cotton
- Paintbox Yarns Recycled Cotton Worsted
- Klasse Stork Embroidery Scissors
- Stitch marker(s) [optional]
- Knitter's Pride Locking Stitch Markers
- Tapestry needles
- Clover Jumbo Tapestry Needle 2ct
Gauge (4x4”/10x10cm)
20sts x 10r Half Double Crochet
20sts x 20r Waistcoat Stitch
Final Size
Crown: 6”x4”
Brim: 3.5”
Abbreviations
This pattern uses US terms.
ch - chain
HDC - Half Double Crochet
Rep - Repeat
sk - skip
Sl st - Slip stitch
Slst2tog - Slip stitch 2 together
st(s) - stitch(es)
WC - Waistcoat Stitch
() - Indicates remaining # of stitches
[] - Indicate a repeat
Starting from a magic ring, this pattern is worked in a continuous spiral from crown to brim. Stitch markers may be helpful to track the first stitch of each round. Do not slip st to join rounds. Do not chain 1 to start new rounds. You will not turn your work.
How to crochet a bucket hat step-by-step
1
Round 1: 12 HDC. (12 sts)
Round 2: 2 HDC in each next st around. (24 sts)
Round 3: [HDC, 2 HDC in next st] around. (36 sts)
Round 4: [HDC 2, 2 HDC in next st] around. (48 sts)
Round 5: [HDC 3, 2 HDC in next st] around. (60sts)
2
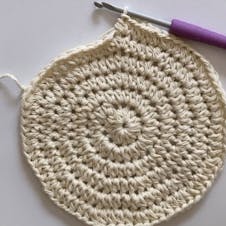
Round 6: [HDC 4, 2 HDC in next st] around. (72 sts)
Round 7: [HDC 5, 2 HDC in next st] around. (84 sts)
3
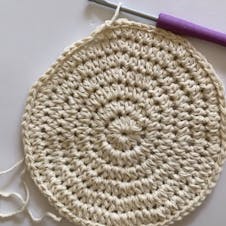
Round 8: Sl st around.
4
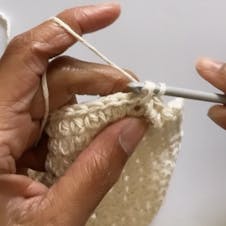
Round 9: SC around. Work around sl sts from round 8 into HDCs from around 7.
Rounds 10-12: WC around.
Round 13: [WC 6, 2 WC in next st] around. (96 sts)
5
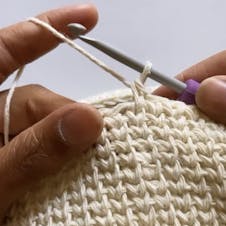
Rounds 14-27: WC around.
(Brim)
Round 28: Rep Round 8.
Round 29: [HDC 6, 2 HDC in next st] 13 times, HDC next 4 sts. Work around sl sts from previous round into sts from Round 27. (109 sts)
6
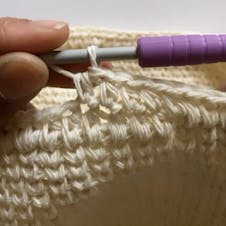
Round 30: HDC around.
Round 31: [HDC 4, 2 HDC in next st, 2 HDC in next st] 18 times, HDC last st. (145 sts)
Round 32: Rep Round 30.
Round 33: [HDC 6, 2 HDC in next st, 2 HDC in next st] 18 times, HDC last st. (181 sts)
Round 34: Rep Round 30.
Round 35: [HDC 19, 2 HDC in next st] 7 times, HDC in last 5 (188sts.)
Round 36: Rep Round 30.
7
FINISHING
Sk next st, slst2tog, break yarn. Weave ends, wear, and enjoy!
