Learn about the different yarn balls and how to wind a ball of yarn
Published on 9 June 2021 By Sarah Jones 2 min readA ball of yarn can come in all different shapes and sizes. It can arrive simply wound in a ball, or maybe you chose a skein where you will need to use a yarn winder to create a ball to knit or crochet with. With our handy guide you’ll know your stash better than ever! You’ll be able to tell a cake from a donut ball and know whether it’s a hank or a skein.
A ball of yarn
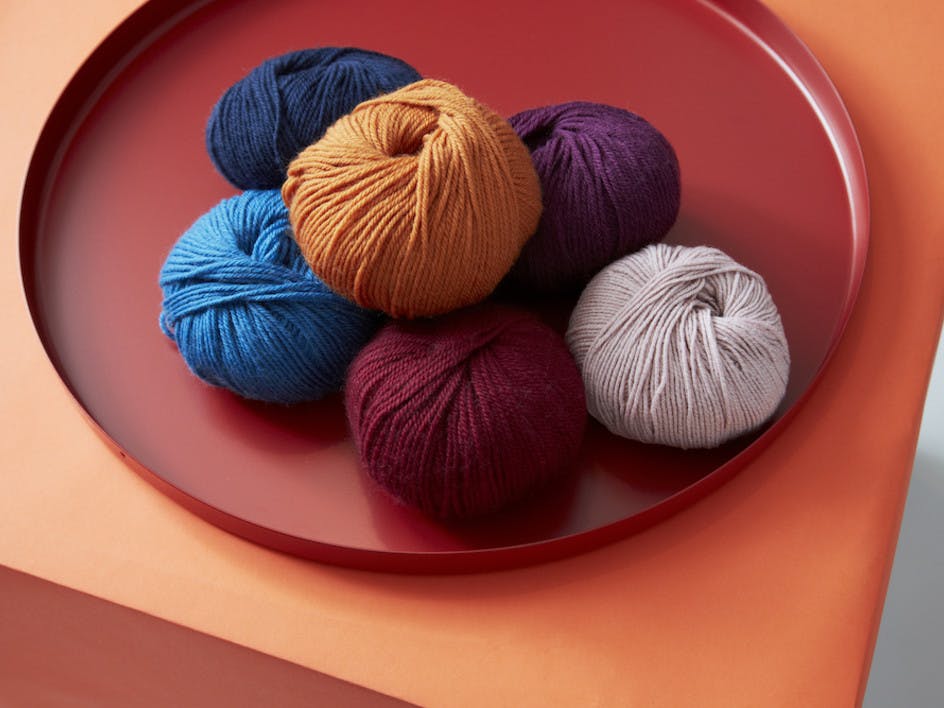
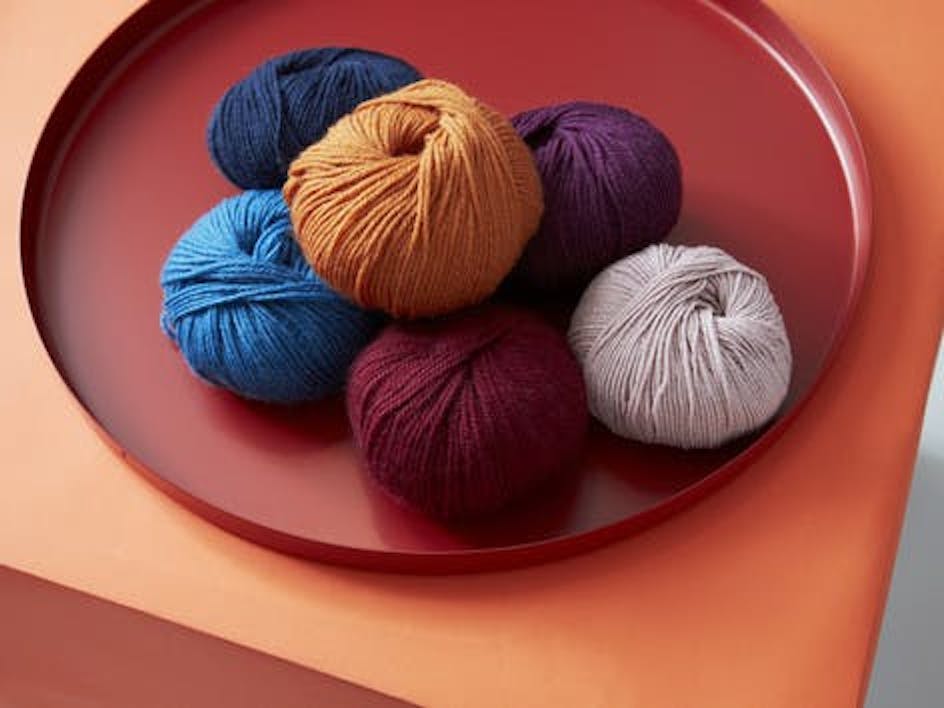
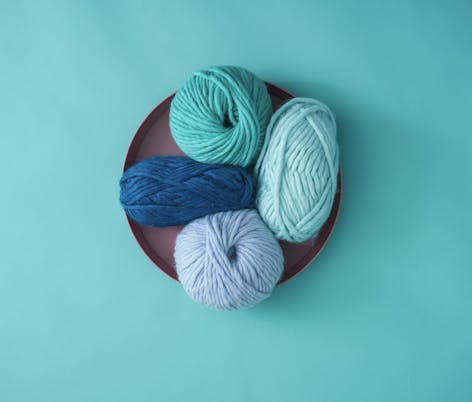
In its simplest form, and the most popular choice from our favourite brands, is the trusty ball of yarn. If you’re looking to skip the winding and getting straight into making, then a ball is the way to go. Oval balls of yarn are referred to as skeins in the US, but yarn can be balled into ovals, donut shapes, cakes and mini balls.

A yarn cake
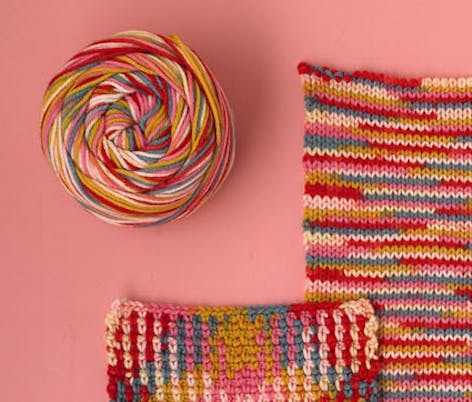
For fans of colourful makes, Caron Cakes and Paintbox Chunky Pots you might already recognise this one! A yarn cake is the name given to a ball of yarn wound into a wide but shallow flat circle, to show off all the multicoloured goodness hidden in the layers of yarn! This is the shape your yarn will create when you wind your skein with a yarn ball winder.
Hank or skein?
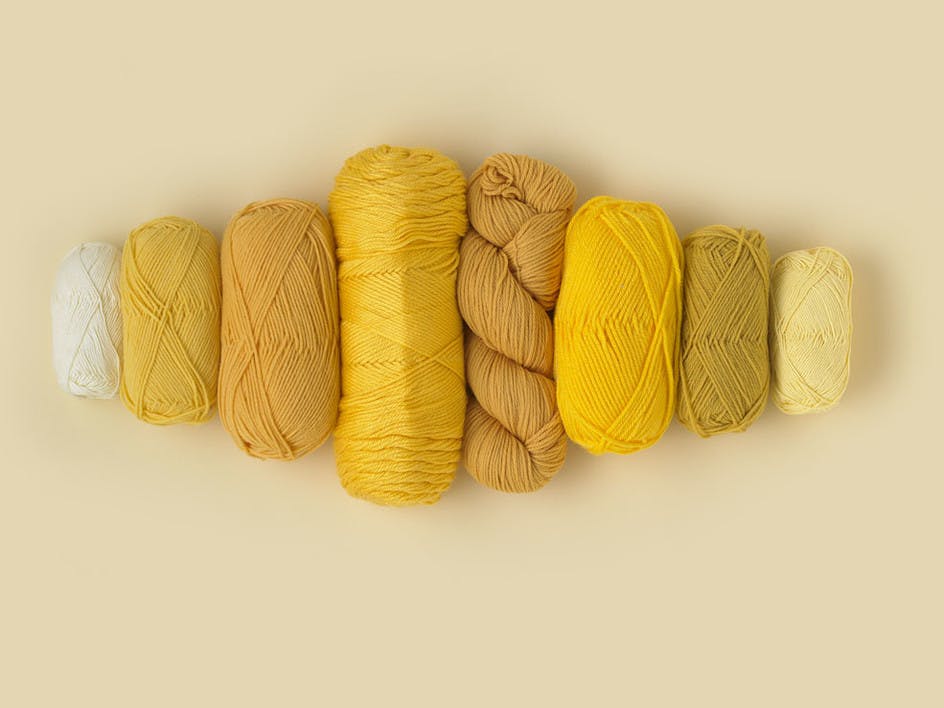
The age-old question - is it a hank or a skein? We say both! For our US friends and other territories, hank is used for what the Brits call a skein. This is the term for yarn that is wrapped in a continuous loop with ties holding it together.
Many artisan and luxury yarns come in skeins to preserve the integrity of the loft (simply, this means the twist and fibre of the yarn!) and make it easy to handle and package. They might choose to create the yarn as a twisted skein to help showcase the gorgeous colourways or, a folded skein might be used for chunkier yarns to show off all its character!
How to make a yarn ball with a yarn winder
A yarn winder is a great piece of equipment to turn your skeins into yarn cakes - it’s definitely worth having one in your stash! You’ll need a yarn swift to go with it, to keep your yarn tension consistent while you wind the ball - it looks like a wooden umbrella and it holds your yarn as you wind, rotating as you work.
Materials
- Yarn winder
- Yarn swift
- Skein of yarn
- Scissors
1
Use the table clamp to secure the winder to your surface. If you’re using a yarn swift, make sure it’s secured to the table also.
2
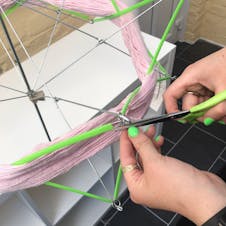
Unfurl your skein and wrap around your yarn swift, making sure the swift is about the size of your skein. Not too loose that the skein slides off or too tight that it won’t be able to spin. Cut the ties holding your skein together.
3
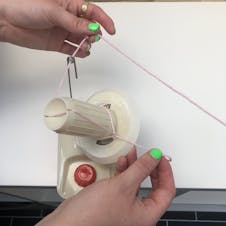
Thread the end of the skein through the feeder (if your winder has one), wrap the yarn around and tie a slip knot to secure it in place. Most winders have a notch that you can use to secure the starting yarn in place.
4
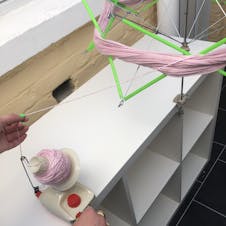
With your hand operated ball winder, start winding the yarn by turning the handle. Be careful to not turn it too fast!
5
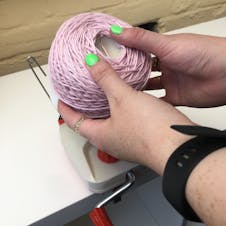
When you’re at the end of your skein, pull the yarn cake off the yarn winder firmly, to make sure it stays intact. And, just like that, you’re done!
