Everything you need to know about how to dye yarn
Published on 19 December 2018 By Meg 5 min read
Love yarn? Love colour? Of course you do! Get ready for the ultimate guide to dyeing yarn. If you’re anything like the LoveKnitting crew, you love DIY. And when we’re talking DIY, we mean Dye it Yourself of course. What could be more fun than switching your spaghetti for yarn and your ingredients for natural dye colourings, to WIP-up your very own brilliant shades of yarn!
But wait, do you feel like a fish out of water? Staring at your beetroots in bemusement? Don’t sweat, we’re right here with you. Follow this ultimate guide to everything you need to know about how to dye yarn and soon you’ll be creating real-life magic before your very eyes.
Let’s get you started with just the basics of how to dye yarn at home.
What yarn is best for dyeing?
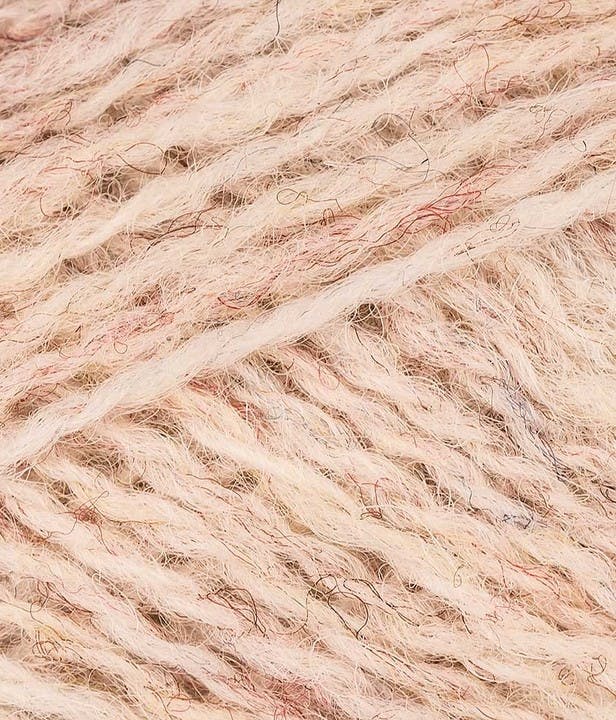
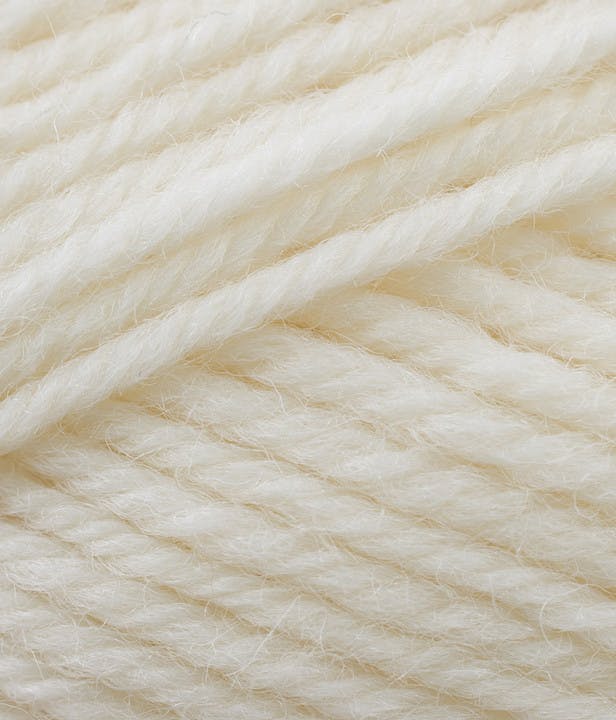
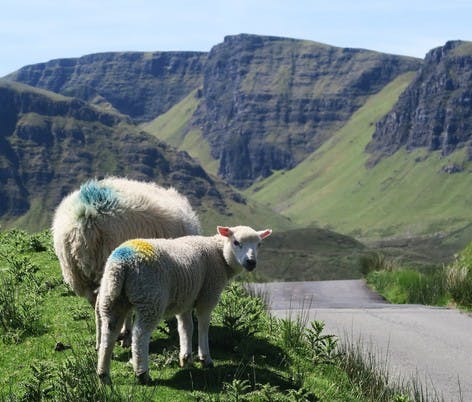
We want your first steps in yarn dyeing to be easy, and that means sticking with animal (protein) fibres for your at home yarn dyeing. While acrylics and cottons are great for quick and affordable knitting, these fibres don’t hold dye easily. In contrast, alpaca, merino, wool, and mohair absorb dye really well.
What can I dye yarn with?
This is the fun bit. Choosing the colours! Did you know most of the ingredients you need for dyeing yarn can be found in your very own kitchen cupboard? (I know we were amazed too!) Kool-Aid, food colouring, certain leaves and flowers, and lots of fruit and veg make great yarn dyes and can give you brilliant colours.
The great thing about dyeing your own yarn is that you can create your own totally unique shades. There’s hours of fun to be had, mixing dyes to come up with your own hue. Here’s some of our favourite things you can use to dye your yarn. This is your time to get seriously creative in the kitchen, and we have a feeling you’re going to love it.
Yellow Onion Skins
Yellow onion skins don’t need long to extract colour – these will be done giving pigment in about 30 minutes. It gives a gentle yellow-orange hue that shows up best on white yarns.
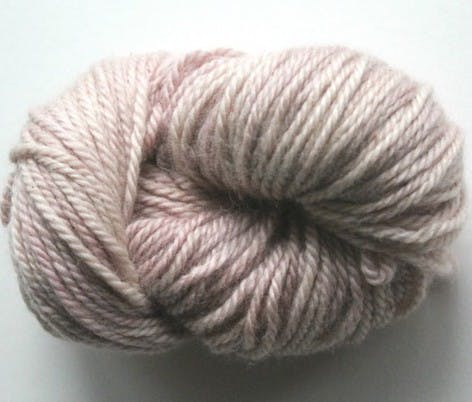
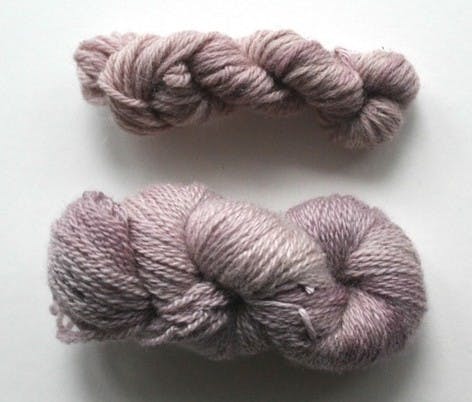
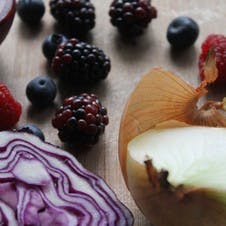
Raspberries (pictured below, left)
Raspberries should be pulped before steeping in water to extract colour, and need to be strained out of the dye bath before you drop in your yarn. Raspberries give a truly gorgeous pastel pink hue.
Blackberries (pictured below, right)
Blackberries are very plentiful in the summer, and you could pick enough to dye a whole closet of thick wintry jumpers. This dye can be a little bit sticky, so make sure you rinse your yarn well after dyeing.
Red Onion Skins
Red onion skins give a similar shade to yellow onion skins, but slightly darker. They do not give the burgundy red that you might expect! Like the other skins, you only need the skins of 2 or 3 onions per 100 grams of yarn. Blue Sky Alpacas Sport Weight yarn, which is 100% alpaca is perfect for dyeing and will absorb the colour of the onion skins beautifully.
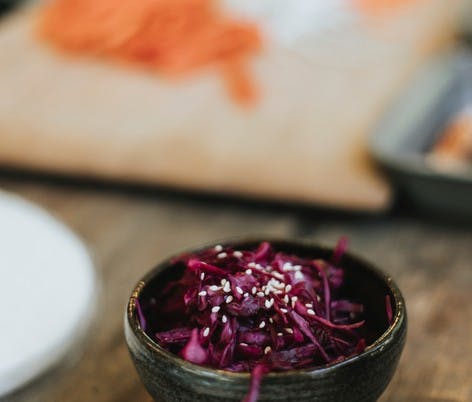
Red Cabbage
Thanks to its chemical composition, red cabbage is a very interesting vegetable to work with. Boiled in plain water, the dye turns blue! This dye takes a little longer to adhere to the yarn than other dyes, so it’s best to let it simmer for around 3 hours.
The science of dyeing yarn
As a rule of thumb, it’s relatively easy to dye animal fibers at home, but a whole lot more difficult to dye plant fibers. This is where the nerdy (we mean science) bit comes in. The difference in a yarn’s ability to absorb dye, is all to do with the cellular structure of these fibres, and how they chemically bond with different types of dye. Still with us? Let’s get down to the knitty-gritty.
Acid and natural dyes for animal (protein) fibres
An acid dye (like food colouring and Kool Aid) reacts in an acidic environment to form strong hydrogen bonds with the proteins in the animal fibres. If you’re using natural dyes (which don’t have that natural acidity) all you need to do is add a mordant (alum powder, vinegar, salt, or even cream of tartar) to strengthen those teeny weeny Hydrogen bonds with the proteins.
All-purpose dyes for fibre blends
All-purpose dyes like Rit are great if you’re dyeing fibre blends. They contain both an acid dye, which forms a chemical reaction with the animal fibres and a direct dye, which works on the plant fibres in the blend. If only one fibre is present, the other chemical reaction is wasted and remains unused, which means it’s no good for dyeing plant fibres because it’s difficult to tell when all the dye is taken up. Direct dyes can only form weak hydrogen bonds too, so they have trouble retaining pigment when washed.

Fibre reactive dyes for cellulose (plant based) fibres
Fibre reactive dyes are the best option for dyeing plant based yarns like cotton, linen and bamboo. The fibre reactive dyes create a covalent bond, which are very strong and resistant to breaking (it’s why you can wash a cotton t-shirt dozens of times before you see any fading). If you want to find yourself a fibre reactive dye, use a tie-dye kit, which already has the soda ash additive mixed into the powder.
What basic supplies do I need?
I bet you’re dye-ing to get started now, right? First things first, here’s the basic supplies you need for any yarn dyeing project. While the specifics will change depending on what dye you choose to use, the basic supplies of dyeing yarn will remain the same.
- A dye bath: anything like pots, casserole dishes or any kind of large container that can hold your yarn while it’s being dyed. Avoid a vessel made of aluminium as it will alter the way the dye works.
- Dishwashing gloves
- Toothpicks
- Spoons
- Mordant*
- Your dye of choice
- Animal fibre yarn
*A mordant is a substance used to help bind the dye to the yarn fibre. The following guides on dyeing with pantry items and dyeing with natural dyes include the specific mordant required for the dye you're using.
How to dye yarn with Kool-Aid and Wilton food colouring step-by-step
1
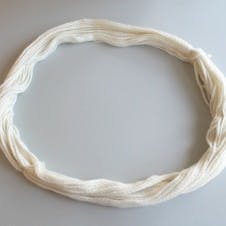
Prepare your yarn. Unwrap your yarn from the ball and loosely coil it into a large loop. Then take 4 smaller pieces of yarn or string and loosely tie them at different parts of the loop to keep it secure. Having your yarn like this will ensure even distribution of dye.
2
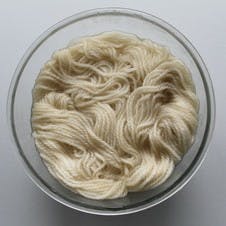
Soak the yarn. Before dyeing, soak yarn for at least 20 minutes.
For Kool-Aid, soak your yarn in cold water.
For Wilton food colouring, soak your yarn in a cold water and vinegar mix. A good rule of thumb is 1/4 cup of vinegar for every 3.5 ounces (100 grams) of yarn, with enough water to cover the yarn.
Pro Tip
Vinegar helps dye adhere to the yarn properly, so it's colour wash fast (no need to add it to Kool-Aid as it’s already high in acid).
3
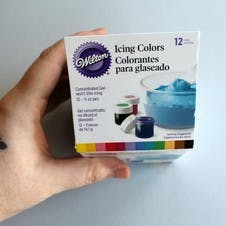
Prepare the dye bath. After your yarn has soaked, place it in your dye bath and cover with water.
To dye your single ball of yarn, add 1-2 sachets of Kool-Aid, depending on how intense you want your colours.
To dye your yarn with the Wilton colours, add with toothpicks so the intensity gradually increases to your desired shade.
Pro Tip
If using Kool-Aid, try dyeing your yarn two different colours by placing two shades of Kool-Aid in the dye bath or opposite sides. Use colours that sit next to one another on the colour wheel for best results, e.g. green and blue (Mixed Berry & Lemon Lime work particularly well).
4
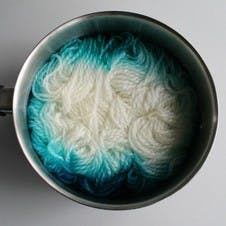
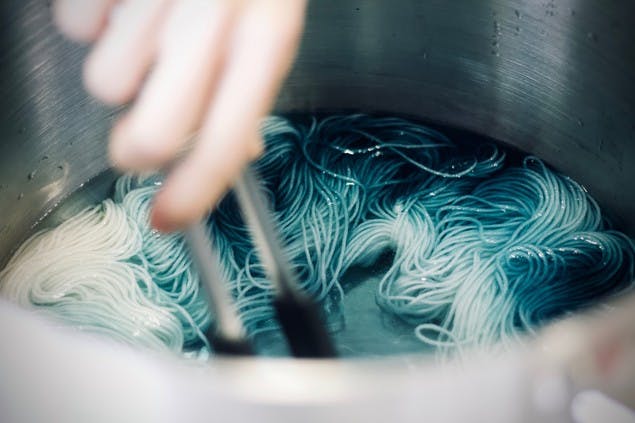
Heat it up. Place your dye bath over the heat, either on the stove top or if you’re using a crock pot, turn this on. Heat the water slowly and let it come to an almost boil, once it gets to this stage, very gently stir the pot to disperse the dye.
Pro Tip
Stirring the yarn too vigorously could cause it to felt.
5
Cooling time. Take your dye bath off the heat and let it cool to room temperature.
6
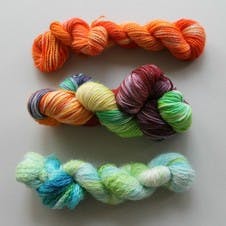
Rinse and dry. Rinse your yarn using room temperature water and let it dry. Voila! Dyed-it-yourself yarn!
How to dye yarn with natural dyes step-by-step
1
Scour the yarn. First, you need to scour the yarn to remove chemical treatments or oils that the yarn might have as these can stop the dye from bonding. Use warm water and about a tablespoon of dish soap, and soak the yarn for 2 hours.
Not scouring the yarn enough will result in much less vibrant results, so make sure you leave plenty of time to complete this super important step.
2
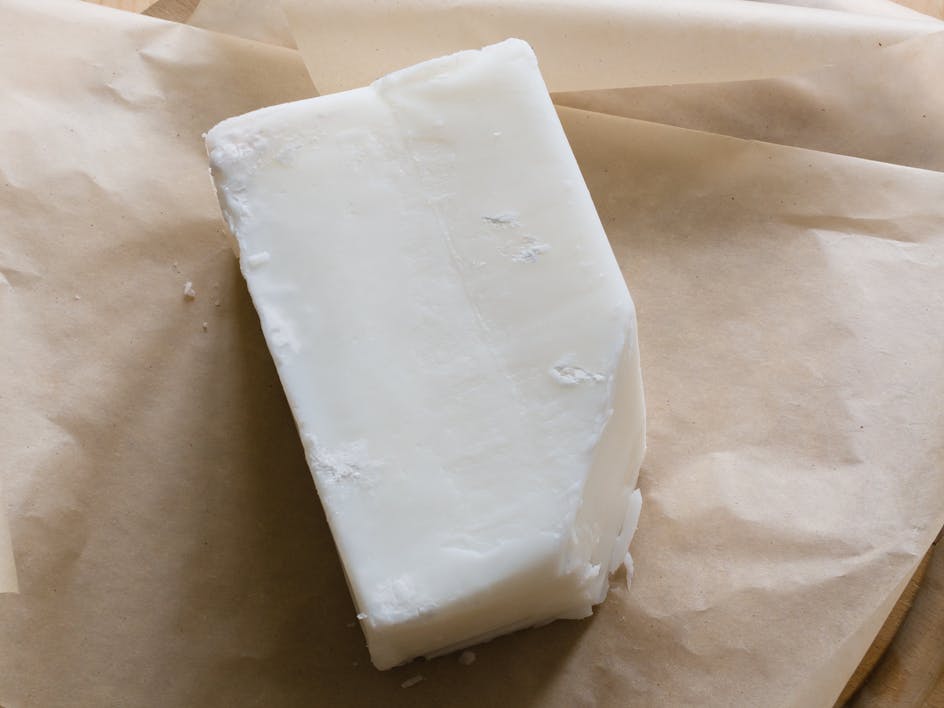
Mordant the yarn. A mordant is an additive that makes the fibre more receptive to natural dyes. It is absolutely essential, the fibre will not take dye without it. There are many different mordants that have different effects on different dye materials. Popular mordants include vinegar, salt, and alum powder (potassium aluminium sulfate). Alum powder is used to whiten breads, purify water, and as a natural astringent for cosmetic purposes.
If you use alum powder mix it with cream of tartar. Use 8 grams of alum and 7 grams of cream of tartar for every 100 grams of yarn that you want to dye. Dissolve both powders in boiling water, but cool the water before you drop in your yarn, or you will felt it. Simmer your yarn in the bath for at least 2 hours.
Pro Tip
Salt only works with berry dyes, and vinegar produces less intense shades than alum powder.
3
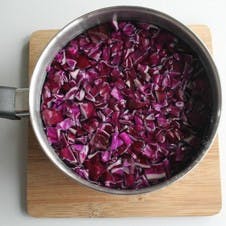
3. Make your dye. While your yarn is mordanting, make your dyes. You can use almost anything if you are willing to experiment! Most natural dyes that you will make will have subtle results, so you can always over-dye them if you don’t like the result. You can use berries, vegetables, coffee, tea – the possibilities are endless. You will want to simmer your materials in water for about an hour. A good rule of thumb is 100 grams of materials for 100 grams of yarn.
Pro Tip
If you use berries, make sure you pulp them first to get the best result, and strain the dye before you use it on your yarn. If you don’t strain them, you’ll likely be picking little berry bits out of your yarn for weeks!
4
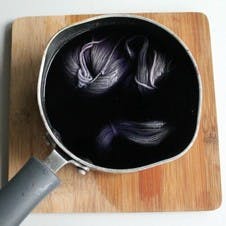
Dye the yarn. After your yarn mordants, Place it into the dye, and simmer for 1 – 2 hours. Rinse well to remove any debris, and hang to dry.
Animal fibre yarns for dyeing
Hand dyed yarns
Phew! We hope that you now feel like a yarn dyeing pro, and that hand dyed yarn is in your future! Dyeing at home may not be your main thing, and even if it isn't, hand dyed yarns can still hold a place in your heart and your stash. Professional, hand dyed yarns are only a click away!

