Make this beautiful festive paper flower garland in time for Christmas!
Published on 1 December 2021 1 min read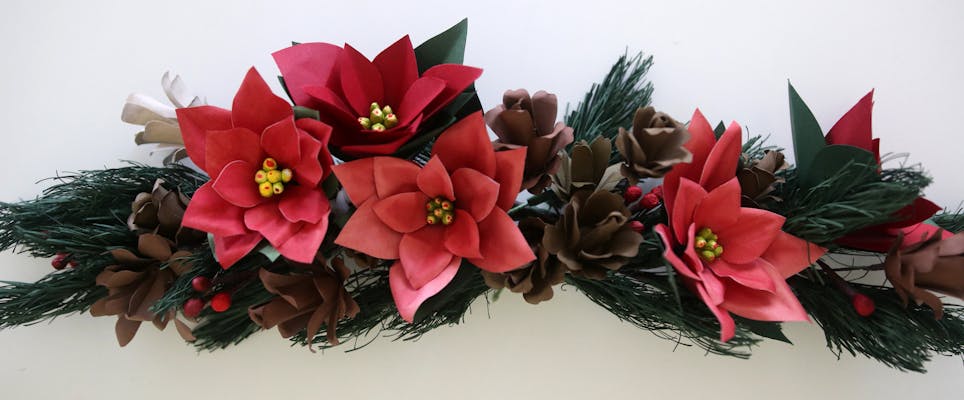
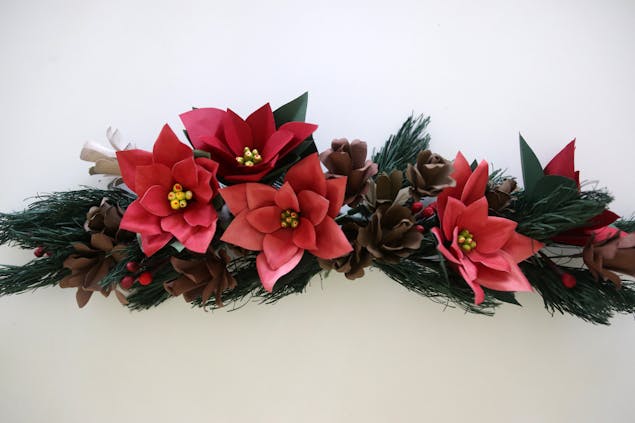
Learn how to make the most beautiful winter paper flowers and create this stunning festive garland. Join designer Sara Kim as she guides you through this DIY Christmas craft tutorial where you'll learn how to make paper poinsettias, pine cones, pine needles and holly berry that you can combine to make a stunning centrepiece. Perfect for decorating a wall arch or table dressing, make your garland just in time for the holidays! Let's get started.
Materials
- Cardstock paper
- LoveCrafts Classic Cardstock 80lb 12" x 12" 10 Pack
- LoveCrafts Rainbow Collection Classic Cardstock 80lb 12" x 12" 16 Pack
- Tissue paper
- Markers
- Floral tape
- Floral wire
- Scissors
- Hot glue gun
- We R Memory Keepers Maker’s Glue Gun - Mint
How to make a poinsettia
1
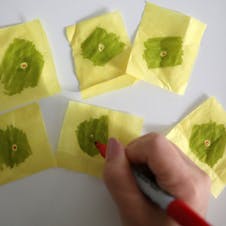
Cut 6 squares of yellow tissue paper and colour with green marker leaving the centre yellow and add a small dot of red marker in the centre. Ball white tissue paper and add into the yellow square and wrap.
2
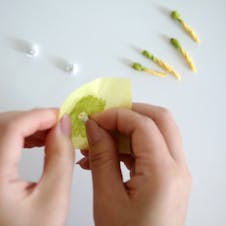
Attach one onto a floral wire and glue the rest of the yellow tissue centre.
3
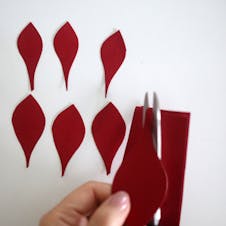
Cut 9 leaf shapes with red cardstock paper, making a group of 3 small, medium, large sizes and fold the leaves in the centre.
4
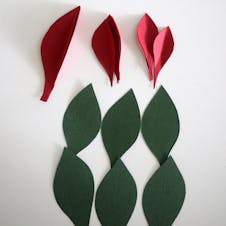
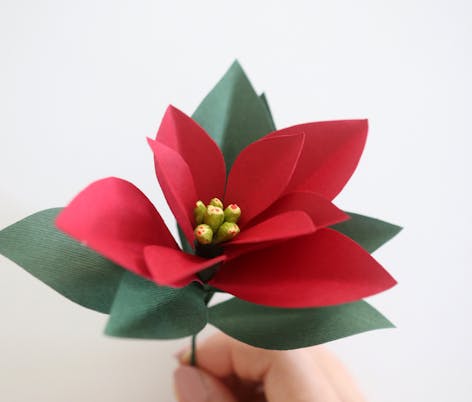
Cut 6 leaf shapes with green cardstock paper and fold in centre.
5
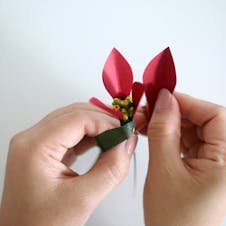
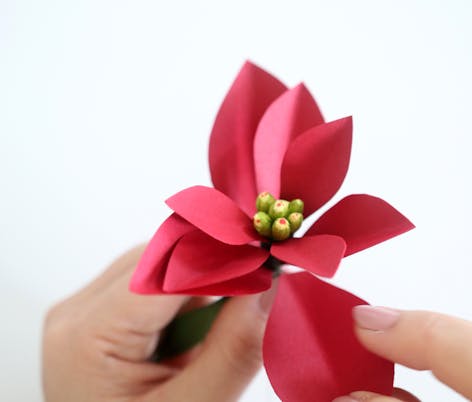
Add red leaves from smallest to biggest floral taping onto the yellow tissue centre. Making sure it is crisscrossing in between and filling in gaps.
How to make a paper pine needle
1
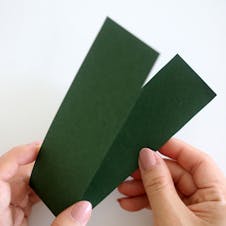
Cut a strip that is 1.5 inches x 12 inches and fold in half.
2
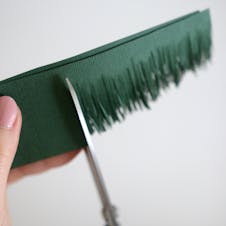
Cut fringes as thin as possible.
3
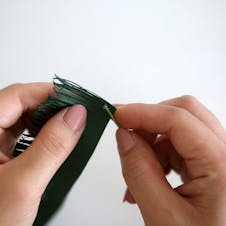
Glue floral stem on one side and roll in a diagonal direction so that the fringes are rolling down the stem. Glue every so often so that it does not unravel.
How to make a pine cone
1
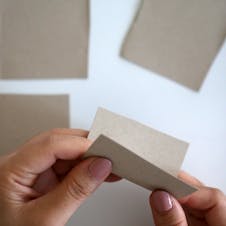
Cut 4 square of kraft cardstock paper about 2” x 2”.
2
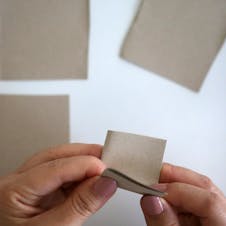
Fold in half and half again into fourths.
3
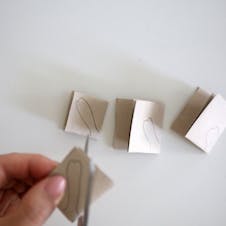
Holding onto the folded corners, cut a long heart shape. Each square will have the long heart shape but slightly shorter each square.
4
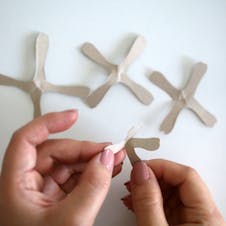
Open the shapes and start with the longest piece, folding up the petals.
5
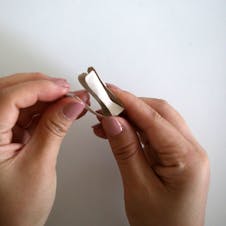
Glue the second shape below the first and continue in order of shape.
6
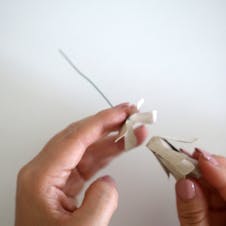
Attach a floral wire on the last shape and glue the rest.
7
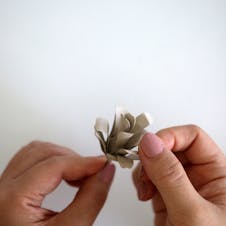
Shape petals by curling out.
How to make a holly berry
1
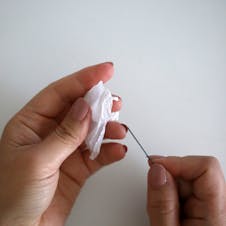
Make a white tissue ball and glue onto floral stem.
2
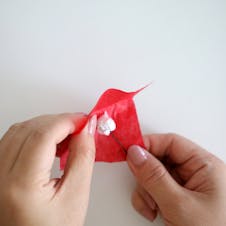
Cut a red tissue paper square and wrap around the white tissue ball with stem.
3
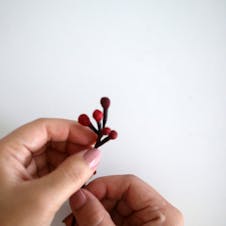
Floral tape the left over tissue on the stem and make a few more.
To make your garland
Add each poinsettia, pine needle, pine cone, and holly berries by floral tapping the stems one at a time, also add more floral wire if needed to connect them all. And that's it!
