How to make a beautiful quilt by hand
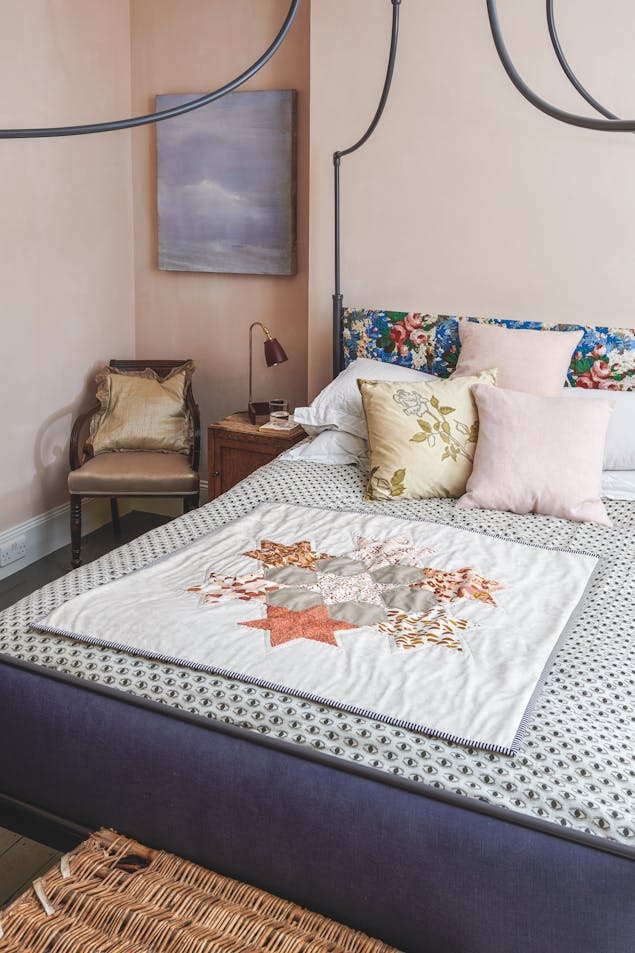
Published on 24 October 2022 1 min readWondering how to quilt by hand? We've got you covered! Hand sewn quilts are both satisfying to make and wonderful to enjoy when completed. If the prospect of hand sewing an entire quilt leaves you feeling daunted, this project includes a hand- pieced motif onto a simple background which makes it a lot more manageable. Here, Laura Strutt, shows you how to utilise English paper piecing to create a fabulous quilt by hand with a pattern from her new book Simple Hand Sewing.
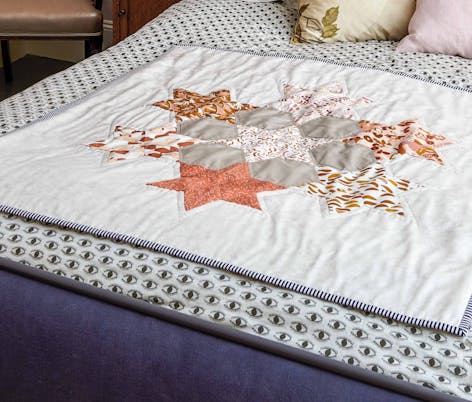
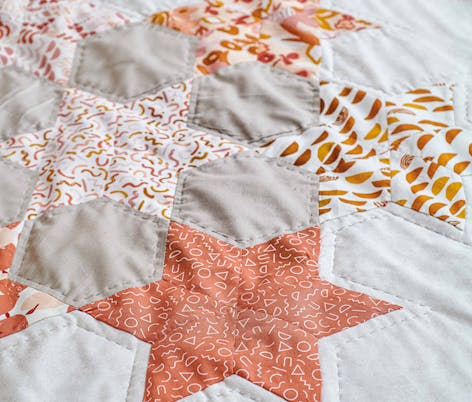
English paper piecing is a really low-tech sewing discipline. It needs very little in the way of supplies or tools so it’s an easily portable craft, allowing you to work on your sewing project wherever you like!
Materials
- Cotton in 7 different prints, one fat quarter of each
- Solid fabric, 25cm square
- Quilt top fabric, cotton, 112cm square
- Backing fabric, brushed cotton 112cm square
- Cotton wadding (80% cotton, 20% polyester), 112cm square
- 4m bias binding
- Sewing cotton in complementary colour
- Quilting cotton
- Printed template on paper
- Scissors
- Pins or quilt clips
- Sewing needle
- Curved sewing (safety) pins
- Iron
- Erasable marker
- Sewing needle
- Rotary cutter and cutting mat
The finished quilt will measure 101.5cm square. You'll use ladder stitch, tacking stitch, running stitch and slip stitch to make it.
How to make a quilt by hand
1
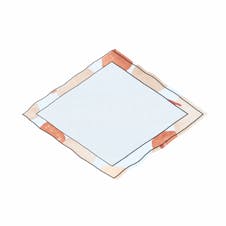
Copy the templates on to paper and cut them out. Use the templates to cut 6 hexagon shapes and. a further 42 diamond shapes from paper or card. Position the hexagons on the plain cotton and trim around them to create a 1⁄4–3⁄8in (5–10mm) border around each shape for the seam allowance. Repeat to cut the diamonds from the print cottons, making 6 diamonds from each of the 7 different prints.
2
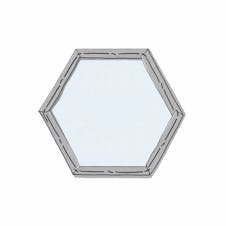
Fold the seam allowance over on to the back of each paper template and pin or clip into place. Thread the small fine needle with some sewing cotton in a coordinating colour and knot one end. Starting at a short corner, make a couple of basting (tacking) stitches, working only through the seam allowance and not the paper. Move to the next corner and repeat. Draw the thread taut enough to hold the unstitched fabrics in place under the long basting stitches. Continue until the seam allowance is tacked the whole way round the shape, fasten off, and knot the thread securely. Repeat for all the hexagons and diamonds. Set the hexagons aside.
3
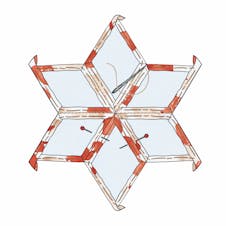
Join the diamonds together to create the stars by grouping them into sets of six (there will be seven sets, one from each of the print cottons). Working with two pieces in turn, place right sides together so that the tips are aligned and pin or clip into place. Using the small fine needle and thread and ladder stitch, join one pair of short sides together working toward the point and fasten securely with a knot—see tip on page 36. Add in the next piece by placing right sides together and pinning before stitching toward the point with ladder stitch. Continue working around the star to add in all six pieces. Repeat to make seven full stars.
4
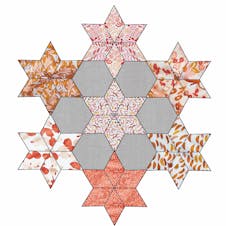
Once all the stars are completed, arrange the stars and hexagons to create the central motif. Place one star in the centre and position the six hexagons around the star. With the remaining six stars, work around the design positioning the stars to tesselate with the hexagons.
5
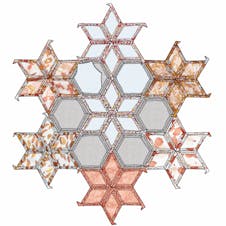
Once you are happy with the arrangement, work with two pieces in turn, placing right sides together so that the tips are aligned and pin or clip into place. Using the small fine needle and thread, join one piece together with the next using ladder stitch. Continue adding in pieces to ensure that each section is joined to create the full motif. Once all the elements have been secured together, with the wrong side uppermost use the tip of a pin to ease out the paper templates from each element of the motif. Work slowly to remove the papers without damaging them or the stitches. Press the whole motif to neaten.
6
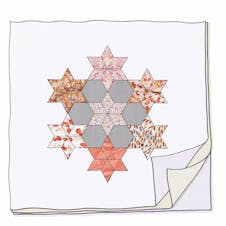
Create the main body of the quilt by laying the backing down with the wrong side facing upward. Place the batting (wadding) on top, and them place the quilt top fabric on top of the batting, with the right side uppermost. This forms a quilt sandwich (it will be larger than the finished quilt size but will be trimmed in the finishing stages). Press to neaten.
7
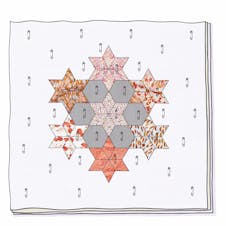
Work around the entire quilt to baste (tack) the layers together temporarily, to allow you to sew them together. Work with the curved sewing pins to secure the motif in position—be sure the pins are pushed through all the layers of the motif and the quilt sandwich. Once the motif is secured, work around the quilt top, smoothing out any wrinkles and pinning through all three layers to hold them together.
8
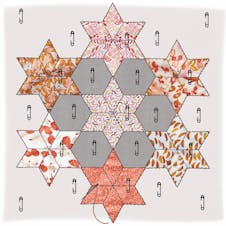
Sew the motif in place by threading the small fine needle with cotton and, starting at the tip, work around the design using slip stitch. When sewing the motif into place, aim to work the needle through the motif, the quilt top, and the batting. Avoid working the stitches down through to the backing as this will be visible on the finished quilt. Continue around the outer edge of the motif until it is fully secured.
9
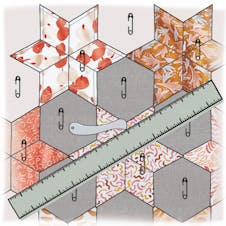
Create a guide for the quilting stitches by using a ruler and hera marker (which creates score lines) or a water-/air-erasable marker. The hand quilting on this quilt was worked around the inside of each of the hexagons, 1⁄4in (5mm) from the outer edge, and 1⁄4in (5mm) around the entire outer edge of the motif. Creating marks as a guide will help you to sew neat stitching.
10
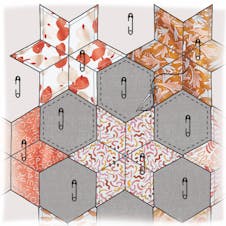
Thread a quilting needle with a length of quilting cotton—around the length of your forearm—and knot the end. Sink the knot (see Tip) and, following the crease or marked guide, begin to quilt the design. Work the quilting needle down through all the layers of the quilt sandwich, including the backing, and push back up at the desired point. Continue with the up and down motion to make the stitches. You may prefer to hold three or four stitches on the needle before drawing the thread through, this can help to make neat even length stitches quickly. Once the whole design had been quilted, fasten off.
11
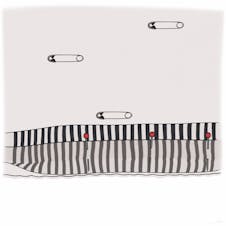
Lay the quilt on the cutting mat and with the ruler and rotary cutter (or scissors) neatly trim the raw edges to create a neat square measuring 40 x 40in (101.5 x 101.5cm). Place the bias binding along the front of the quilt, opening it out so that one raw edge of the binding is aligned with the raw edge of the quilt and pin or clip into place. With the small fine needle and sewing cotton work around the quilt, begin to secure the binding to the quilt, placing the stitches along the fold line so that they won’t be visible on the finished piece.
12
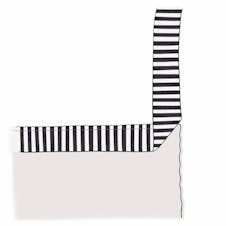
When you reach the first corner of the quilt, you will need to miter the binging. With the attached binding set straight on front of you (horizontal) fold the length of binding upward (away from you) to make a 90-degree fold. The binding will form a straight line that follows down to the second side of the quilt (vertical).
13
Place a finger on the binding at the corner to hold in place, and re-fold the binding back down to align directly with the second side. This creates a small triangle of binding over the corner section, which will make a neat miter when opened out. Pin or clip the second side and then continue to sew the binding into place, mitering each corner.
14
Once stitched, fold the binding over to the back of the quilt and pin or clip in place. With the small fine needle and sewing cotton, neatly slip stitch the binding in place around the whole of the quilt and fasten off.
