Free patch project bag tutorial by Arounna Khounnoraj
Published on 14 April 2020 By Holly Butteriss 1 min readArounna is a textiles artist, maker, and teacher of punch needling and quilting based in Toronto. We love her fabulous Instagram grid, and the gorgeous work in her studio, Bookhou. Here, she shows you how to make an easy patchwork bag using fabric from your stash!
Patching is a great way to use what you have on hand and in this project I will be showing you how to patch together a design that you will make into a drawstring bag that makes an excellent project bag.
Sewing up remnant fabric is one of my favourite things to do. I think it’s the satisfaction of finding a use for remnants for something new and unplanned (and keeping fabric out of landfills). For this project I wanted to create colour blocking with triangle shapes.
Materials
- Mix of coloured fabric - use your left overs!
- 2 pieces of fabric for the lining approx. 11x11"
- Scissors
- Paper or cardboard
- Pencil
- Sewing machine
- Leather or rope for the drawstring 50" long
1
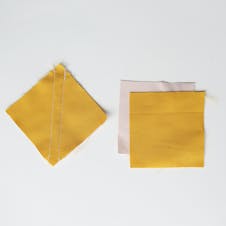
Cut the cardboard to 3.5 in. square and use this as your template to trace on the fabric.
Cut out 4 pieces of each colour with four colours making it 16 pieces of fabric.
Place two squares of colours on top of each other and sew along the centre two lines with about a 3/8 of an inch gap.
2
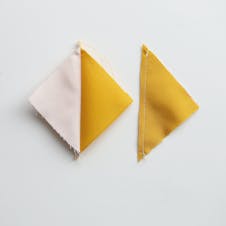
Take your scissors and cut in the middle of the sewn pieces leaving you with two sewn sections.
3
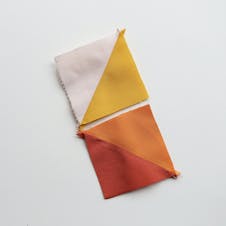
Sew all your square pieces together exactly the same as in step 2 and sew the two sets of colours together.
4
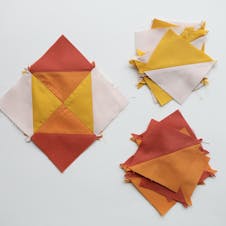
Continue to do this till you get your first block of colours. You will end up with four blocks, try to mix and match your colours on two blocks. That way when you sew them together there will be movement of colours changing.
5
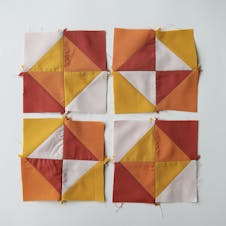
Take all four blocks and sew them together.
Press all your seams flat before heading to the next step.
6
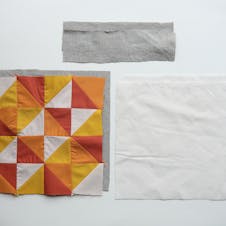
The patchwork fabric should measure 11x 11 in.
Cut a piece of cloth (I used linen, for the back piece) to the same dimension 11 x 11.
Cut two pieces of lining to 11 x 11in. and cut two pieces that will be used for the drawstring band 3 x 10 in.
7
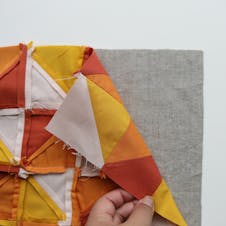
Place the good sides together and stitch along the three sides ⅜ in. seam allowance leaving the top of the bag open and turn the good sides facing out, do this same sewing to the lining pieces.
8
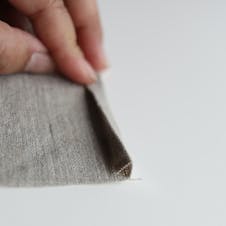
Take the two pieces of fabric 3 x 10 in. and on the short side turn in the fabric a ¼ of an inch and sew along the edge.
9
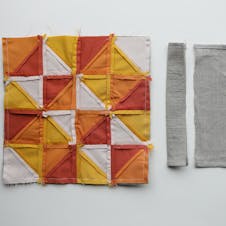
Take the the drawstring band and fold the fabric and iron on the long with the good sides facing out.
10
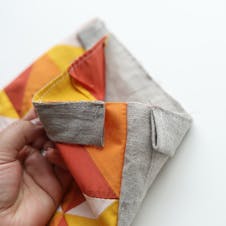
Sew the the drawstring band with the raw edges lined up and tack in to the centre of the main bag body and sew to the top edge as close as you can go, so that when you sew the lining you don’t see this sewn line. This band will not go to the edge of the bag, this makes it easier to pull the drawstring if it doesn’t go righ to the edge of the bag.
11
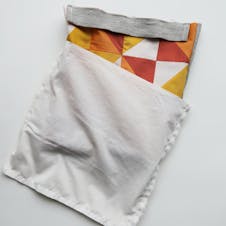
Take the bag and place it inside the lining and sew along the top edge ⅜ of an inch leaving a 3 in. gap opening so that you can turn the bag good sides out.
12
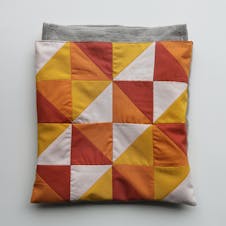
Once you turn it good sdies out, do a top stitch along the top edge where the two pieces join. Take the leather cord and cut it in half so that you have two pieces that are 25 in.
Take the leather cord and side it from one side to the other and tie a knot at the end and repeat on the opposite side so that the ends are on both sides.
The bag is complete and ready to be used for your projects!
