Adorable Pompom Ice Blocks
Published on 14 August 2018 By Meg
Who’s looking forward to a diet of ice blocks, watermelon and lots of pavlova this summer? Christine Leech of @sewyeah has a fantastic pompom tutorial to get your tastebuds tingling for summer. If there’s something so supremely summery and nostalgic about a good old-fashioned Icy Pole or Paddle Pop to you, then you’re going to love this adorable pompom version.
Materials
- Large Pompom Maker
- Paintbox Simply DK yarn in Lipstick Pink
- Paintbox Simply DK yarn in Lipstick Pink
- Paintbox Simply DK yarn in Seville Orange
- Paintbox Simply DK yarn in Paper White
- Paintbox Simply DK yarn in Bubblegum Pink
- Paintbox Simply DK yarn in Buttercup Yellow
- Paintbox Simply DK yarn in Coffee Bean
- Scissors
- Glue gun
- Paddle pop sticks
- Coffee stirrers (only as a back-up)
1
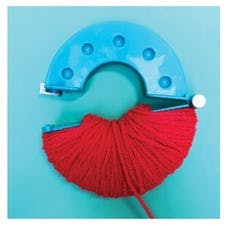
To make the first pompom. Take the red yarn and fill one half of the pompom maker with it. Try and wrap back and forth so the yarn covers the maker evenly.
2
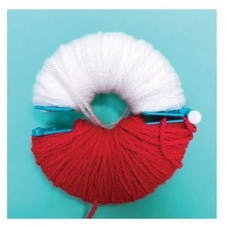
Flip it over. On the other half of the maker, cover one half of it with white yarn then use your red again to cover the rest.
3
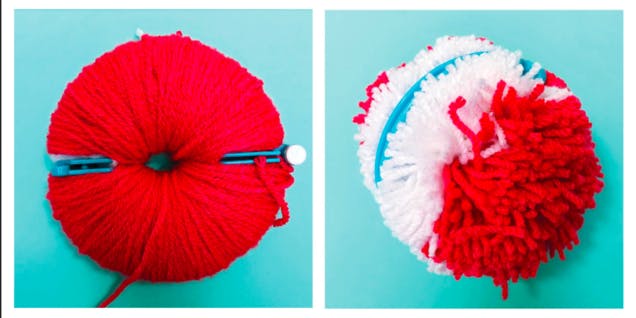
Cut the pompom open. Carefully secure around the middle with another piece of yarn and then remove from the maker.
4

Trimming time! Trim the bottom of the white half of the pompom so it is flat (but don’t trim the sides).
5
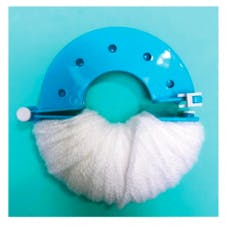
To make the second pompom. Fill one half of the pompom maker with white yarn.
6
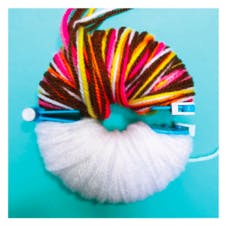
Let's get sprinkly. Now, we’re going to get a little crazy and make the multi-coloured sprinkles to make your ice block look the part. For this, you need to wrap all of the yarn colours at the same time. Gather 4 strands of brown yarn with a strand each of yellow, pink, neon pink, white, red and orange. Wind all these together till the half of the maker is full.
7

More sprinkles! If there’s any space left on the white yarn half of the maker wind a few wraps of the sprinkles on here too.
8
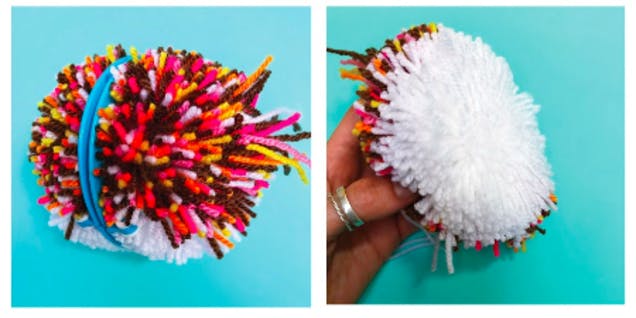
Complete the pompom. Then remove from the maker. Trim the white half of the pompom as before.
Pro Tip
Now that your pompoms are trimmed, stack them together, white side to white side. You'll be able to see the ice block starting to form.
9
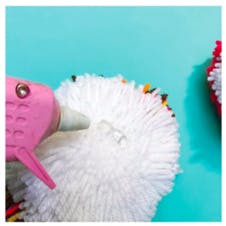
Gluing time. Using a glue gun, place a little glue on one of the white flat areas of one of the pompoms. Press the two white sections together for a few seconds until the glue dries.
10
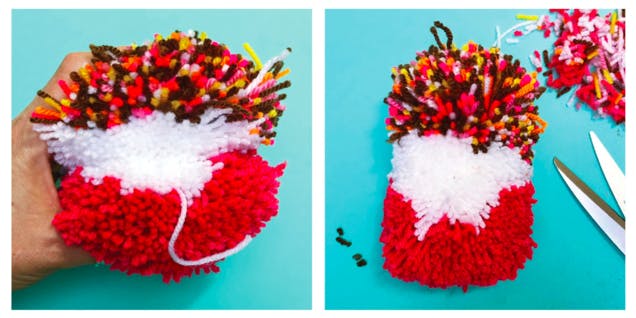
Let's start shaping. First trim around the pompom column taking care to blend the white areas together. The more you trim the more disguised the join will be.
11
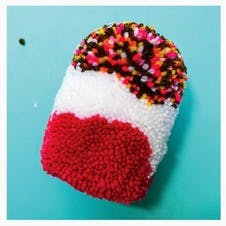
Finishing touches. Trim the top into a gentle curve and trim the bottom red area so it’s flat.
Pro Tip
To get the right shape for the pompom ice block, it’s probably best to get a few from the shop for comparison - Honestly, that’s the only reason! The shape we’re going for is like a Pine Lime Splice or a Paddle Pop.
12

To add the paddle pop stick stick. Cut the top off the paddle pop stick and trim to a sharp point. Add a little glue to the point of the stick and insert it into the base of the pompom.
Pro Tip
If your ice block seems a bit wobbly you can try adding one of those small wooden coffee stirrers into the pompom too – as these are smaller than the paddle pop stick they can travel further into the pompom to add stability and hold it upright.