Somewhere over the rainbow punch needle tutorial
Published on 8 October 2020 1 min readLesley is a punch needle magician, conjuring fantastic designs from yarn that are sure to put a smile on your face! Check out her punch needle rainbow tutorial to bring a bit of colour into your life and keep up with Lesley's creations on Facebook.
I took up punch needle because I wanted something to keep me from scrolling on my phone through the long winter evenings.
I couldn’t concentrate on knitting – I kept losing track of my stitches. Punch needle was coming through as a trend, so I thought I’d try it. I started with a small kit and some YouTube videos - by my second go, I was already running away with my own designs and totally addicted to yarn.
It’s helped me stay calm, it’s a total stash-buster, and I donated the profits from these rainbows to the NHS, so it’s a woolly win-win!
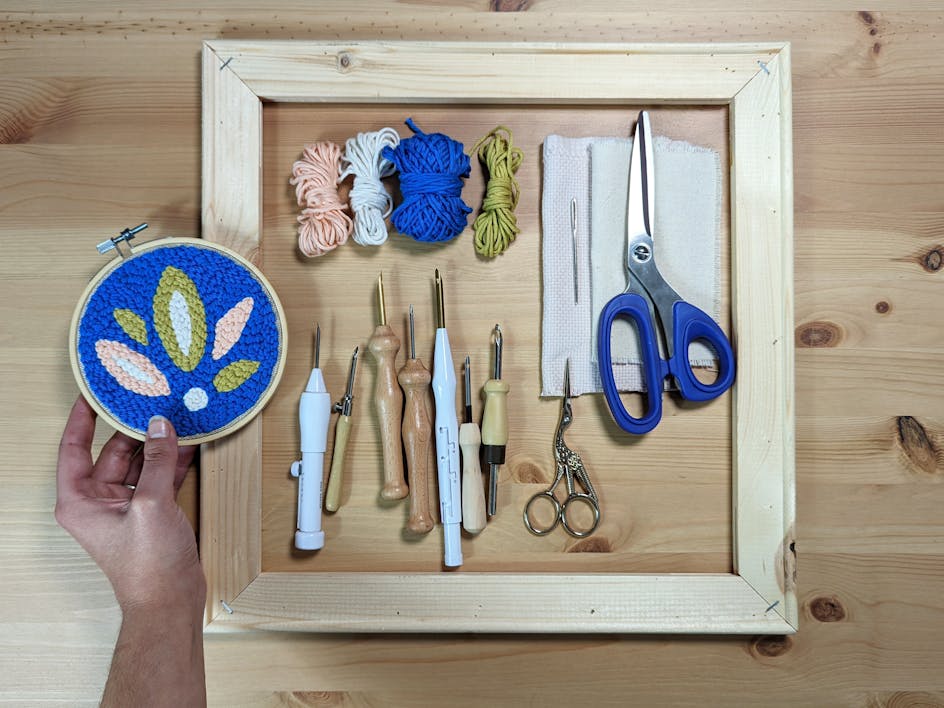
Materials
- Paper
- Sharpie
- Scissors
- Masking tape
- Screwdriver
- Selection of ribbons
- Punch needle tool and threader
- Glue gun
- 5 inch embroidery hoop
- Linen needlework fabric – pale blue – something like Robert Kaufman Essex
- Yarn in your rainbow colours!
Design time!
1
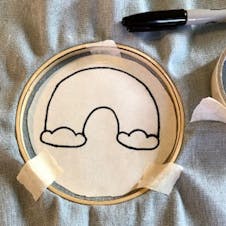
Draw your design first, drawing around the inside of the hoop to get the size and position right.
2
Go over the outline in Sharpie when you’re happy with it. If you want, you can use a ready done rainbow design from the internet or download the PDF.
3
Cut around the hoop shape you drew.
Getting your design onto the fabric
1
Fix your fabric in the frame. Lay the fabric over the smaller hoop, and then fix it in place with the larger frame.
2
Tighten the screw and pull the fabric tight round the outside.
3
Give the screw a final tighten - I use a screwdriver to make it nice and secure.
Pro Tip
To stop your fabric edge fraying, edge it in masking tape.
4
Using masking tape, fasten your design to the underside of the fabric, with the drawing facing upwards.
5
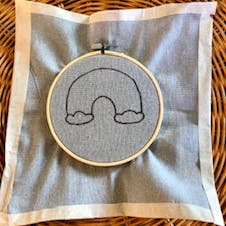
Hold the frame up to a window, or other light source, so you can see the design through the fabric. Now trace the design with a Sharpie onto the fabric.
Starting the punch needle
1
Thread your punch needle with your first colour, in my case it’s pink. Push your threader up through the eye of the needle until it comes out at the top.
Pull a little bit of your yarn through the threader. Pull the threader back down and out of the needle. Set your needle to a middle setting.
2
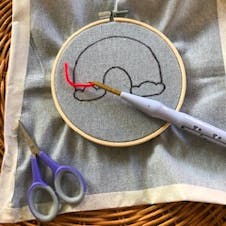
Leave a little tail around 1 inch long from the eye of your needle.
3
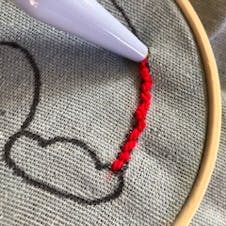
Start punching at the outside bottom left of the rainbow, working around the outside of the arch.
4
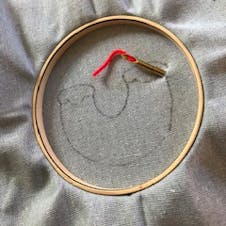
Holding the needle like a pencil, punch it through the linen, as far as the fabric allows.
5
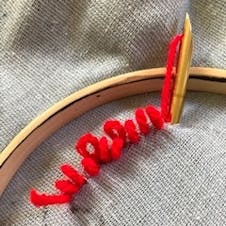
Make sure the yarn tail is on the underside of the hoop. Pull it through gently if you need to.
6
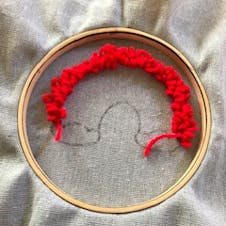
As you pull the needle out all the way, leaving the yarn through the cloth, don’t lift the needle too high. Punch through again 2-3mm away and continue doing this following your design.
With every stitch, a loop is formed on the back side of the fabric. No knots are needed, as the yarn is held in place by the tension.
7
When you reach the end of the rainbow, start another line of punched stitches coming back the way.
Pro Tip
Turn your frame as you change direction – it makes it more comfortable holding your needle.
8
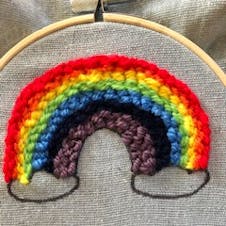
Keep filling in the rainbow. As you need to change colours, repeat the steps above for starting over again. You can fill it in with 4 lines of each colour. You can adapt it to more or less depending on your yarn until it’s filled.
Pro Tip
Keep your ball of yarn free, with a decent length unravelled, or you’ll find it impossible to make stitches.
Also, pull your fabric tight in the hoop once in a while – it loosens as you punch it.
Making the clouds
1
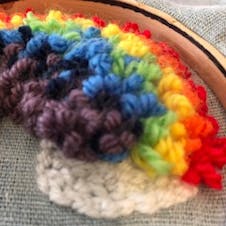
Turn your frame over and punch through the cloud shapes using white yarn. This will give you a nice 3D effect of fluffy clouds on the right side.
2
If you need to make it easier, hold the stitches of the rainbow out of the way so you can get your cloud right up to the edge.
3
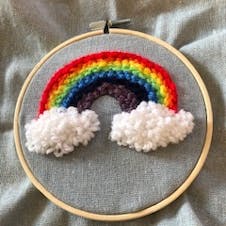
When the clouds are filled in, turn your frame back over. If you have any stitches longer than the others or the shape isn’t quite right, trim with scissors. It’s ok – the stitches won’t come out!
Finishing up
1
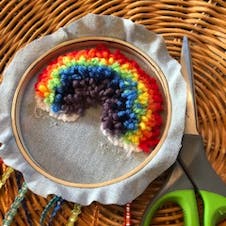
Cut the linen in a circle around the outside of the frame, about 1-2 cm should be fine.
2
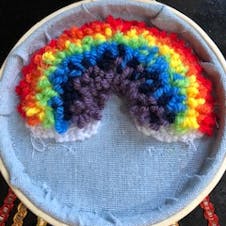
Carefully with a heated glue gun, stick the fabric to the inside of the hoop frame. Dot the glue, starting at the top, and do a bit at a time, otherwise the glue might set before you get to pressing the fabric in.
Pro Tip
Be careful not to burn your fingers! I learned the hard way to press the fabric in with the end of my scissors instead of my finger.
3
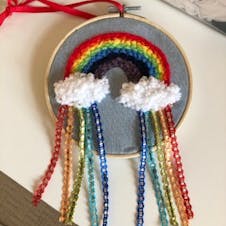
You can either leave your design like this, or you can add ribbons!
Match colours to the punched yarn and sew the end of the ribbons, just underneath the bottom of the clouds to hide the stitches. You only need a couple of stitches for each ribbon.
4
When you’ve done this beneath both clouds, trim the ribbons to the length you’d like.
5
Finally, choose a ribbon about 20 cm long. Pass it through between the hoop and the metal screw.
6
Tie it in a double-knotted bow and it’s ready to hang. Or you could do without this and show your rainbow off on a small easel.
