Learn to embroider the stem stitch
Published on 11 October 2021 1 min readStem stitch is an embroidery technique that creates a solid line without any breaks. It’s one of the most common, basic embroidery stitches - once you’ve mastered it, you’ll find yourself using it time and time again for all sorts of different embroidery projects. Want to learn how to stem stitch? Grab your needle and thread and let’s get started!
Stem stitch creates a thin line, perfect for outlining shapes in embroidery patterns or for freeform hand embroidery. It’s also one of the most versatile stitches and can be used to create both straight and curved lines.
Materials
- Elbesee 4 inch (10.16 cm) Wooden Embroidery Hoop
- Hemline Embroidery/Crewel Needles - Size 3-9
- Fiskars Classic Embroidery Scissors
- Prym Aqua Marking Pen Water Erasable White
- Zweigart 32 Count Belfast Linen 27in x 39in
- Paintbox Crafts Stranded Cotton
Getting started
Stretch the fabric in place in the embroidery hoop. Thread your needle and tie a knot in the end of the thread. We’ve used three strands of cotton in this example, but you could use six for a thicker stem stitch. Draw a line using an erasable pen to use as a guide for practising stem stitch.
How to do stem stitch
1
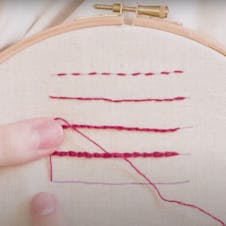
Bring your needle up through the fabric at the end of the line. Hold the thread down with your thumb away from the area you’re working.
2
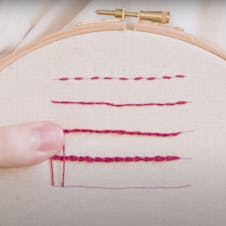
Measure how long you want your stitch to be and bring the thread back down through the fabric. Keep hold of the thread with your thumb to create a loop on the front of the embroidery.
3
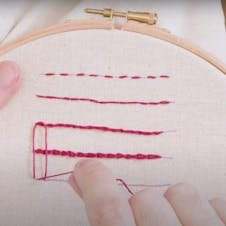
Take your needle back up through the fabric in between the two points.
4
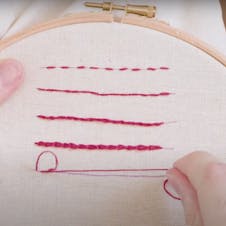
Release the loop and pull the thread in the direction of the line you’re following.
5
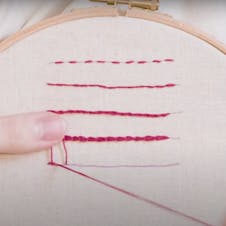
Hold the thread to create a loop on the surface in preparation for the next stitch. Bring your needle up through the fabric at the end of the last stitch.
6
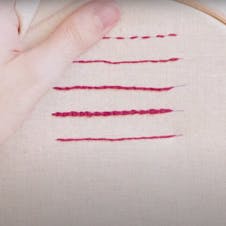
Work the stem stitch to the end of your line. When you reach the end, make a small stitch to anchor the thread before tying off.


