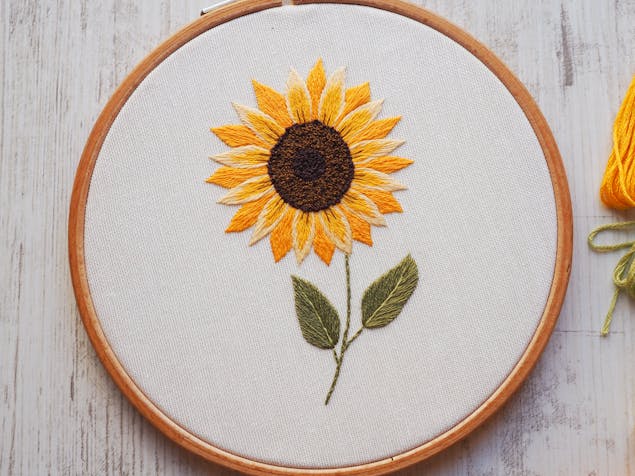
Brighten your day with this FREE sunflower embroidery tutorial!
Published on 13 December 2021 1 min readIn hand embroidery any season can be sunflower season. This free sunflower embroidery pattern by Amina aka Stitch Floral, is sunshine on earth! Designed in bright shades of Paintbox Crafts Stranded Cotton, you can stitch your own embroidery sunflower in just 8 easy steps. Make as an independent project or use to embellish your t-shirt, bag or cap. Time to let the sunshine in!
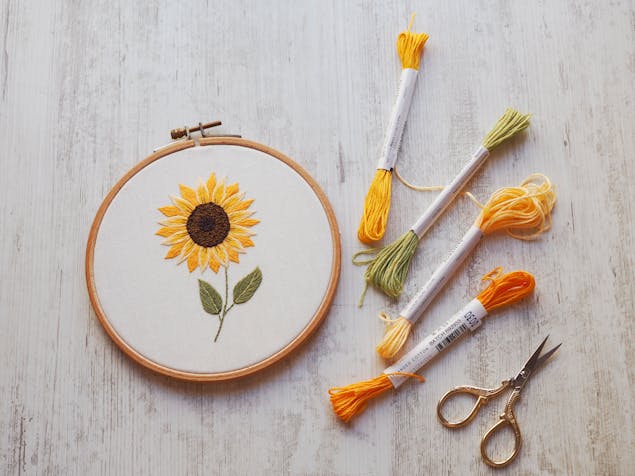
Materials
- Fabric of your choice (cotton, linen, calico, batiste are the most common choices):
- Zweigart 14 Count Aida 19in x 21in
- Thread (Paintbox stranded cotton #0176, 0011, 0030, 0079, 0094, 0196, 121):
- Paintbox Crafts Stranded Cotton
- Scissors for embroidery:
- Klasse Stork Embroidery Scissors
- Needle (Crewel needles are a good option):
- Hemline 16 Embroidery/Crewel Needles (Sizes 3-9)
- Water-erasable marker:
- Prym Aqua Trick Marker Water Erasable
- Wooden hoop for embroidery:
- Elbesee 10 Inch Wooden Embroidery Hoop
Start with the petals
1
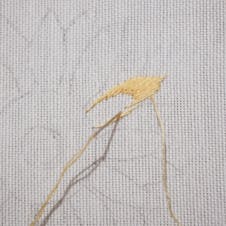
Work the front petals first by stitching their edges in the lighter #0176 shade using 1 strand of thread. Use long and short stitching technique, and make sure that the direction of your stitches is properly aligned (with stitches not crossing each other).
2
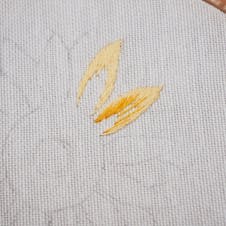
Take thread #0011 and start filling the inside of the petal. Use long and short stitches, you will probably need two rows of them to cover the whole petal. Don’t forget to start your stitches at different points so that there is some variety in their length.
3
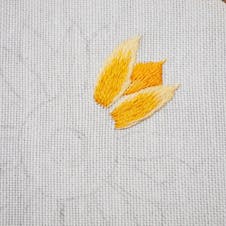
After you’re done with the front petals, fill the ones in the background with the #0030 shade, using the same long and short stitching technique. There's no need to make the stitches too long, instead use 2-3 rows of stitches to gradually cover the petals down to the bottom. Make sure that the fabric is not peeking through in between the petals.
Fill the centre
1
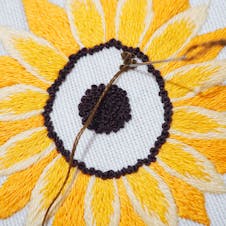
When all the petals are done, it’s time to fill the centre of our sunflower with French Knots. Make 1 or 2 wraps around the needle before inserting it in the fabric to get a nice knot. You can also check out tips for making knots in this article.
2
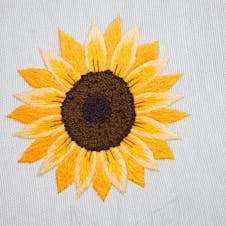
Use thread #0079 and stitch the outer circle and the centre in this colour, then fill the rest of the space with the brownish #0094 (you can also throw in darker french knots here and there among them).
Stitch the stems and leaves
1
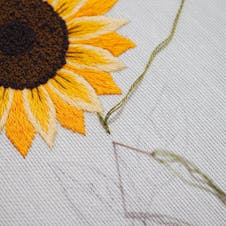
Take 2 strands of thread #121 and stitch the sunflower stem in split stitch. For that, split each previous stitch in the middle from below. When the needle emerges in the middle of a stitch after “splitting” it, make a new stitch and continue the line.
2
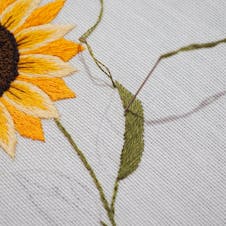
With the same thread, fill the leaves in parallel stitches - first one half, then the other half. In the upper part, the angle of stitches should be adjusted for a smooth blending into the vertical line at the very tip.
3
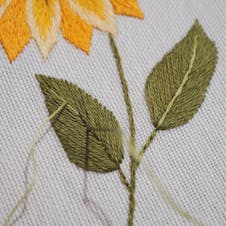
Lastly, take 1 strand of thread #0196 and stitch a central vine for each leaf. You can use the same split stitch from before, or you can use stem stitch: make one stitch, bring the needle up in the middle of it but to any side of it without splitting. Then make the next stitch and repeat the previous step. It would be perfect if you start every new stitch where the previous one had ended.
And your sunflower embroidery design is ready! Time to bask in its shine and brightness!
