Sweet cherries by Sophie Long
Published on 10 April 2020 By Merion 1 min read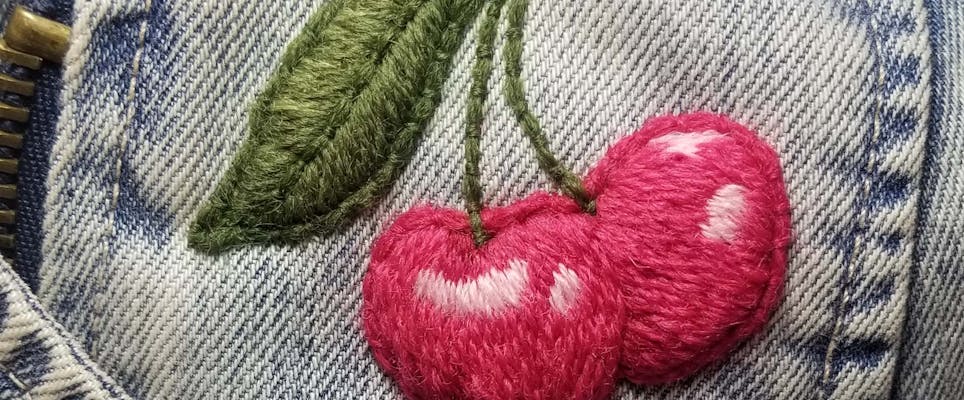
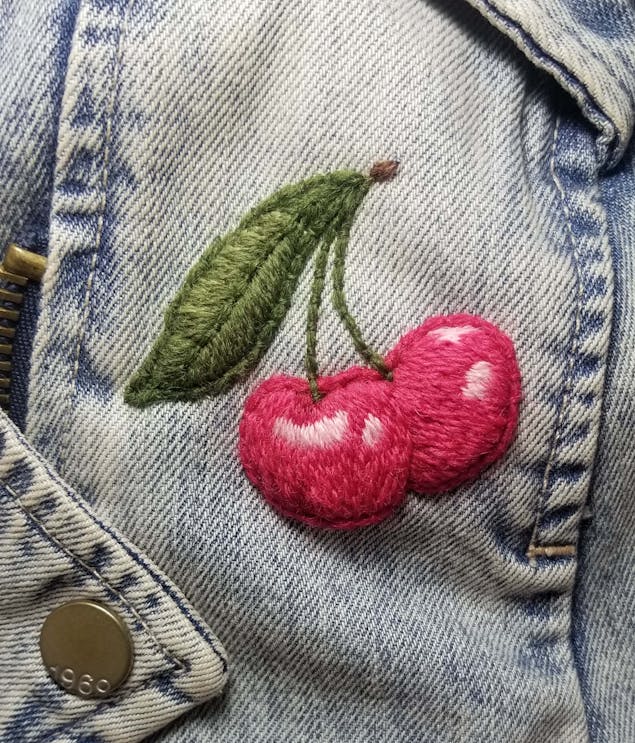
Follow Sophie's easy tutorial to stitch the perfect pair of cherries to applique to your denim jacket!
Brighten up your tired garments, old cushions and your favourite denims with these sweet, juicy cherry appliques from expert stitcher Sophie Long. Once you start, you'll be stitching cherries on to everything!
Materials
- Appleton Crewel Wools
- Chenille needles
- Scissors, sewing thread, embroidery needles
- Calico or cotton
To stitch Sophie's sweet cherries you will need the following shades of Appleton Crewel Wools: 357 - for couching and stems, 356 - for long and short leaf stitches, 354 - for highlight of leaf, 186 - for top of stem, 948 for cherry shadows, 947 - for long and short stitches in cherries, 941 for highlight of cherries.
The templates to trace can be downloaded using the buttons below:
1
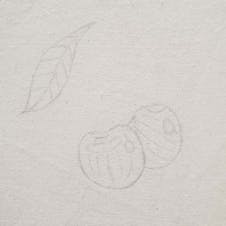
The designs can be traced onto a piece of fabric, ideally something like calico or cotton. (This fabric will not be seen once the cherries are applied to your textile, be that a cushion, jacket or other). When tracing the leaf and the cherries allow more space around them than the finished design. You need to be able to cut them both out.
2
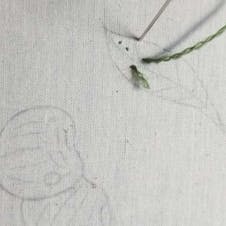
Start with the leaf as this is slightly easier to work than the cherries. The whole design is worked with one strand of Appleton crewel wool in a Chenille needle. To start the thread off, place a knot on the top of the fabric and work two small anchoring stitches inside the leaf. Once this stitches are worked you can then begin the long and short stitches and this knot can be cut off. These are called anchoring stitches and all new threads should be started this way. To finish a thread off, work another two small stitches and bring the needle back to the top and trim off. These starting and finishing stitches will be covered with the long and short later.
3
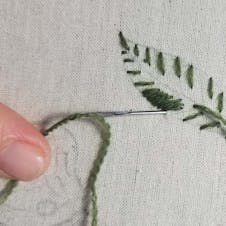
When working long and short it is a good idea to have directional lines drawn onto the design to help maintain the directions. If it helps you can start by working some stitches over these directional lines. Then go back and start to fill in the gaps. The thread should come up inside the leaf and go down to the outline. Try to vary the length of the stitches so that some are longer than others. You will be aiming for 2 rows of stitches so the long stitches do not need to touch the middle vein.
4
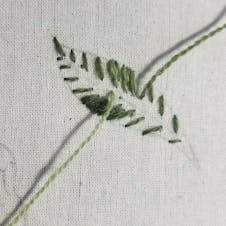
The left side of the leaf can have some lighter green stitches worked to create a highlight.
5
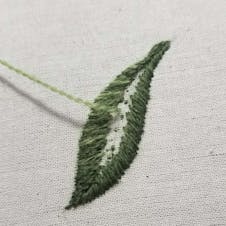
Continue to work the first row of stitches so that all of the edges are covered.
6
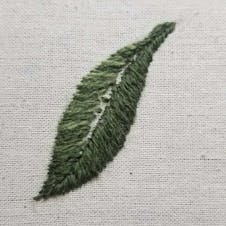
The second row of stitches are then worked, bring the needle up inside one of the stitches from the first row and take the needle down onto the vein line. Continue to work these stitches always coming up inside the first row of stitches and down onto the vein line.
7
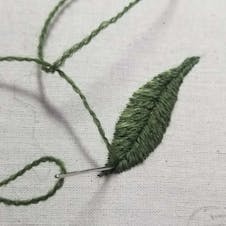
The other side is worked in the same way. You do not need to leave a gap for the vein as this will be worked on top. Bring up a length of the dark green at the end of the leaf, now with a separate piece of dark green folded in half work a small holding stitch over the loop. This will secure the double thread onto the leaf. Now work small couching stitches over the double thread, trying to keep the stitches evenly spaced.
8
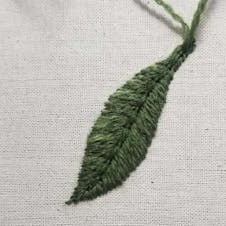
Continue to couch all the way along the vein, until you get to the end of the leaf. Keep all of these threads attached at the moment. The leaf is now finished.
9
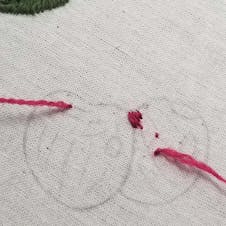
The cherries are worked next. With long and short stitch you work the areas that are behind first and the ones in the foreground after. The cherries are worked in 3 pinks. The first parts to be worked are the shadow areas where the stems come from. These can be relatively short stitches.
10
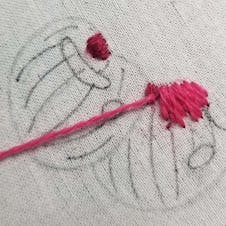
Then thread up the medium pink, which is used for most of the cherry. Work the first row of long and short along the top of the cherry, remembering to slightly vary the stitch length as you go. The direction lines should help guide you as you work the long and short.
11
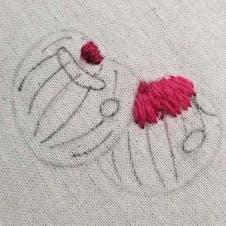
When you get all the way across you can then start on the second row of stitches. As before you are bringing your needle up inside of the first row of stitches and taking it down the cherry.
12
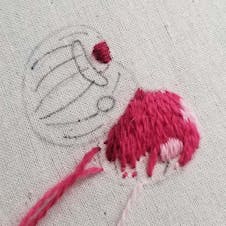
The rest of the cherry is worked in the same way, when you get to the right hand side there are some highlights worked in light pink and the left hand edge can have some dark pink stitches worked to create a shadow as this cherry is underneath the other one.
13
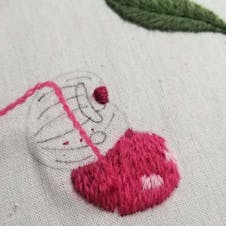
As you get to the bottom edge the stitches should finish on the design line.
14
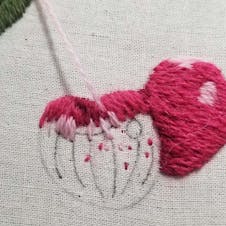
The second cherry can be worked in the same way, adding a light pink highlight in the middle and working down towards the bottom of the cherry.
15
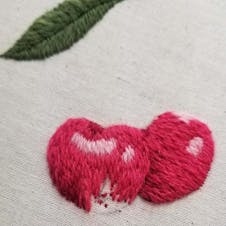
Continue working the long and short rows down the cherry. Some dark pink stitches can be worked on the left hand side of the bottom of the cherry creating a shadow. As before all of the stitches should finish on the design line along the bottom.
16
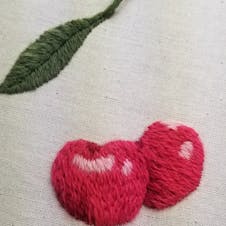
The cherries and the leaf are now finished. Check over them both to ensure that there are no missing stitches, it is best to add these now rather than when applied as it is harder to get through all the layers of fabric and stitches.
17
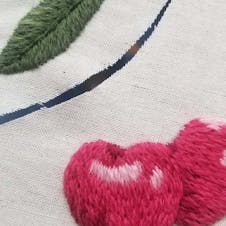
The fabric can then be removed from the frame and the cherries and leaf can be cut out. Leave a large amount of fabric initially.
18
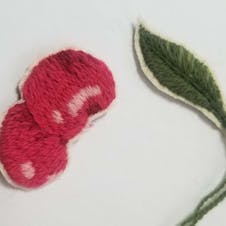
Trim back around shapes leaving a border of fabric of about 3mm.
19
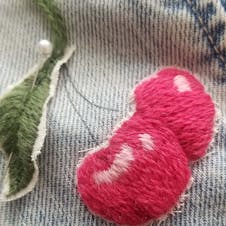
Place the cherries onto the cushion or jacket (in this case) and pin into place. The stems can then be drawn on, free hand.
20
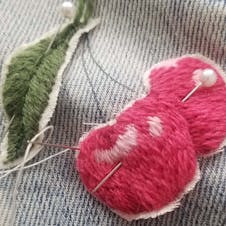
Thread up a strand of sewing thread into an embroidery needle. Then start working small stitches coming up in the fabric and down into the border of fabric around the cherries and leaf. These are worked all the way around the cherries and the leaf. You may need to trim off any loose fraying pieces of fabric as you go.
21
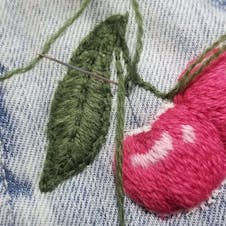
Once they are all secured you then need to work some more couching over the raw edges to cover them. The amount of wool which is required to lay on the fabric will depend on how closely you cut the fabric away. (This sample has 4 pieces laying on the fabric with one used to couch over.) Couching can also be worked down the stems of the cherries (This sample has 2 pieces laying on the fabric with one used to couch over.)
22
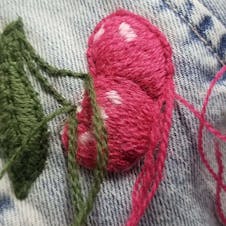
The ends of couching have to be plunged to the back of the fabric and secured with some overstitches. Do not plunge the stems until you have couched around the cherries as the stems need to go down and be plunged into the dark shading at the top of the cherries.
23
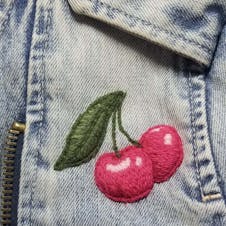
The cherries are couched in the same way that you did the leaf (4 laying on the fabric and one used to couch over). All of the couching threads can then be plunged to the back and finished off by over sewing them.
24
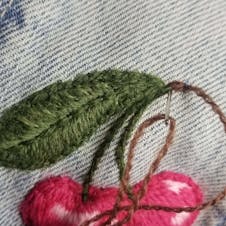
You can then work a few brown straight stitches at the end of the stems.
Beautiful finished cherries!
