Crochet this sparkly stars cushion cover
Published on December 16, 2019 2 min read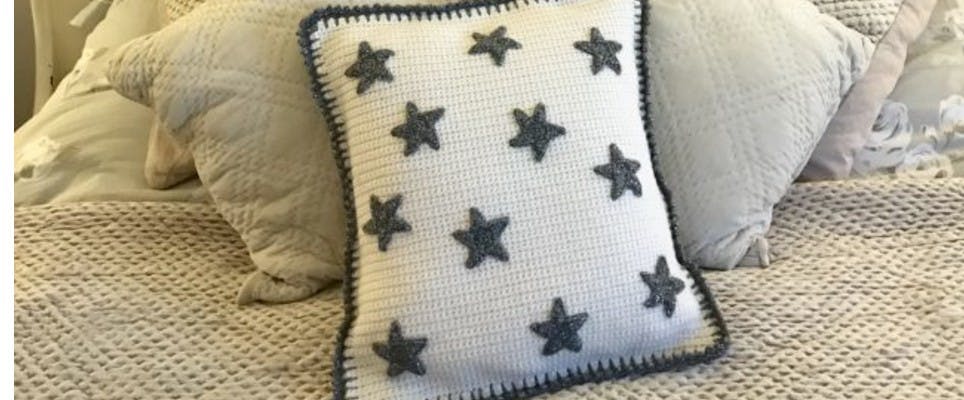
This gorgeous sparkly stars cushion by Kate Eastwood is just out of this world! Perfect for bringing a touch of Christmas magic to your home, this cozy cushion pattern is super easy to crochet thanks to this step-by-step guide. Designed in the snuggliest yarn and embellished with handcrafted stars that twinkle and shine when they catch the light, the sparkly stars cushion makes a fab gift. This pattern uses UK terms.
For my cushion I used 1 x ball of RICO Basic Super Big Aran in Stone Grey 007 and 1 x ball in Ivory 1.
For the stars and the edging, I used the RICO Stone Grey worked with 1 strand of Bergere De France Metalika in Silver 27339.
For the main cushion I worked with a 4.5mm hook and for the stars I used 3.5mm hook, and I've used UK crochet terms throughout.
You will also need a 40 x 40cm / 16 x 16" cushion pad.
Materials
- Rico Basic Super Big Aran
- Bergere de France Metalika
- Cushion Insert
- Clover Amour Aluminum Crochet Hook (14cm)
The cushion is made up of a front panel and two back panels that overlap to form an opening so that the cover is removable. The stars are sewn on to the cover after.
To make the front panel
1
First step. Chain 66.
2
Next! Starting in the second chain from the hook work a row of DC.
3
At the end of the row, chain 1 and turn. 65 sts.
4
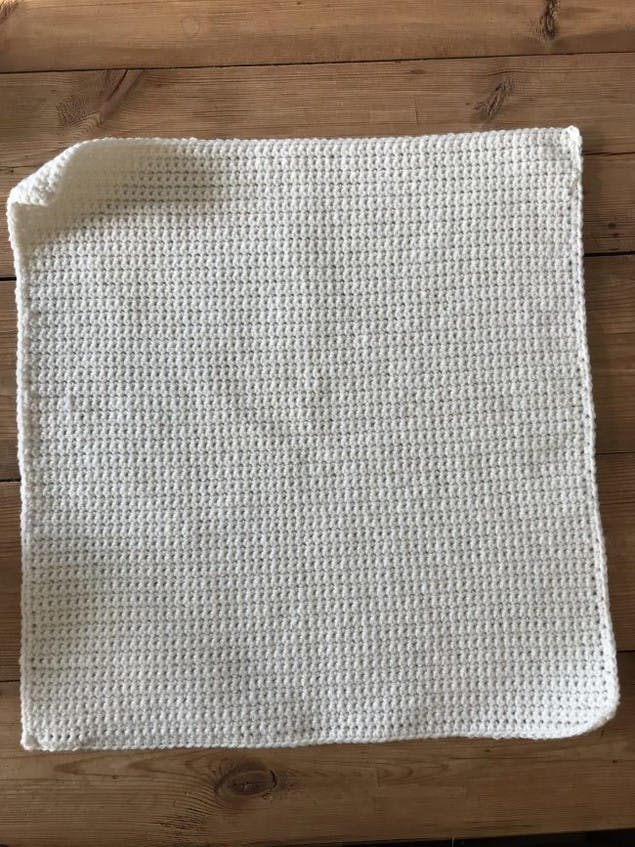
Continue working rows of DC, chaining 1 and turning at the end of each row, until your work measures approx. 41 cm. I found this to be 86 rows.
5
On your final RS row continue on, working all the way around the edge of your square, in DC, working 2 to 3 stitches in each corner stitch to ensure it keeps the shape.
To make the lower back panel
1
Chain 66.
2
Starting in the second chain from the hook work a row of DC.
3
At the end of the row chain 1 and turn. 65 sts.
4
Continue working rows of DC, chaining 1 and turning at the end of each row, until your work measures approx. 25 cm. I found this to be 54 rows.
5
On your final RS row continue on, working all the way around the edge of your square, in DC, working 2 to 3 stitches in each corner stitch to ensure it keeps the shape.
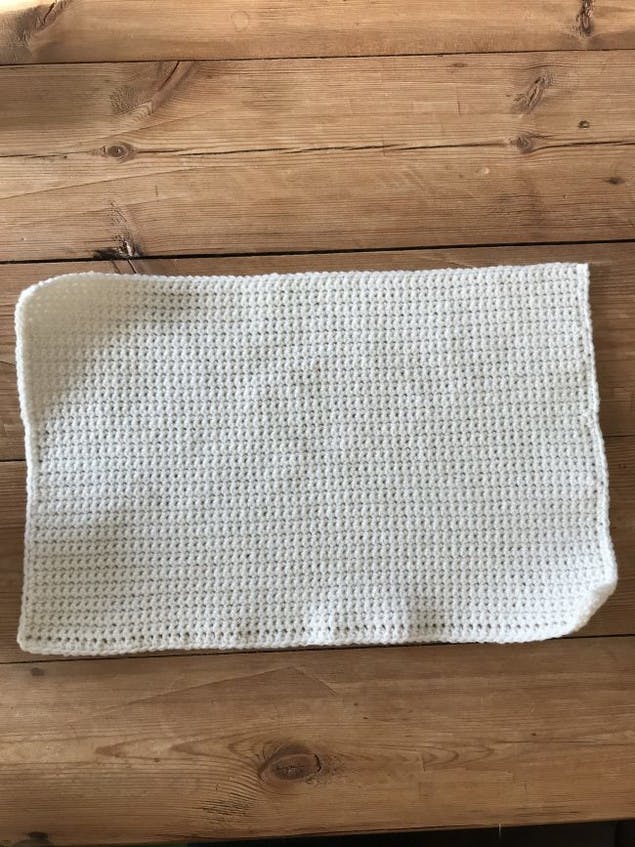
To make the upper back panel
1
Chain 66.
2
Starting in the second chain from the hook work a row of DC.
3
At the end of the row chain 1 and turn. 65 sts.
4
Continue working rows of DC, chaining 1 and turning at the end of each row until your work measures approx. 21 cm. I found this to be 44 rows.
5
On your final RS row continue on, working all the way around the edge of your square, in DC, working 2 to 3 stitches in each corner stitch to ensure it keeps the shape.
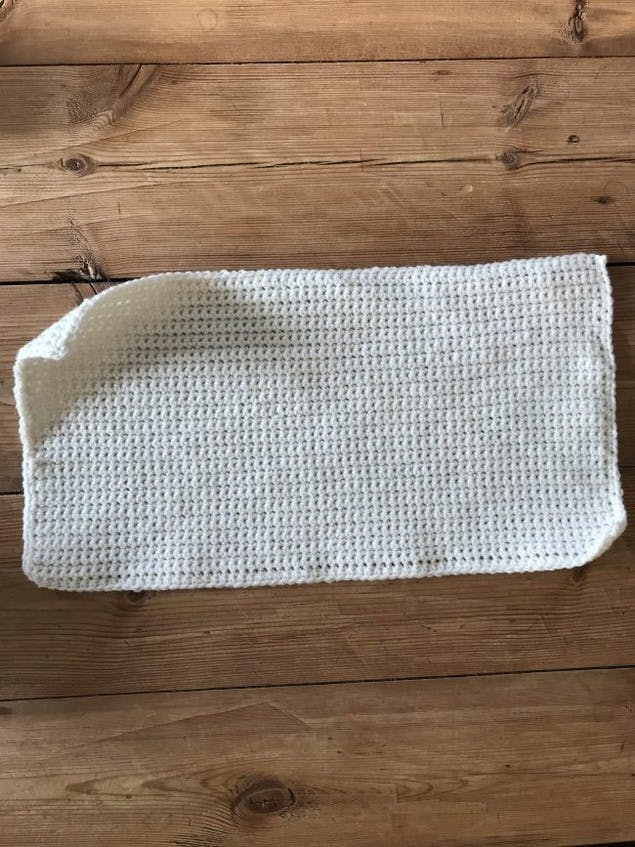
Joining the pieces together
1
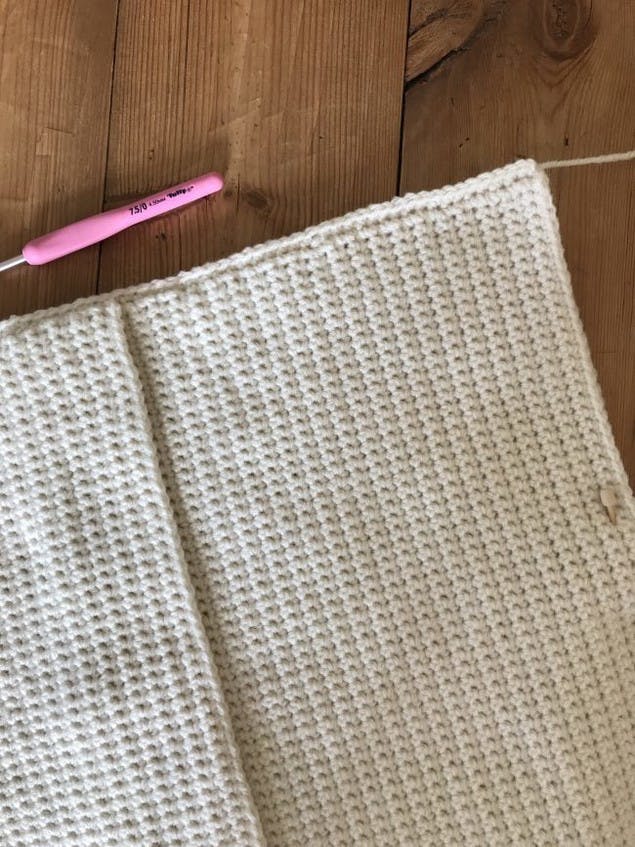
Start with front panel. Lie the front panel on to a flat surface, WS facing you.
2
Now take your lower back panel. Lie the lower back panel on top, WS facing down.
3
Add your upper back panel. Lie the upper back panel on top of both the front panel and the lower back panel, making sure all the pieces are in line with the front panel.
4
Pin securely in place. You will see that you have now created an opening flap across the centre back of the cushion cover, where the cushion pad can be slipped in.
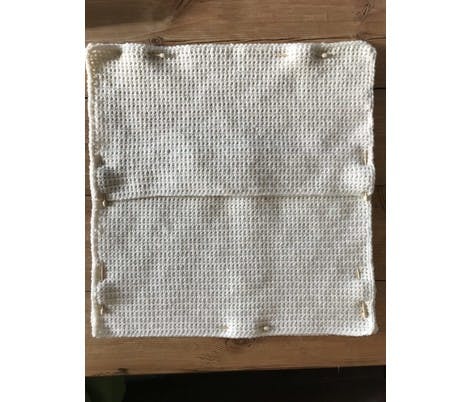
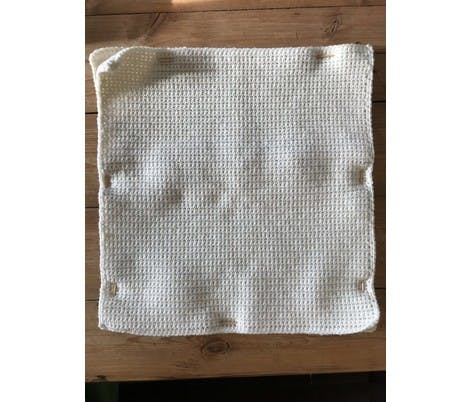
5
Join them all together to assemble your cushion. Once you have pinned all the pieces together, rejoin your cream yarn and work a round of DC all the way around the edge of the cushion to join it all together. Finish off and sew in the ends.
To make the border
1
Stitching your grey border.
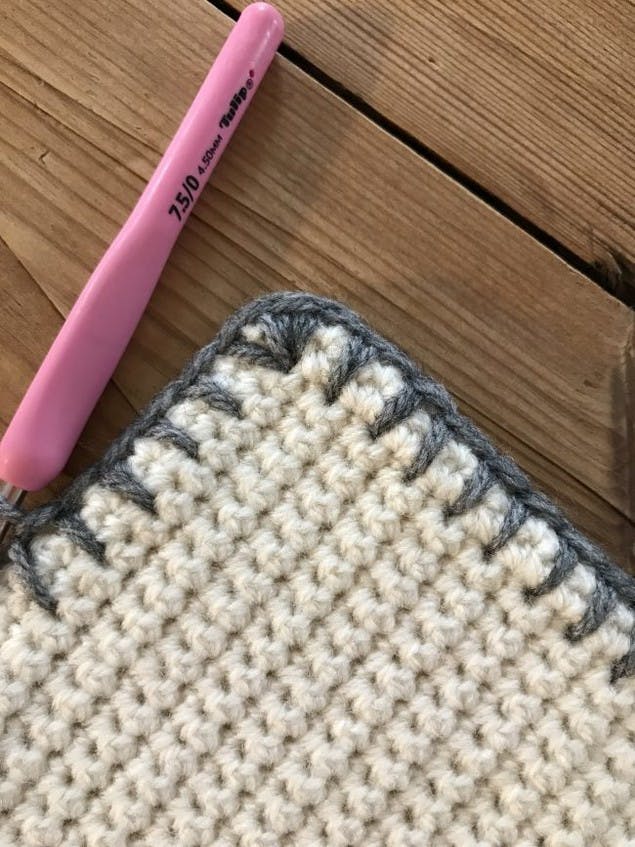
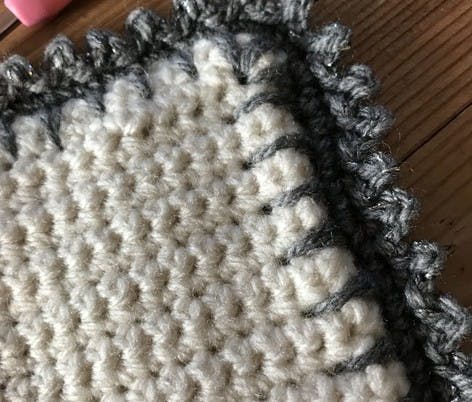
Round 1: Using the grey yarn, rejoin the yarn and work a round of deep DC all the way around the edge of the cushion, working 3 stitches in each corner. I worked each DC on every stitch to make a wider looking stitch.
2
Include grey border around the back opening of the cushion. Work a row of deep DC along the edge of the opening on the back of the cover.

3
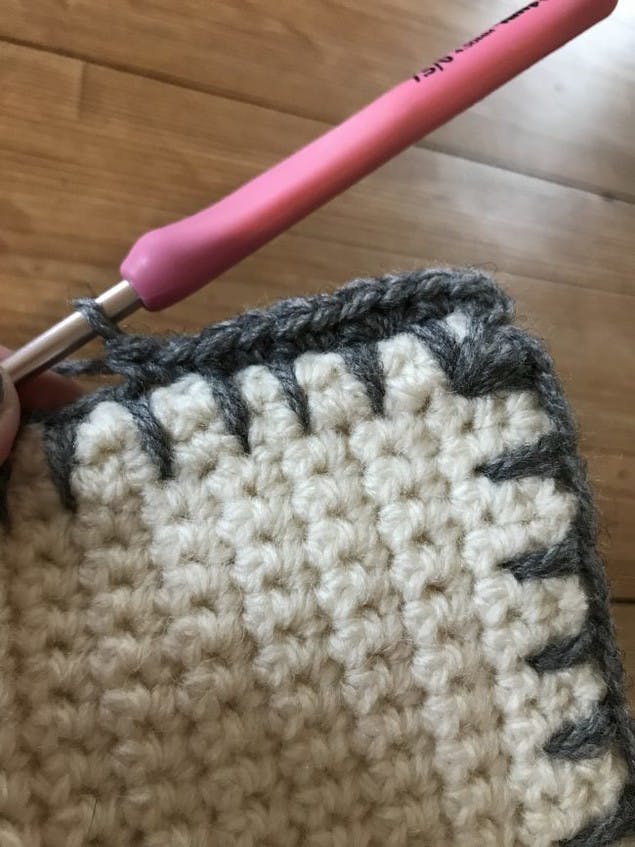
Round 2: Rejoin your grey yarn and work 2 DC in to each stitch from the last round. Sl St to join at the end of the round and chain 1.
4
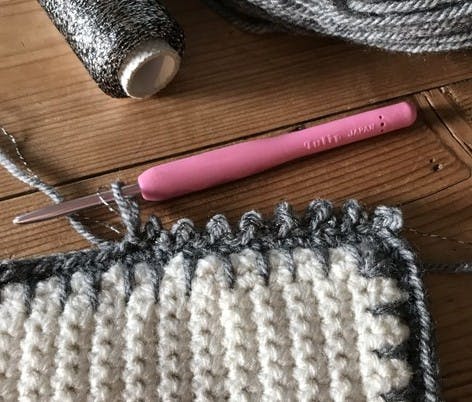
Add your silver yarn. Before you start the final round, join in the silver yarn so that you are now working with one strand of silver and one strand of grey.
5
To work the Picot edge : * Sl St, Ch 2, Sl St back in the first chain, Sl St in to the next stitch.* Repeat from * to * all the way around the cushion.
6
Sl St to join at the end of the round, finish off and sew in the ends.
To make the stars
1
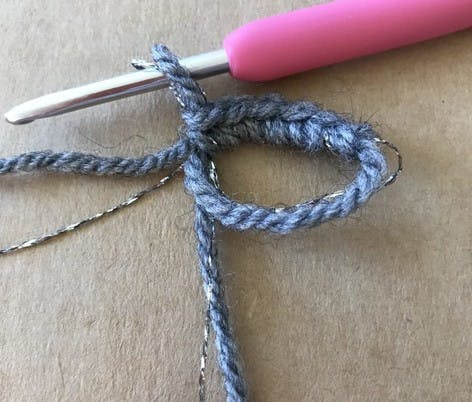
Round 1: Using one strand of the grey yarn and one strand of the silver yarn make a Magic Ring and work 5 DC in to the ring.
2
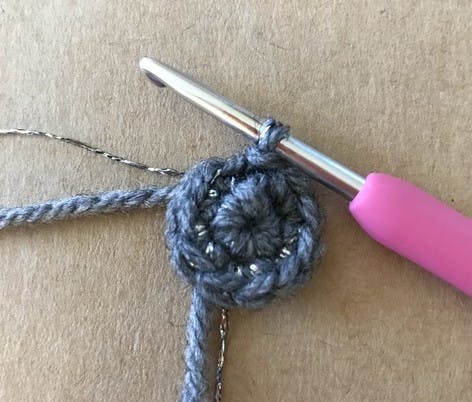
Round 2: Work 2 DC in to each stitch from the first round. Sl St to join at the end of the round.
3
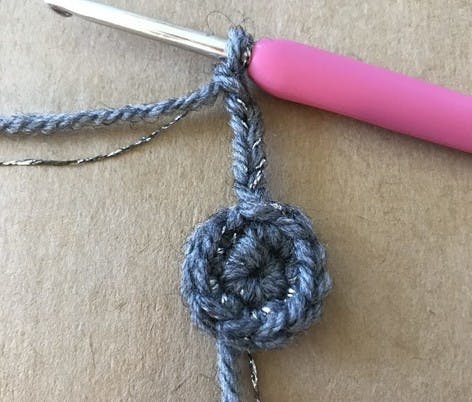
Round 3: You are now going to make the five points of the star. *Chain 6 and starting in the second chain from the hook, work back down the chain as follows: Sl St, DC, HTR, TR, DTR.
4
This will bring you back to the centre, skip 1 stitch and Sl St in to the following stitch*.
5
Repeat from * to * all the way around to create five points, Sl St to join and finish off.
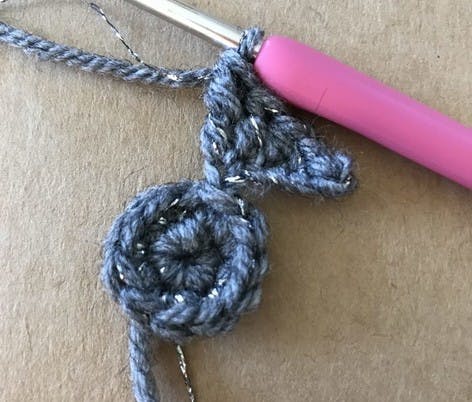
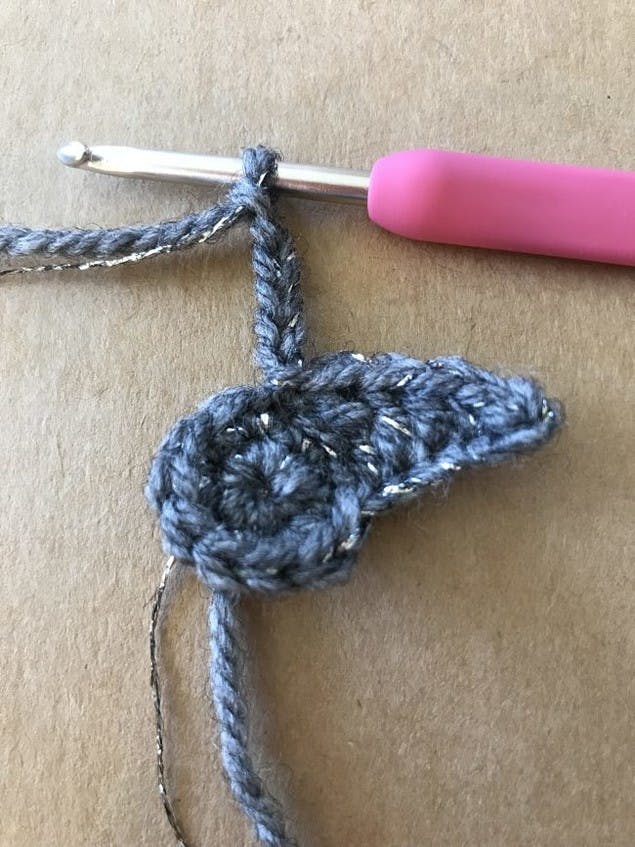
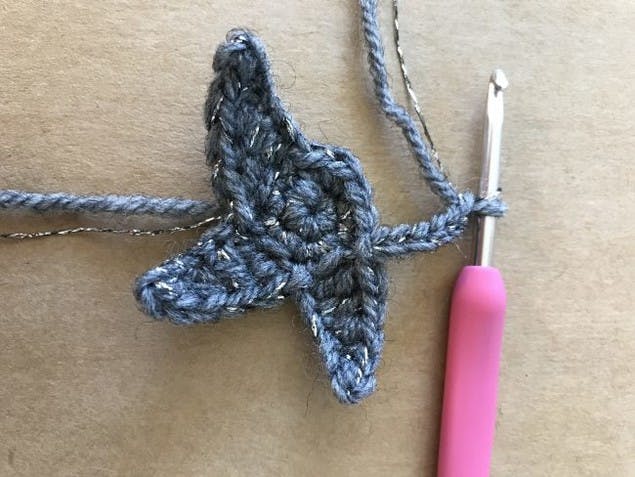
And there you have it. You've made your first star!

Once you have made the stars (I made 11 for my cushion) pin them in to position and stitch them on to the cover with a needle and thread.
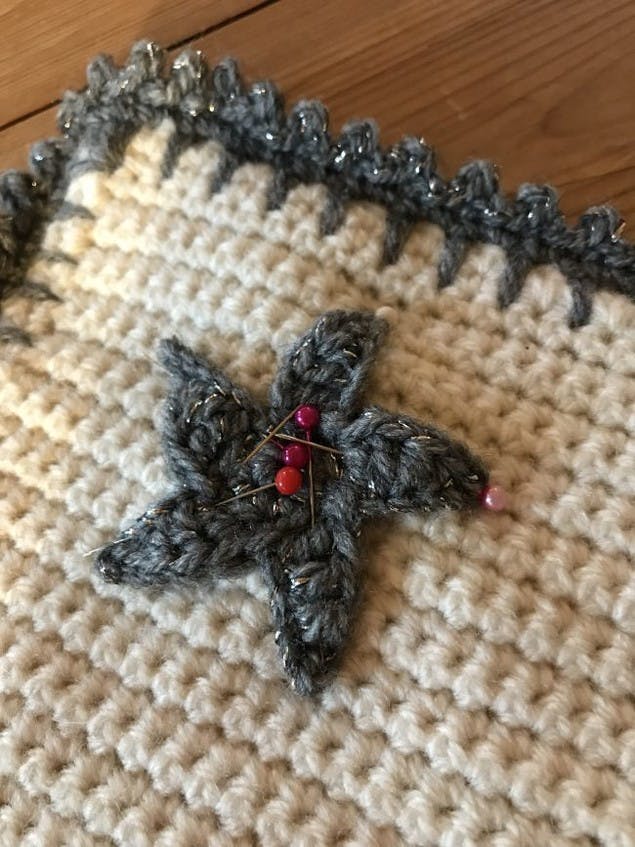
Your sparkly star cushion is complete! Perfect for gifting or adding a touch of magic to your home.
