How to crochet a flat circle
Published on January 18, 2022 1 min read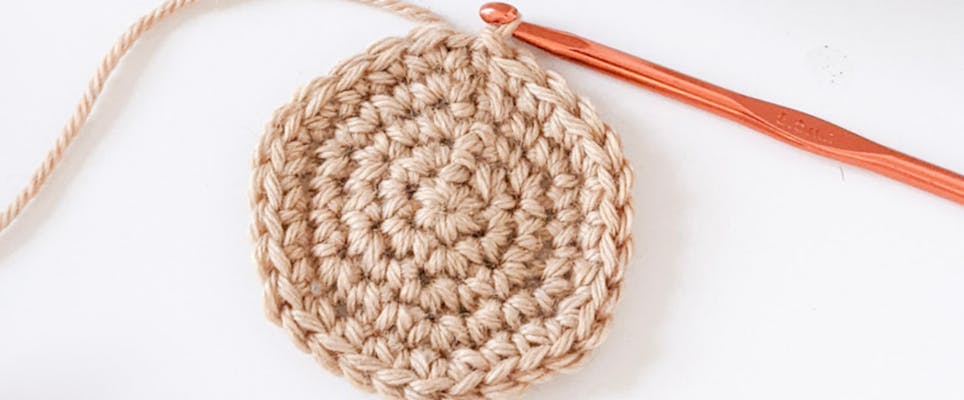
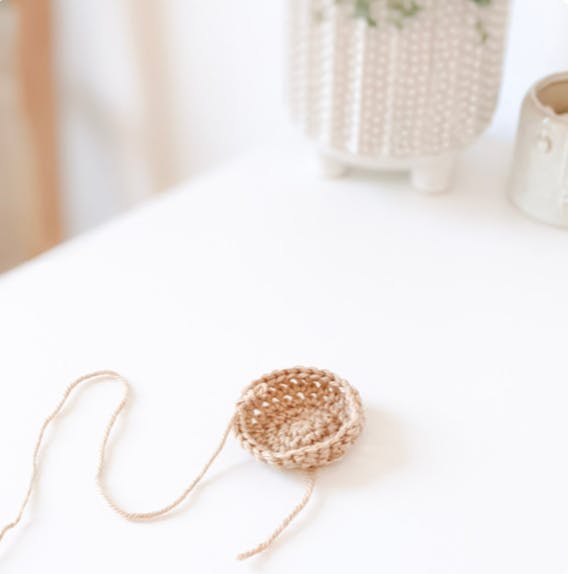
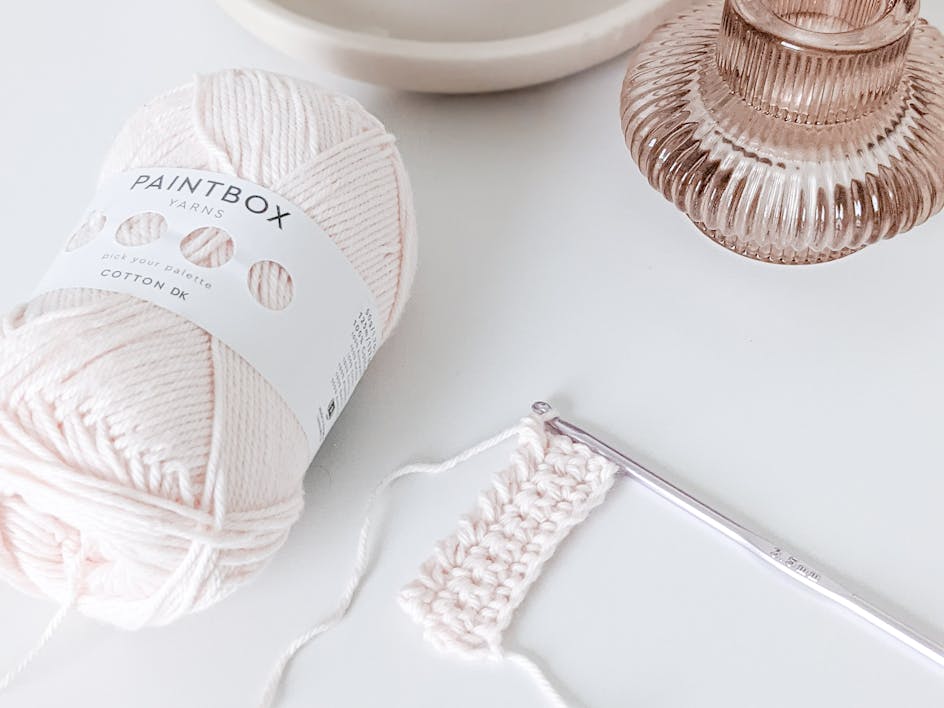
If you're a newbie to crochet, learning how to crochet a flat circle is a great place to start. A flat circle can be used as a starting point for lots of beginner crochet projects, so master this simple skill and prepare for your crochet world to expand!
1
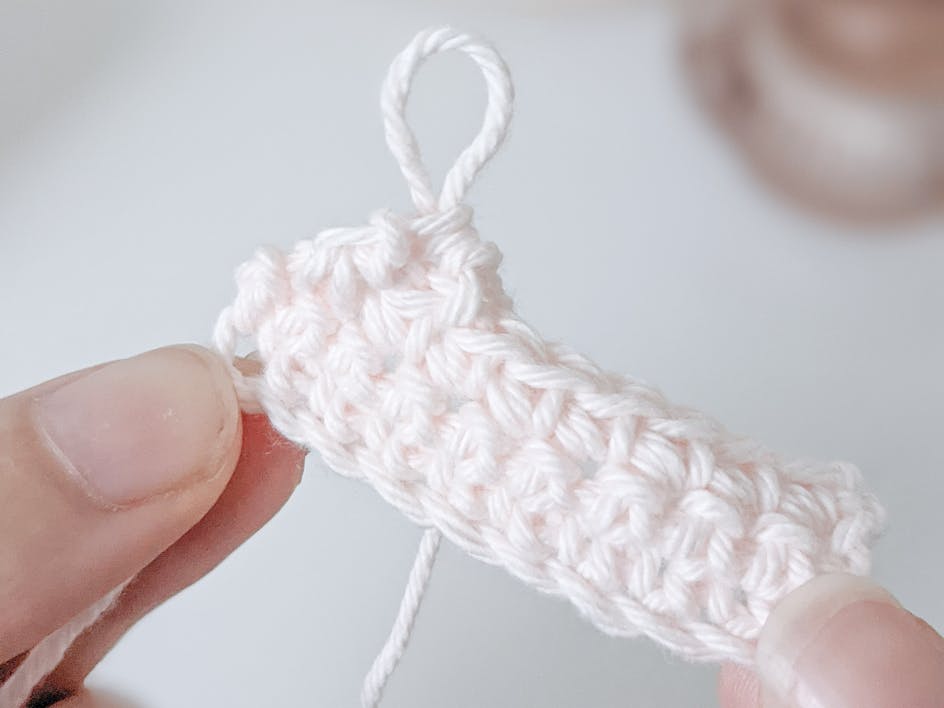
Start by making a magic ring, place 6 single crochets (sc) into the middle of the ring, place a stitch marker into the first stitch so you can identify the start of the round here and for every round) (6 total).
2
Round 1 place 2 single crochet stitches into each stitch all the way around, slip stitch (sl st) into the first stitch from the round (where the stitch marker is and remove) (12 total).
Pro Tip
Always count your stitches as you go!
3
Round 2 place 2 single crochet stitches into 1 stitch, add your stitch marker into the first stitch, then 1 single crochet stitch into the next. Repeat this sequence all the way around 'til the end, slip stitch into the marked stitch from the start of the round (18 total).
4
Round 3 place 2 stitches into the next stitch, add your stitch marker to the 1st stitch & work 1 stitch into each of the next 2 stitches.
5
Repeat this pattern 'til the end, slip stitch into the marked stitch from the start of the round (24 total). Continue in this method by increasing the amount of single crochet stitches by 1 before the 2 single crochets on each round.
Top tips for a flat crochet circle
In order for your crochet circle to remain flat, be sure to evenly space throughout each round. The number of stitches between each increase should increase by one. Ensure you count your stitches in each round so you can check you have the correct amount to the pattern sequence you are following. If you notice it ruffling like in the photo below, it means you have too many stitches.
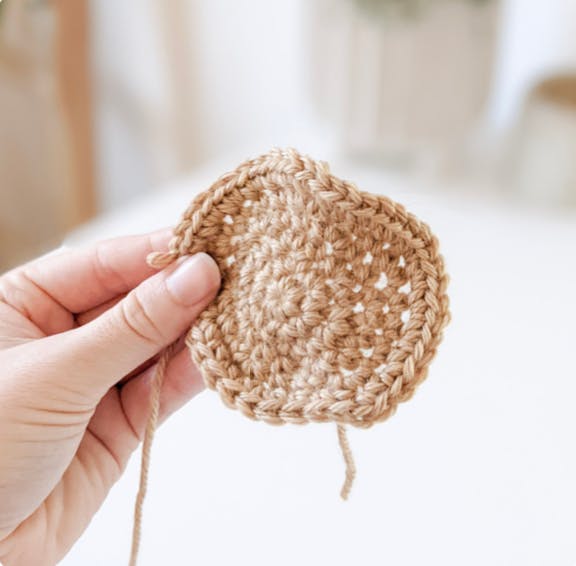
On the other hand, if it is cupping or curling up (like in the photo below), you don’t have enough stitches and need to increase more. Make sure to go back to a row you know to be correct and start the round(s) again. Follow the stitch pattern below for help.
