How to knit a rose
Published on August 20, 2020 By Yaz 1 min readKnit a bloom that will last forever. In this tutorial we’ll show you how to knit a rose using garter stitch. Whether you’re making one bud or many, this pretty project is perfect for displaying in your home as a garland or table piece, giving a touch of romance to your accessories or gifting to special someone!
Materials
Abbreviations
K - knit
Kfb - Knit front and back
K2tog - Knit 2 together
This pattern uses 6 mm needles.
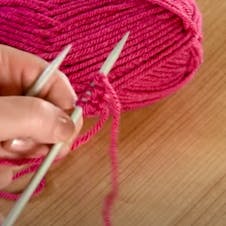
How to knit a rose step by step
1
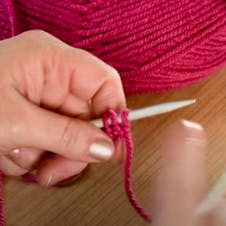
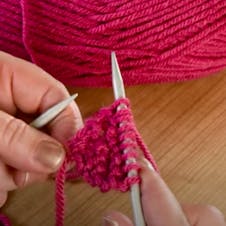
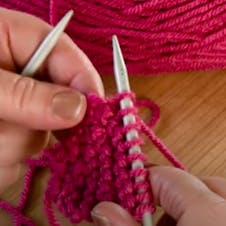
To start: cast on 3 stitches.
2
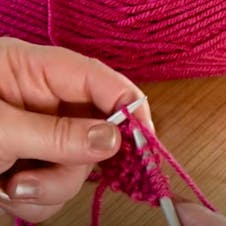
To knit a small petal: K1, Kfb, K1
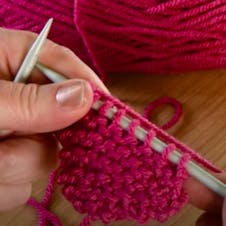
3
K1, Kfb, K3
4
K4, Kfb, K1
5
K6, Kfb, K1
6
K1, Kfb, K7
7
K8, Kfb, K1
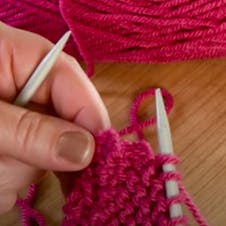
8
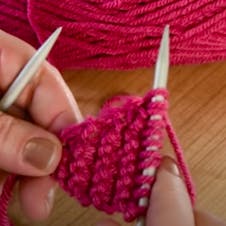
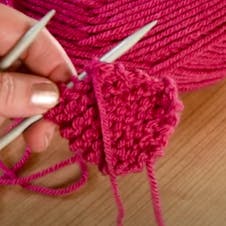
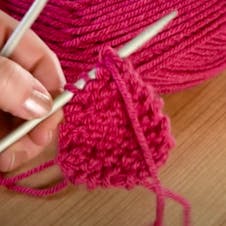
Now we'll start decreasing to create the petal shape: K1, K2tog, K8
9
K7, K2tog, K1
10
K1, K2tog, K6
11
K5, K2tog, K1
12
K1, K2tog, K4
13
K3, K2tog, K1
14
K1, K2tog, K2
15
K1, K2tog, K1
16
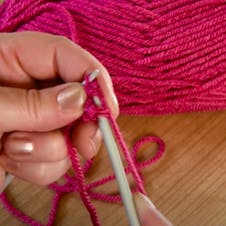
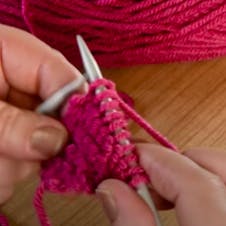
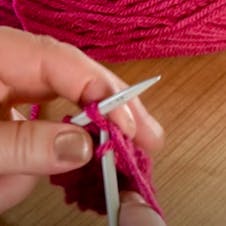
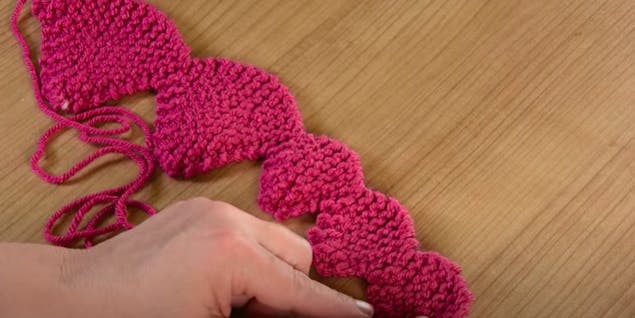
Repeat twice more for 3 small petals in one continuous piece of fabric, then knit two larger petals in the sequence.
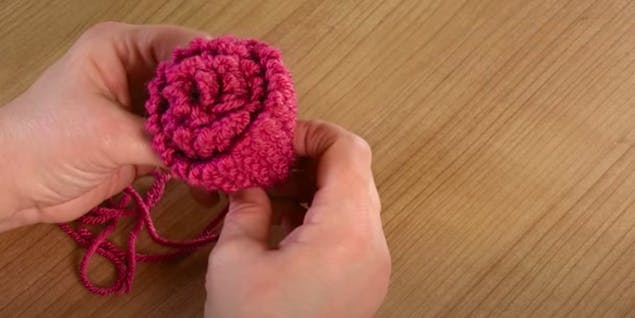
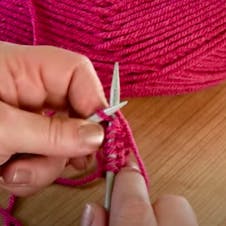
17
Finishing. Roll up your fabric to produce the head of your flower. Don’t forget to sew in the ends to complete your rose!