How to make large paper flowers with your Cricut machine
Published on February 28, 2022 By Emma Jewell 1 min read
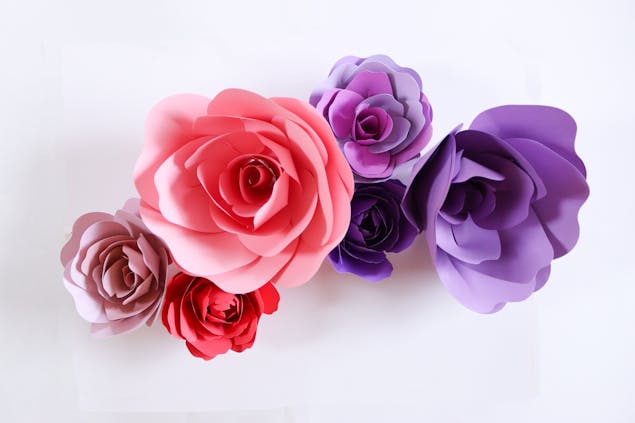
March into spring with the perfect paper craft project from Emma Jewell! Create beautiful blooms to last a lifetime with this tutorial for how to make paper flowers, perfect for brightening up your space or making homemade decorations for wedding and parties. Get set to make a whole bunch of paper flowers in a rainbow of colored cardstock!
Materials
- Cricut Maker
- Pastel colored cardstock 12x12
- American Crafts Colorbok 78lb Smooth Cardstock 12"X12" 30/Pkg - White Promenade, 5 Colors/6 Each
- Hot glue gun
- We R Memory Keepers Maker’s Glue Gun - Grey
- Glue
- Creative Expressions Cosmic Shimmer Glue 30ml - 248371
- Cricut standard grip mat
1
Open a new project in Cricut Design Space and search images for “3D Flowers”. Here, we use the rose and peony.
Add the flowers of your choice to the canvas. Make the flower images as large as possible but add different sizes depending on where your project is going. Then, head to “Make It”.
2
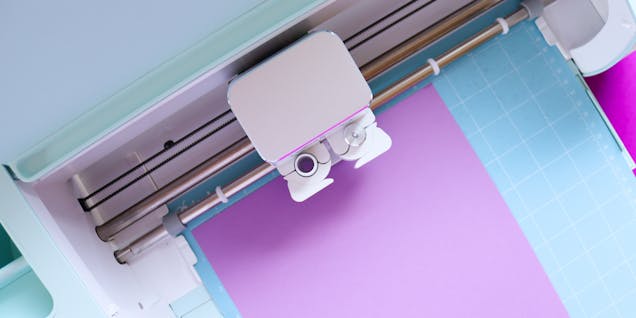
Select ‘Medium Cardstock’ as your material setting, then load the card onto the mat making sure it is well stuck down.
Next, load the mat into the machine and start cutting! Continue to load cardstock and mats into the machine until all the pieces of the flower have been cut.
3
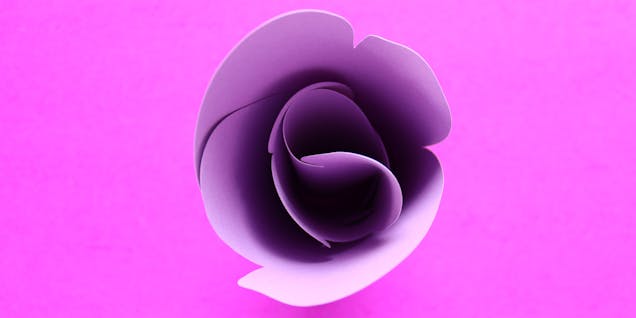
Once cut, remove the pieces from the mat. Take the 2 largest pieces and roll each piece, folding the tab into the slot. Then secure the smaller piece inside the larger piece with hot glue.
4
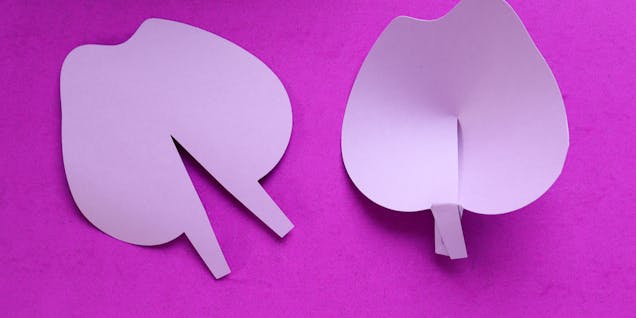
Next, take the petal shapes and add hot glue to one of the legs, then glue the 2 legs of the petal together. This will give you the 3D petal shape.
5
Once all the petals have been glued together, slide them into the slots of the central piece, adding glue to secure. Work with the smallest petals first, adding petals around the flower working up to the bigger petals.

6
Now curl the paper petals to make the flower look more realistic. Repeat this process to create as many beautiful blooms as you need!
