The organization hacks every maker needs to know + FREE pincushion tutorial!
Published on February 25, 2020 By Holly Butteriss 4 min read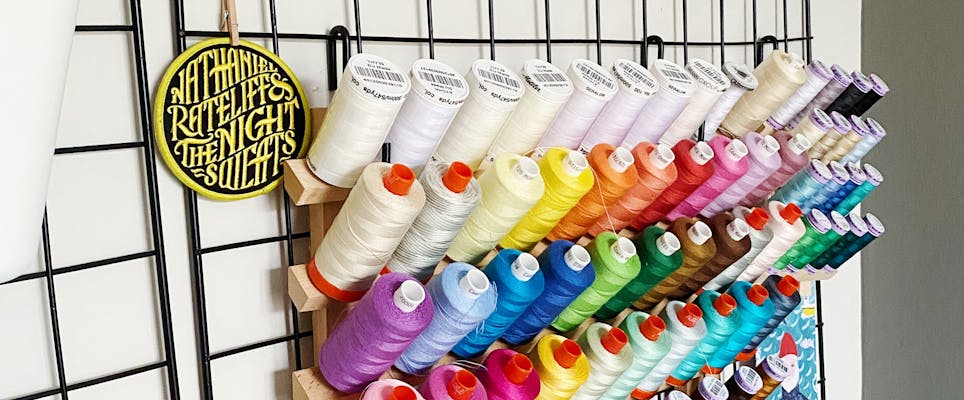
Holy moley! We can't get enough of the pastel color sweetness & dreamy patchwork combos, designed by this quilting loveheart, Lorna. Hailing from Bristol, Lorna is an Operations Editor at Love Patchwork & Quilting magazine by day and a quilter by night - basically a 24-hour quilting human machine! You'll find her dreamy creations on @clothandcrescent and clothandcrescent.com, but stay right here! We've got Lorna along to tell us how to be an organized maker. Oxymoron? Get ready to change your mind! Plus she had a seriously great pincushion tutorial to share.
There’s no denying it, at times us crafters are a messy bunch. But is crafting really crafting if you’re not covered in threads, knee deep in fabrics with five half-finished projects surrounding you? The key to keeping your cool through the chaos is to stay organized. Whether you’re lucky enough to have a whole room for your crafting or are confined to a kitchen table, I’ve got some top tips for organizing even the messiest of makers.
1. It's all about the desk
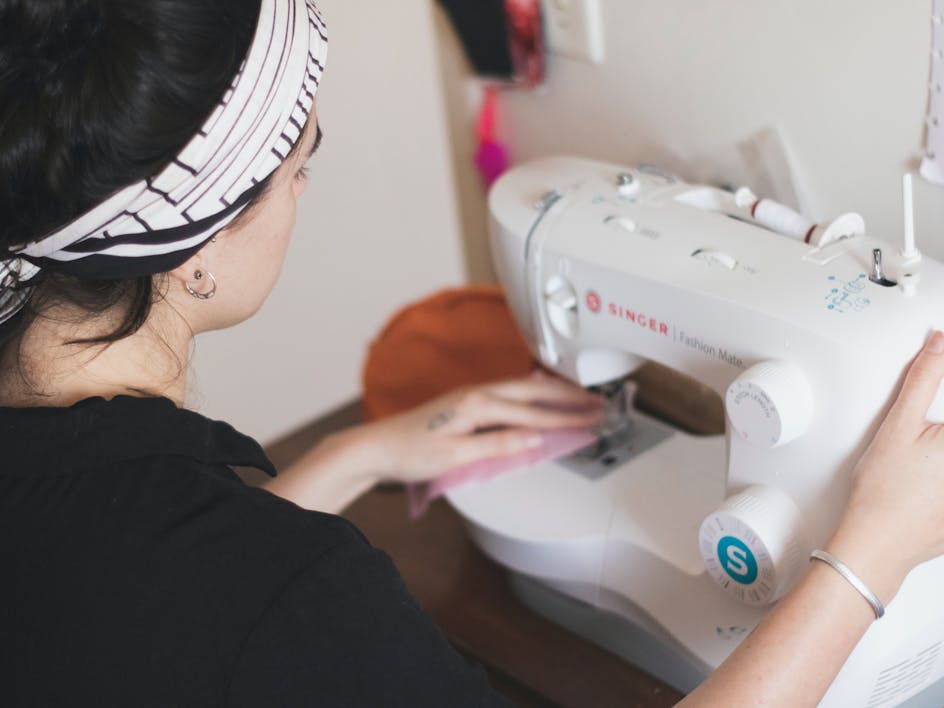
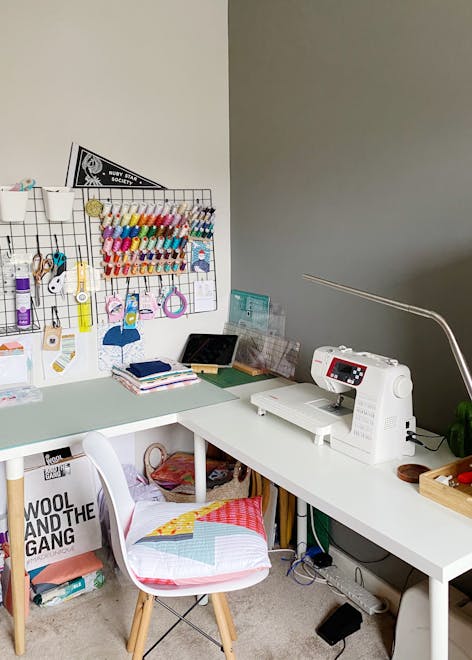
When creating your own crafting space, choose your set-up wisely. If you’re tucked into the corner of a room, consider arranging two desks in an L-shape for the ultimate sewing station. Cover one desk with the biggest cutting mat you can fit and the other with your sewing machine and you’re set to twist and turn, cut and stitch to your heart’s content without moving an inch.
2. Have everything on hand
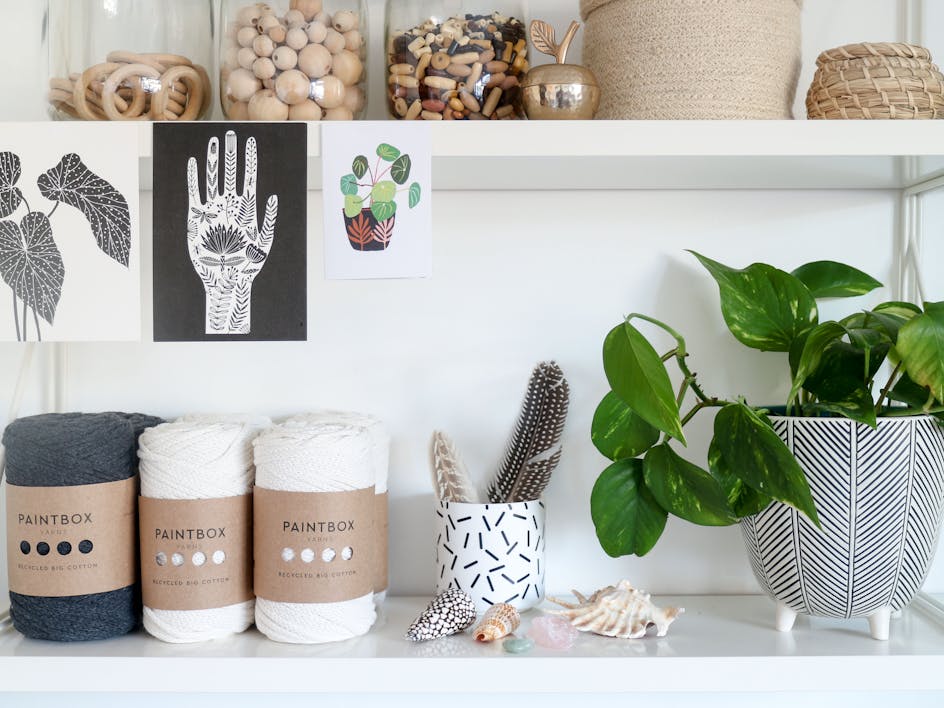
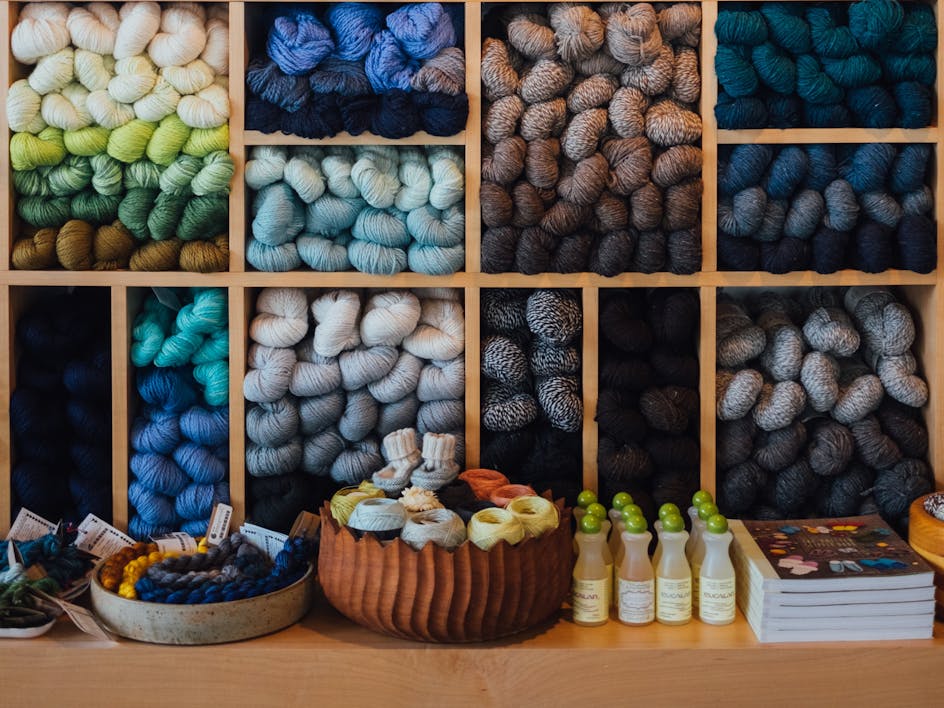
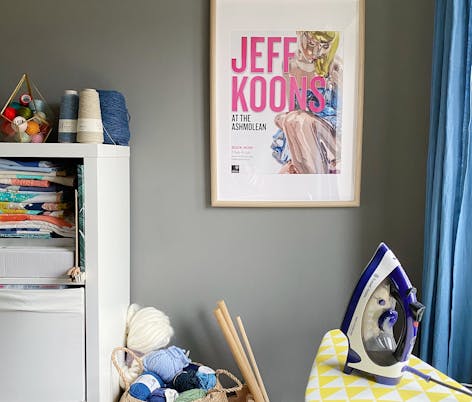
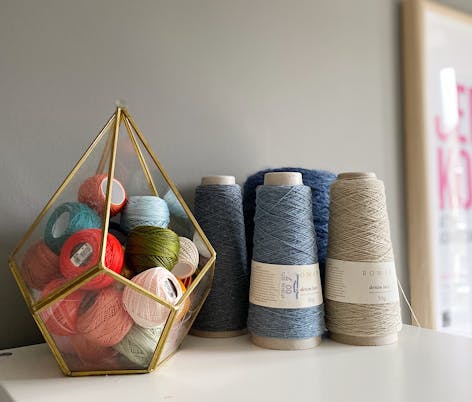
If you’re blessed with neat freak tendencies, then you may like to keep your kit hidden tidily behind closed doors. If not, it helps to have everything visible and ready to use so you can save time searching and just get sewing. Store your threads on a spool rack, or keep them in a large clear container for a pop of color in your workspace.
3. Off the wall
Wire grids on the wall are also a great way to keep all of your tools handy. Hang scissors, pins, rulers and rotary cutters on hooks or slot on a shelf at the perfect height and distance for easy grabbing. Hanging buckets are a nifty place to store binding clips and odd small tools, too. You can even peg photos, cards or quilt blocks to your grid to personalise as you please!
4. Keep it confined
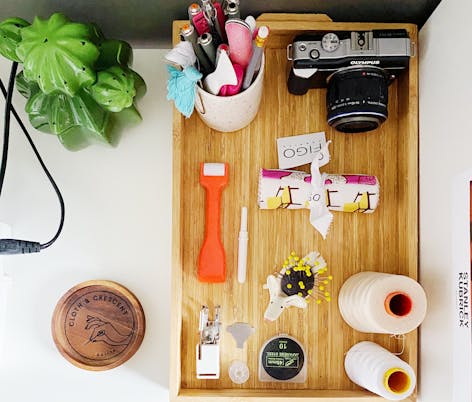
It’s a good idea to store everything that you may need while sewing (pins, bobbins, seam presser and the dreaded but oh-so-necessary stitch-unpicker) in a tray right next to your sewing machine. That way, your ‘mess’ doesn’t spread, but it’s still conveniently close so you can access your tools whenever some unfortunate unpicking is needed.
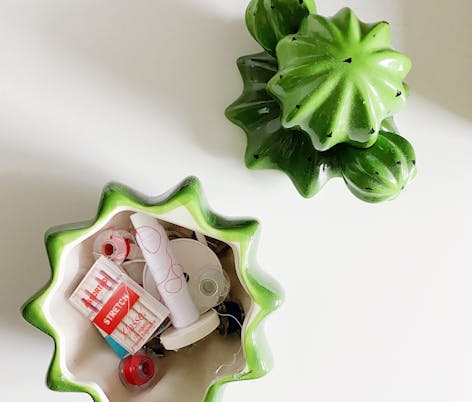
Plus, if you need a little more space at your sewing station, you can move it all in one go – no stress! And for those less attractive items that can turn from convenience into clutter, find some cute jars or drawers to pop ‘em in! I keep my sewing machine feet and needles in a cactus cookie jar, and it never fails to make me smile.
5. Not-so secret stash
If ‘excessive and unruly’ are words that you’d use to describe your stash, there’s only one place for it. Store your precious prints in a basket under your desk for easy access and accountability… once that basket’s overflowing it might be time for a scrap intervention. Larger cuts of fabric such as metres and fat quarters are allowed to live in the drawer until it’s time for their project debut!
6. WIP it away
Ever found it hard to count how many projects you’re working on with two hands? Project bags are important for keeping track of which white triangles go in what quilt… you’ll understand if you’ve ever found yourself using the wrong pieces in the wrong project! Print out a picture of the design you’re working on and pop it in your project bag for total ease.
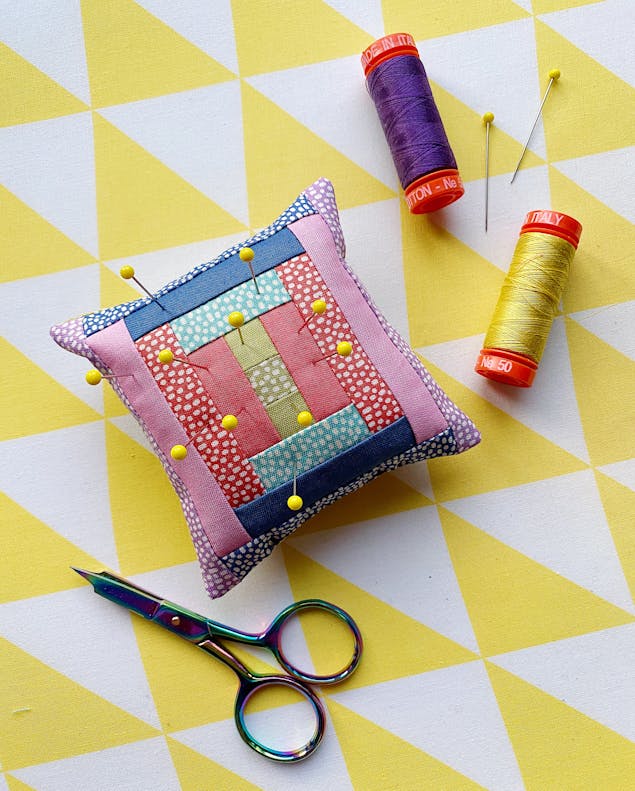
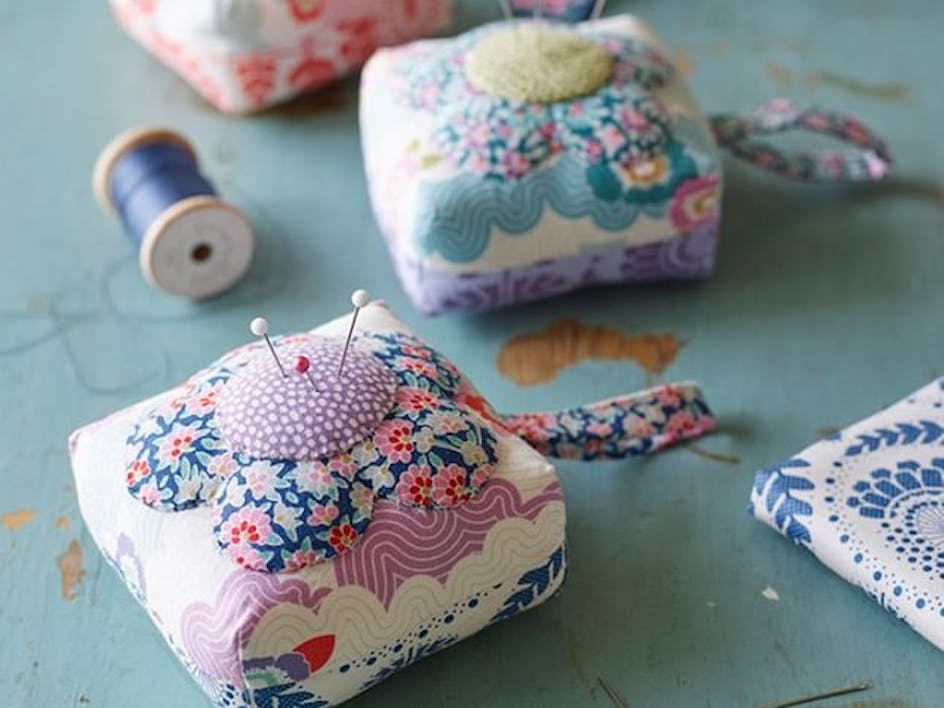
Make your own DIY pin cushion!
This simple pincushion, based on the traditional Courthouse Steps quilt block, can be whipped up in an evening and will mean you never lose track of your pins and needles again!
Materials
- Tilda LazyDays Fat Quarter Bundle (Set of 10) - Trickle/Solid
- Trimits Toy Stuffing - 200g
- Olfa 45mm Deluxe Ergonomic Rotary Cutter
- Olfa Non-slip Quilting Rule: 6 x 24 inch
- Fiskars A3 Size Self Healing Cutting Mat
- Sewing machine
- Hemline Invisible Thread
- John James 50 Hand Sewing Needles with Threader
1
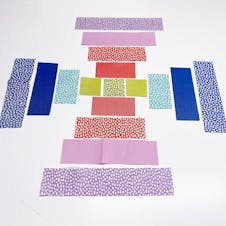
Cut the following pieces using a cutting mat, quilter’s ruler and a rotary cutter:
Green dot fabric: (1) 1” square.
Green solid fabric: (2) 1” squares.
Red solid fabric: (2) 2” x 1”.
Light blue dot fabric: (2) 2” x 1”.
Red dot fabric: (2) 3” x 1”.
Dark blue solid fabric: (2) 3” x 1”.
Pink solid fabric: (2) 4” x 1”.
Dark blue dot fabric: (2) 4” x 1”.
Purple dot fabric: (2) 5” x 1”.
Backing fabric: 5” square
2
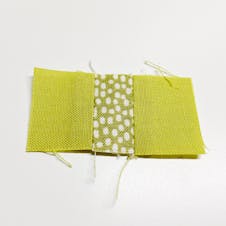
Sew a green solid 1” square either side of the green dot 1” square using a ¼” seam allowance (use this seam allowance throughout). Press the seams open.
3
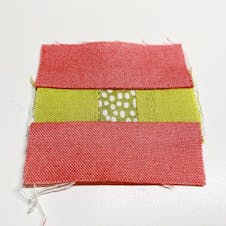
Sew a red solid 2” x 1” strip to the top and bottom of the joined unit. Press the seams open.
4
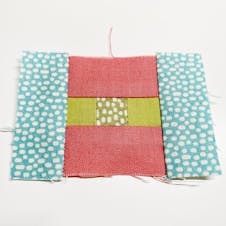
Sew a light blue dot 2” x 1” strip to either side of the joined unit. Press the seams open.
5
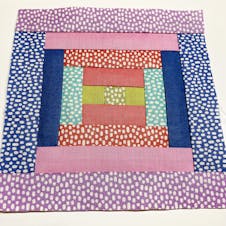
Continue in this way, joining strips to the unit in the order that you cut them and pressing each time. Finish with the purple dot fabric strips.
6
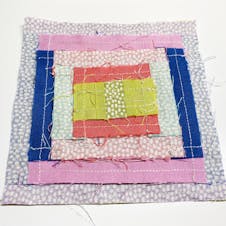
Place the finished front panel right sides together with the backing square. Sew around the edge, leaving a 3” gap in one side.
7
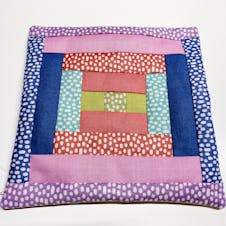
Turn the pincushion right side out and poke out the corners.
8
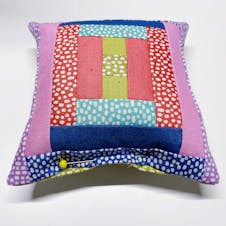
Fill with toy stuffing and turn the edges of the opening inwards. Pin in place.
9
Use a coordinating colored thread and a small whipstitch to sew the gap closed.
